Lately I've been in many conversations about how to use Packer, especially how to use Packer with Azure Pipelines and Cloud endpoints. There are some good Getting Started trainings with Packer and Vagrant and Packer and AWS on Hashicorp Learn, however there isn't one around Azure and more importantly Azure Pipelines.
In this tutorial we will assume only that you have an Azure DevOps instance to use (you can signup here) and an Azure Subscription to leverage (create on here).
Pre-req's in Azure
To use the Packer step, we will need a resource group and a storage account created first. These are used for temporary swap space to do the work.
If you need to create an Azure Resource Group, you can take a moment to do so in the portal.
Go to Resource Groups in Portal, and choose Add
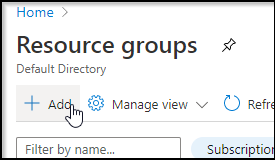
And add a new one:
Adding

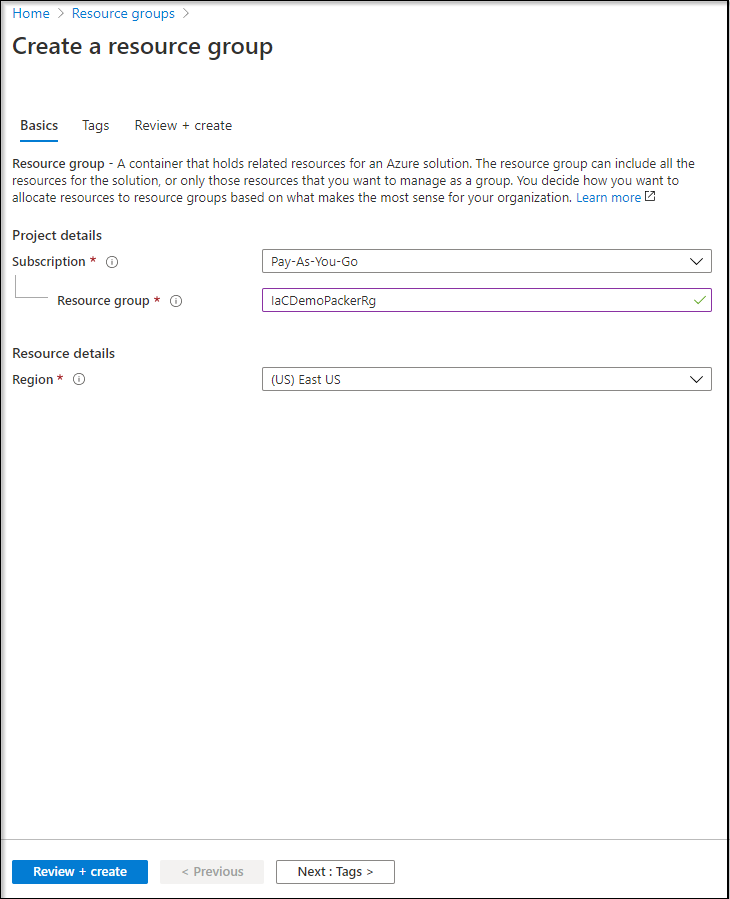
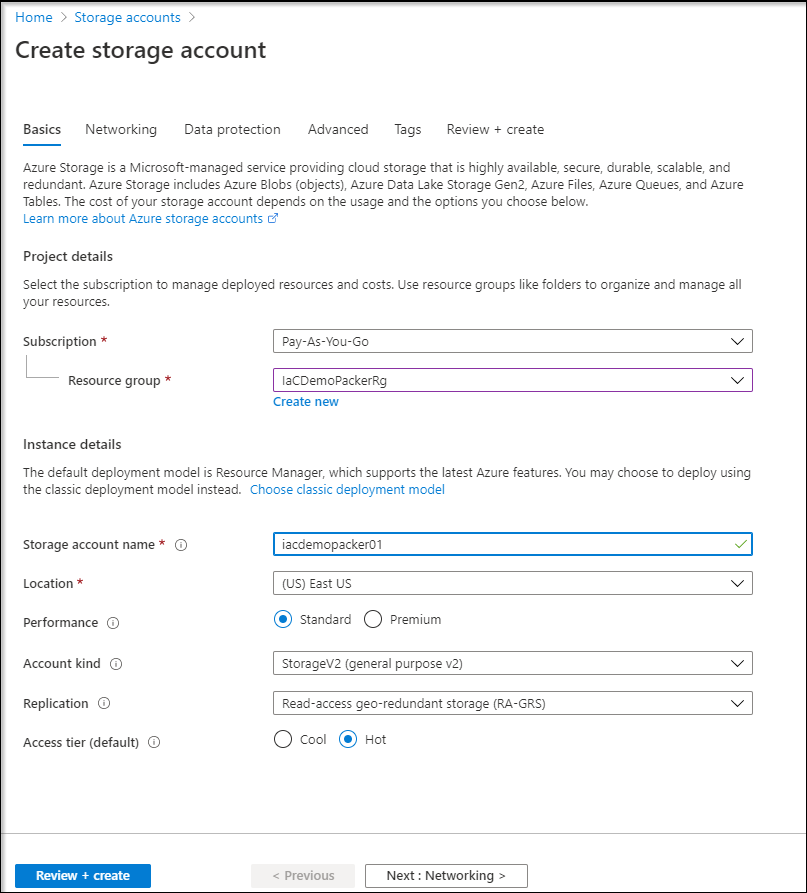
We also need a storage account. Those are just as easy to create.
Go to Storage Accounts in the Portal and choose “Add”
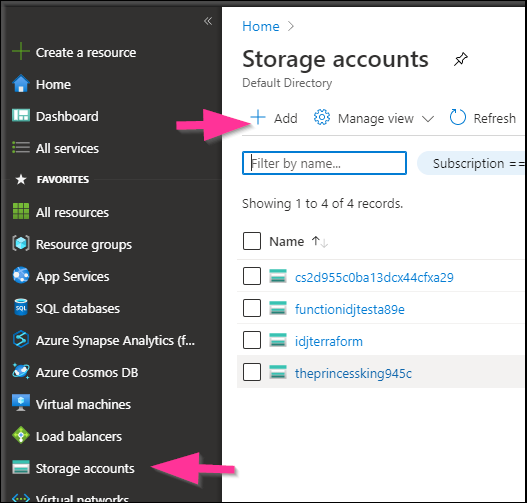
Here we will create an “iacdemopacker01” storage account in the same RG.
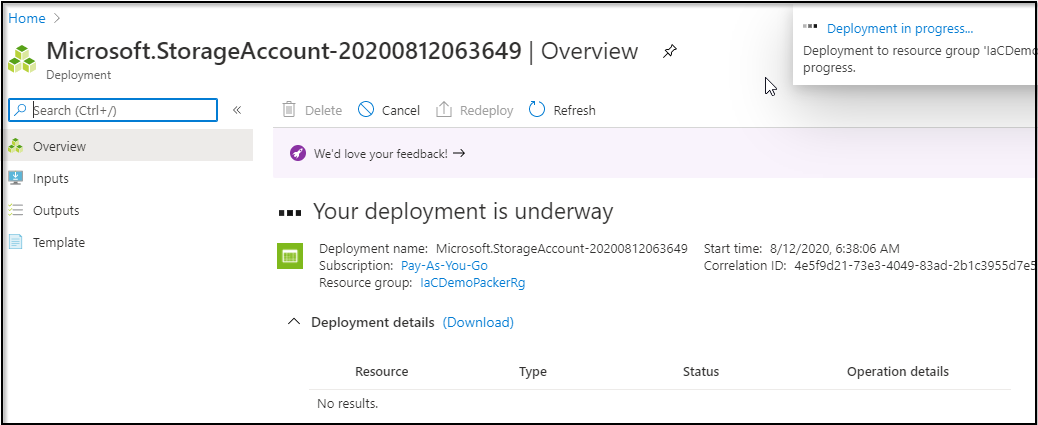
And success
Azure DevOps
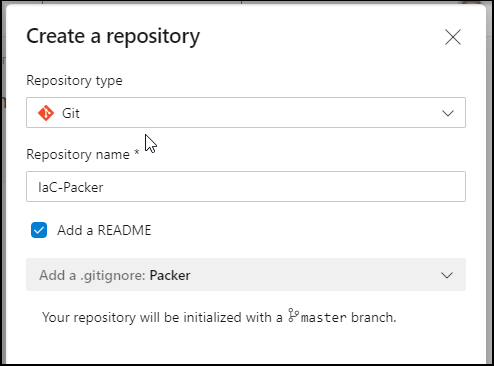
Let’s first create a GIT Repo to host our code
Then we can clone locally: https://princessking.visualstudio.com/IAC-Demo/_git/IaC-Packer
builder@DESKTOP-JBA79RT:~/Workspaces$ git clone https://princessking.visualstudio.com/IAC-Demo/_git/IaC-Packer
Cloning into 'IaC-Packer'...
remote: Azure Repos
remote: We noticed you're using an older version of Git. For the best experience, upgrade to a newer version.
remote: Found 4 objects to send. (19 ms)
Unpacking objects: 100% (4/4), done.
builder@DESKTOP-JBA79RT:~/Workspaces$ cd IaC-Packer/
builder@DESKTOP-JBA79RT:~/Workspaces/IaC-Packer$ ls
README.md
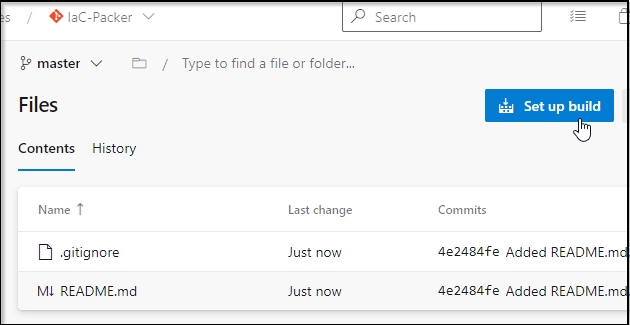
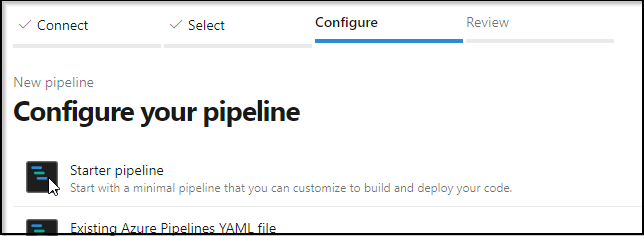
Back in Azure Repo’s we can click the “Set up build” button to get started:
Choose Starter Pipeline:
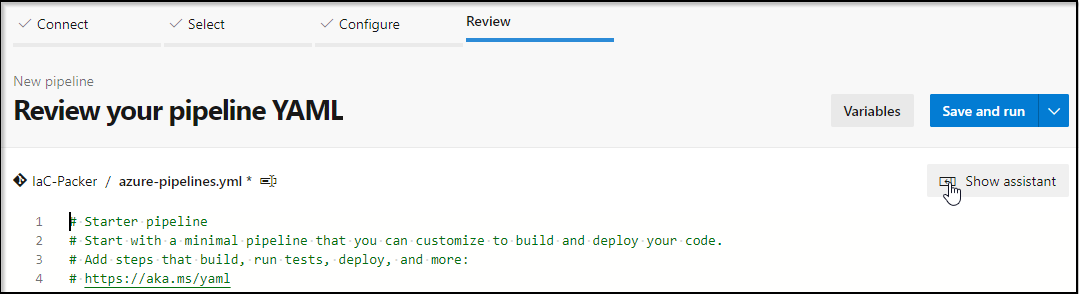
Lastly, you can use the assistant on the right by clicking “Show assistant”. It’s not perfect so you do need to often fix indentation or ensure your cursor is in the right spot on the left when you ‘add’ blocks.
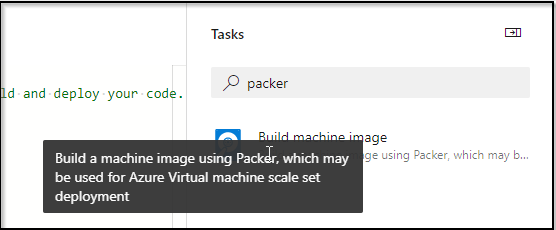
Let’s choose “Build machine image” to add a packer step:
For this next step, we’ll need a Service connection.. You can now see these in your Project (if you are admin) . If you need to add one, go to Project Settings / Pipelines / Service Connections
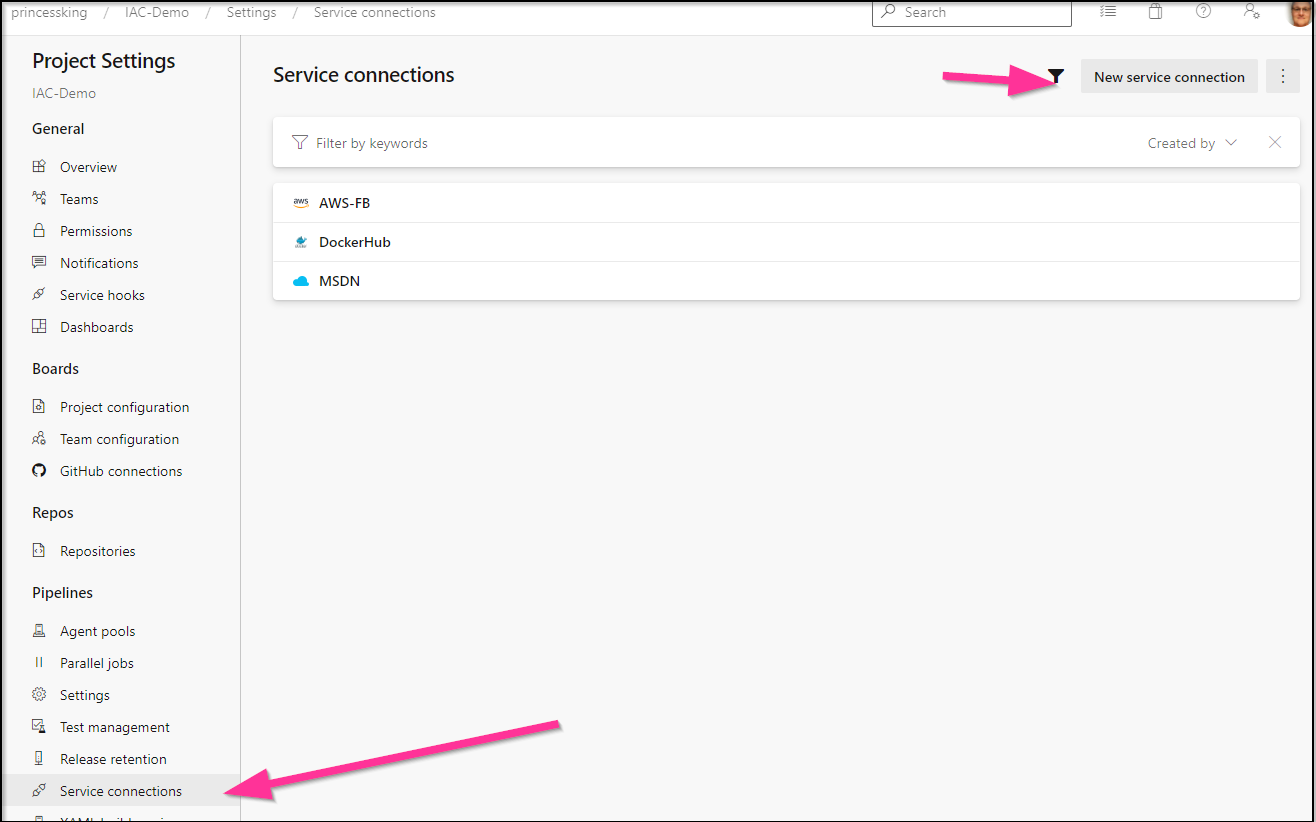
Here we see i have an MSDN one set, but to add a new one, go to “New service connection”. Choose ARM

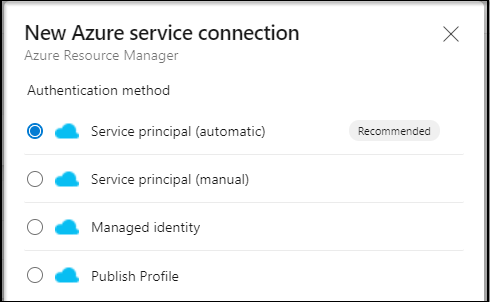
Next we can choose the type. If someone gave you service principal details in a lab environment, this would be the place to choose “Service Principal (manual)”.. In our case, let’s add another Azure sub.
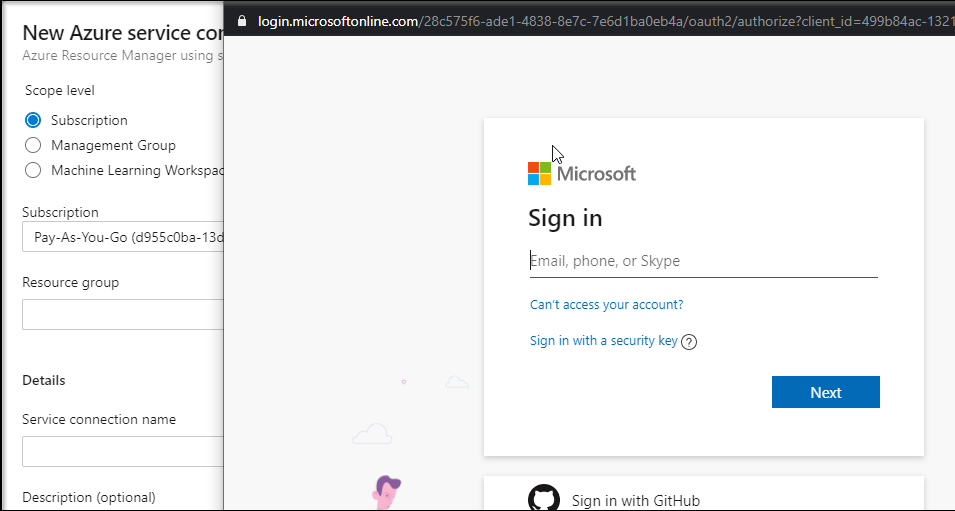
On the next page, it launched a login defaulted to my Pay-as-you-go…
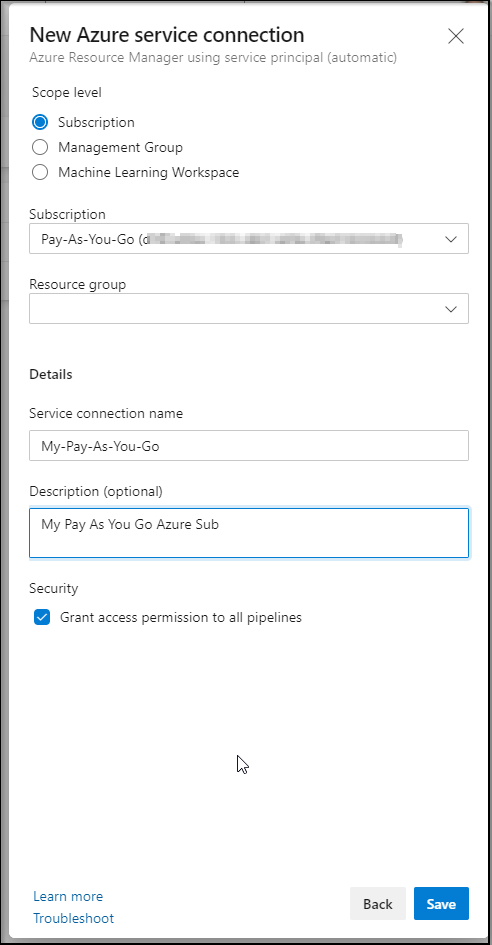
You can limit your access to a given resource group (but we will likely create some so i won’t add a limiter):
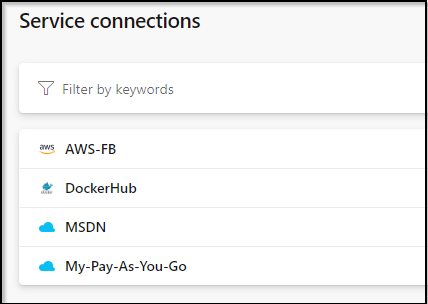
I now see it listed in my active subscriptions:
We can now pick our Azure Subscription in the drop down:
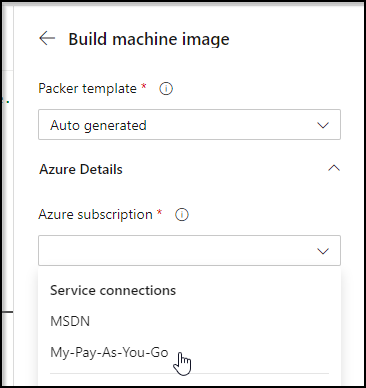
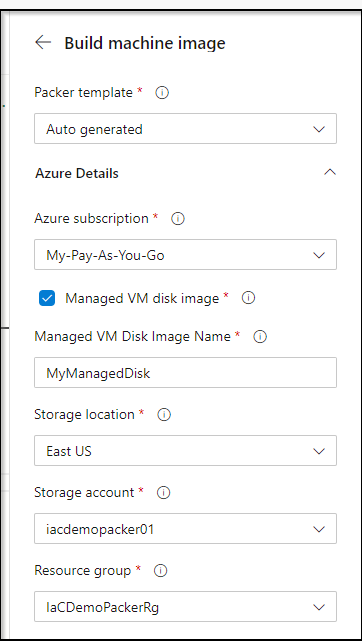
Let’s use the Subscription, Resource Group and Storage account we created at the start.
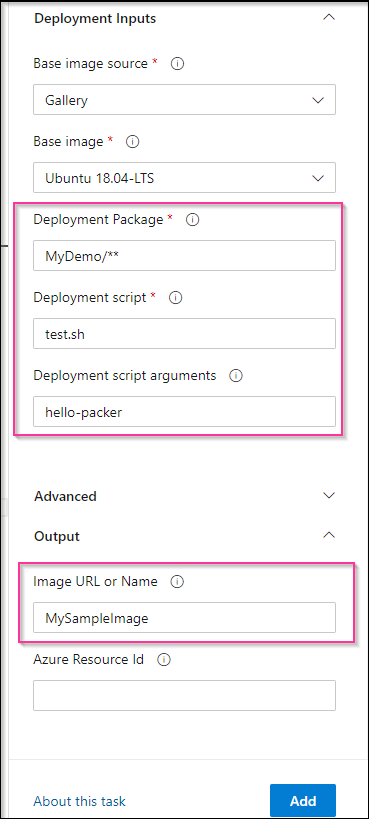
For the next section, we’ll assume we have a MyDemo path setup (we’ll get to this).
Then click add.. This should add the following block of YAML:
- task: PackerBuild@1
  inputs:
    templateType: 'builtin'
    ConnectedServiceName: 'My-Pay-As-You-Go'
    isManagedImage: true
    managedImageName: 'MyManagedDisk'
    location: 'eastus'
    storageAccountName: 'iacdemopacker01'
    azureResourceGroup: 'IaCDemoPackerRg'
    baseImageSource: 'default'
    baseImage: 'Canonical:UbuntuServer:18.04-LTS:linux'
    packagePath: 'MyDemo/**'
    deployScriptPath: 'test.sh'
    deployScriptArguments: 'hello-packer'
    imageUri: 'MySampleImage'
We need to do a bit of work next. Let’s create a MyDemo path and sample script. We can just start typing in the Multiline script area to hijack that pre-added task.

You’ll want to change it to create a MyDemo folder with test script:
- script: |
    mkdir -p MyDemo/deploy
    echo -e "#/bin/bash -x\necho \$1" > MyDemo/deploy/test.sh
    chmod 755 MyDemo/deploy/test.sh
    # run a quick test
    MyDemo/deploy/test.sh HiThere
  displayName: 'Create MyDemo path a test script'
Lastly, we can add an “export” to verify the “MySampleImage” var was set.
- script: export && echo $(MySampleImage)
  displayName: 'debug - show env vars'
For reference, this makes the whole YAML file look like this:
# Starter pipeline
# Start with a minimal pipeline that you can customize to build and deploy your code.
# Add steps that build, run tests, deploy, and more:
# https://aka.ms/yaml

trigger:
- master

pool:
  vmImage: 'ubuntu-latest'

steps:
- script: echo Hello, world!
  displayName: 'Run a one-line script'

- script: |
    mkdir -p MyDemo/deploy
    echo -e "#/bin/bash -x\necho \$1" > MyDemo/deploy/test.sh
    chmod 755 MyDemo/deploy/test.sh
    # run a quick test
    MyDemo/deploy/test.sh HiThere
  displayName: 'Create MyDemo path a test script'

- task: PackerBuild@1
  inputs:
    templateType: 'builtin'
    ConnectedServiceName: 'My-Pay-As-You-Go'
    isManagedImage: true
    managedImageName: 'MyManagedDisk'
    location: 'eastus'
    storageAccountName: 'iacdemopacker01'
    azureResourceGroup: 'IaCDemoPackerRg'
    baseImageSource: 'default'
    baseImage: 'Canonical:UbuntuServer:18.04-LTS:linux'
    packagePath: 'MyDemo/**'
    deployScriptPath: 'test.sh'
    deployScriptArguments: 'hello-packer'
    imageUri: 'MySampleImage'

- script: export && echo $(MySampleImage)
  displayName: 'debug - show env vars'
A quick note: the deployScriptPath assumes a "deploy" folder. My first pass failed when i listed "deploy/test.sh".
Let’s choose Save and Run
Leave a comment if you desire then save and run:

This will save the YAML and launch a build:
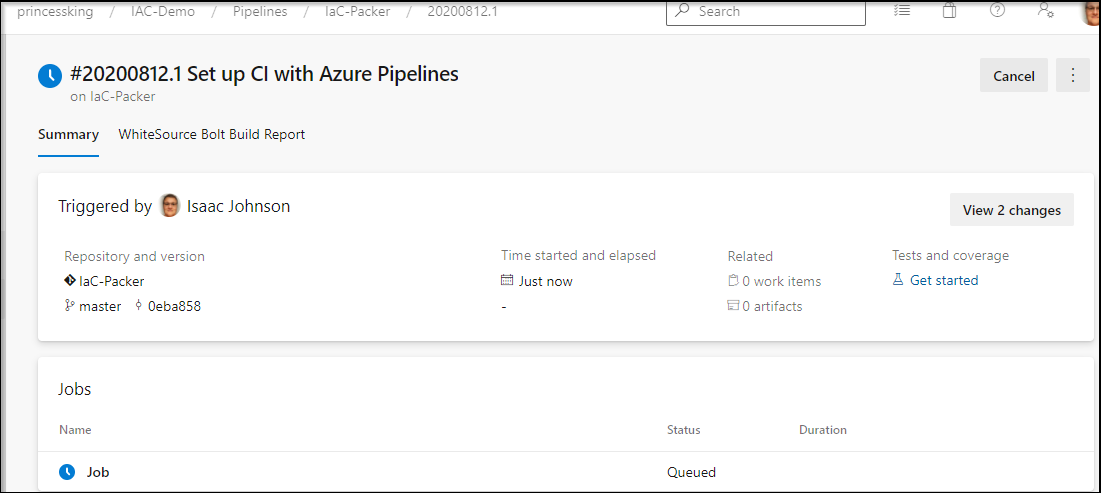
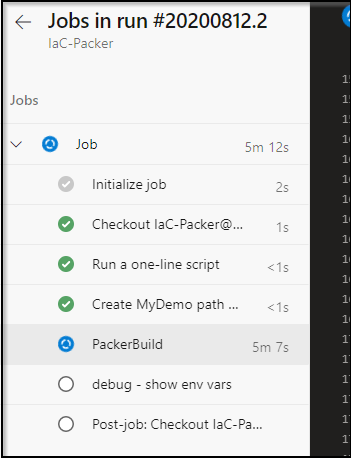
Note, this might take a few minutes as Packer is doing a lot of heavy lifting:
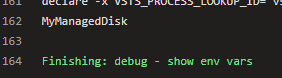
I had hoped the echo to stdout would show in the logs. But unfortunately that does not appear to be the case. From the log:
==> azure-arm: Connected to SSH!

==> azure-arm: Provisioning with shell script: /tmp/packer-shell284919595

==> azure-arm: Uploading /home/vsts/work/1/s/MyDemo/deploy => /deployTemp/deploy

==> azure-arm: Provisioning with shell script: /tmp/packer-shell488500042

    azure-arm: deploy

    azure-arm:

==> azure-arm: Provisioning with shell script: /tmp/packer-shell089326702

    azure-arm: WARNING! The waagent service will be stopped.

    azure-arm: WARNING! Cached DHCP leases will be deleted.

    azure-arm: WARNING! root password will be disabled. You will not be able to login as root.

    azure-arm: WARNING! /etc/resolv.conf will NOT be removed, this is a behavior change to earlier versions of Ubuntu.

    azure-arm: WARNING! packer account and entire home directory will be deleted.

==> azure-arm: Querying the machine's properties …
Validation
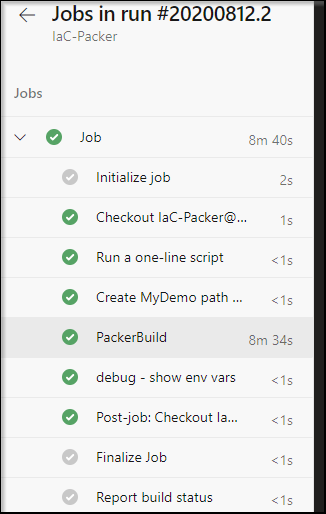
Our build completed successfully:
We can see the from the output log that it created the image and stored the value in the variable:

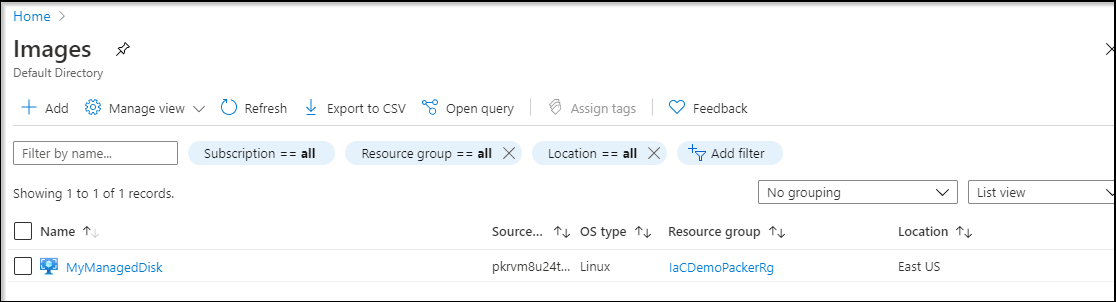
We can also see the new Image in the Azure Portal.
Both under the Resource Group:
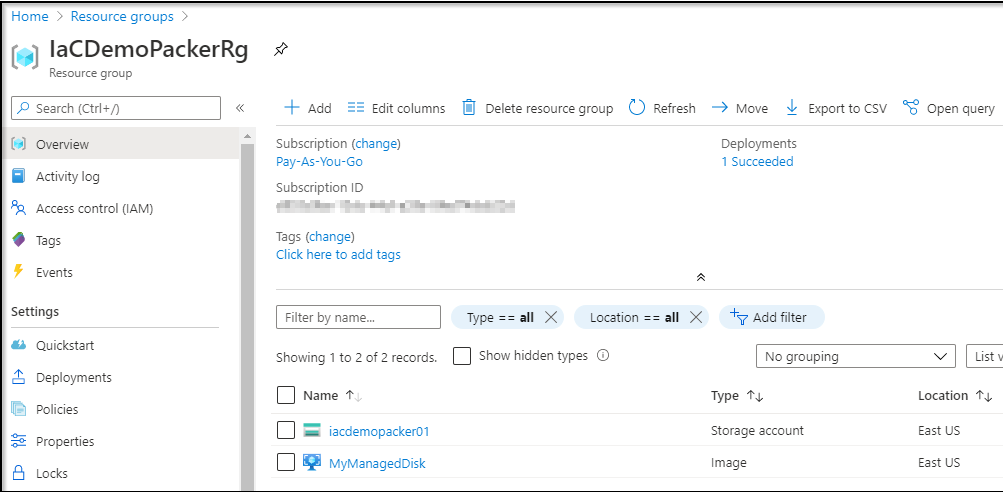
And under Images:
Using our Image
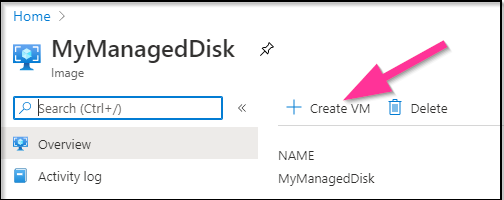
A real proper usage likely needs a Terraform or ARM template. I really want to keep the scope on this to just Packer. So let’s fire a VM via the portal.
Choose Create VM from the image page:
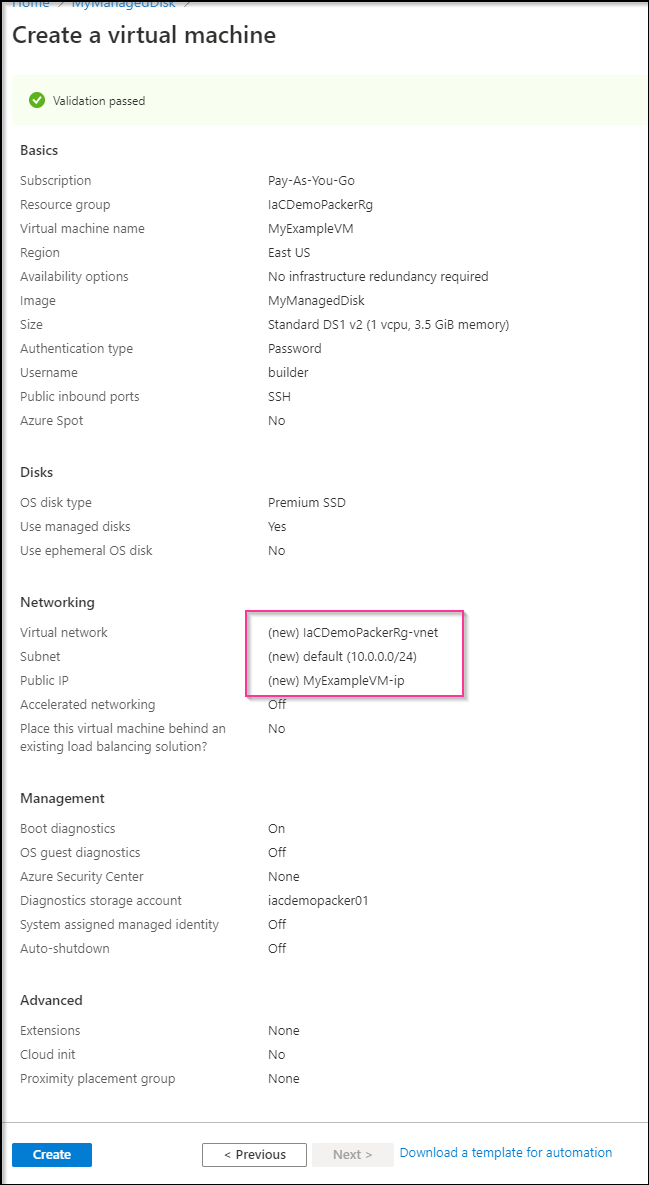
We will give it a name and a username/password as well as select a size:
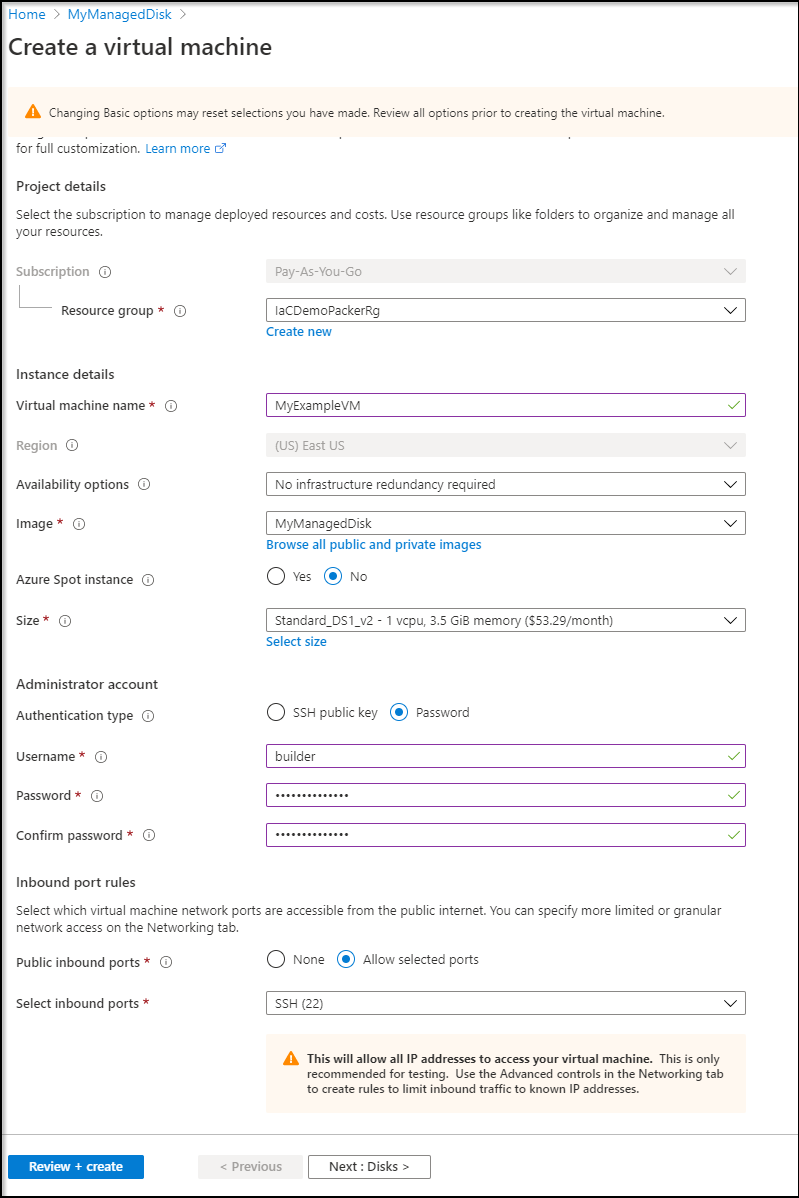
Before I create, I want to point out that it is doing some extra things for us - namely creating a Vnet, subnet and Public IP. When we are done, we definitely will at the least want to nix that public IP:
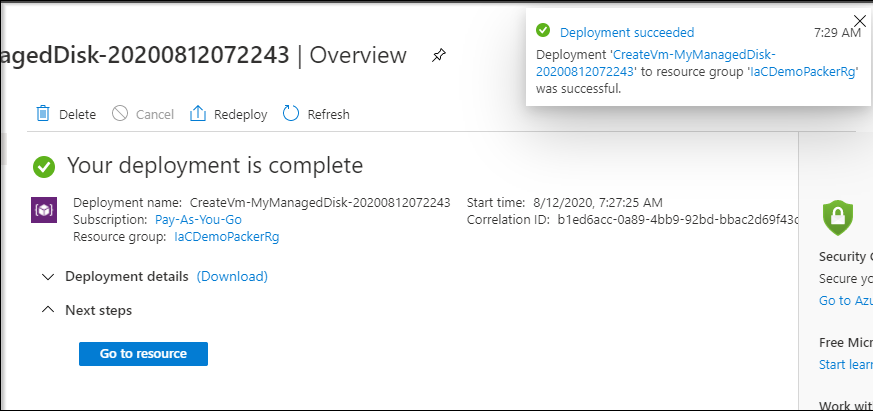
This should take a few minutes, but when done:
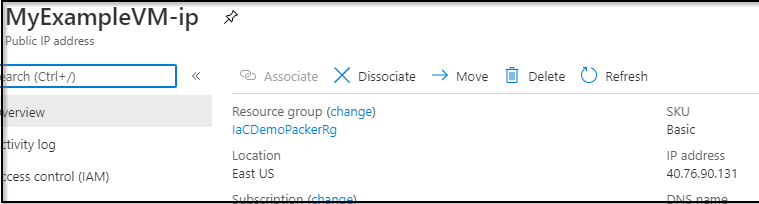
We can get the Public IP and test logging in:
Now SSH to the host (Windows can use Powershell or Putty) or as I do, WSL:
builder@DESKTOP-JBA79RT:~/Workspaces/IaC-Packer$ ssh builder@40.76.90.131
The authenticity of host '40.76.90.131 (40.76.90.131)' can't be established.
ECDSA key fingerprint is SHA256:AEvygktT28ndlafbXLueIC0laPogqsXWqjg/XWni2Xc.
Are you sure you want to continue connecting (yes/no)? yes
Warning: Permanently added '40.76.90.131' (ECDSA) to the list of known hosts.
builder@40.76.90.131's password:
Welcome to Ubuntu 18.04.4 LTS (GNU/Linux 5.3.0-1034-azure x86_64)

 * Documentation:  https://help.ubuntu.com
 * Management:     https://landscape.canonical.com
 * Support:        https://ubuntu.com/advantage

  System information as of Wed Aug 12 12:30:33 UTC 2020

  System load:  0.37              Processes:           116
  Usage of /:   4.4% of 28.90GB   Users logged in:     0
  Memory usage: 7%                IP address for eth0: 10.0.0.4
  Swap usage:   0%


0 packages can be updated.
0 updates are security updates.


The programs included with the Ubuntu system are free software;
the exact distribution terms for each program are described in the
individual files in /usr/share/doc/*/copyright.

Ubuntu comes with ABSOLUTELY NO WARRANTY, to the extent permitted by
applicable law.

To run a command as administrator (user "root"), use "sudo <command>".
See "man sudo_root" for details.

builder@MyExampleVM:~$
And we can see that the files we requested were delivered.
builder@MyExampleVM:~$ ls /deployTemp/
deploy
builder@MyExampleVM:~$ ls /deployTemp/deploy/
test.sh
builder@MyExampleVM:~$ /deployTemp/deploy/test.sh "Howdy, from a Packer Delivered File"
Howdy, from a Packer Delivered File
If we had a VNet and Subnet already, we could easily just use the command line to launch a new VM with this image:
builder@DESKTOP-JBA79RT:~/Workspaces/IaC-Packer$ az vm create --name MySecondVM --resource-group IaCDemoPackerRg --admin-password TrogdorTheBurninator1 --admin-username strongbad --image MyManagedDisk --location eastus --nsg-rule SSH --public-ip-address-allocation dynamic --public-ip-sku Basic --size Standard_DS1_v2 --su
bnet default --vnet-name IacDemoPackerRg-vnet
{- Finished ..
  "fqdns": "",
  "id": "/subscriptions/d955c123-1234-1234-1234-123456789adef/resourceGroups/IaCDemoPackerRg/providers/Microsoft.Compute/virtualMachines/MySecondVM",
  "location": "eastus",
  "macAddress": "00-22-48-24-69-0B",
  "powerState": "VM running",
  "privateIpAddress": "10.0.0.5",
  "publicIpAddress": "13.82.148.161",
  "resourceGroup": "IaCDemoPackerRg",
  "zones": ""
}
builder@DESKTOP-JBA79RT:~/Workspaces/IaC-Packer$ ssh strongbad@13.82.148.161
The authenticity of host '13.82.148.161 (13.82.148.161)' can't be established.
ECDSA key fingerprint is SHA256:uAEmglD6thM2016D/TtdKHQWl3LQa6YvkCvmNEMhUQI.
Are you sure you want to continue connecting (yes/no)? yes
Warning: Permanently added '13.82.148.161' (ECDSA) to the list of known hosts.
strongbad@13.82.148.161's password:
Welcome to Ubuntu 18.04.4 LTS (GNU/Linux 5.3.0-1034-azure x86_64)

 * Documentation:  https://help.ubuntu.com
 * Management:     https://landscape.canonical.com
 * Support:        https://ubuntu.com/advantage

  System information as of Wed Aug 12 12:48:47 UTC 2020

  System load:  0.01              Processes:           116
  Usage of /:   4.4% of 28.90GB   Users logged in:     0
  Memory usage: 7%                IP address for eth0: 10.0.0.5
  Swap usage:   0%

 * Are you ready for Kubernetes 1.19? It's nearly here! Try RC3 with
   sudo snap install microk8s --channel=1.19/candidate --classic

   https://microk8s.io/ has docs and details.

0 packages can be updated.
0 updates are security updates.


The programs included with the Ubuntu system are free software;
the exact distribution terms for each program are described in the
individual files in /usr/share/doc/*/copyright.

Ubuntu comes with ABSOLUTELY NO WARRANTY, to the extent permitted by
applicable law.

To run a command as administrator (user "root"), use "sudo <command>".
See "man sudo_root" for details.

strongbad@MySecondVM:~$ ls /
bin/         deployTemp/  etc/         lib/         lost+found/  mnt/         proc/        run/         snap/        sys/         usr/         vmlinuz
boot/        dev/         home/        lib64/       media/       opt/         root/        sbin/        srv/         tmp/         var/         vmlinuz.old
strongbad@MySecondVM:~$ /deployTemp/deploy/test.sh Howdyagain
Howdyagain
strongbad@MySecondVM:~$
Cleanup
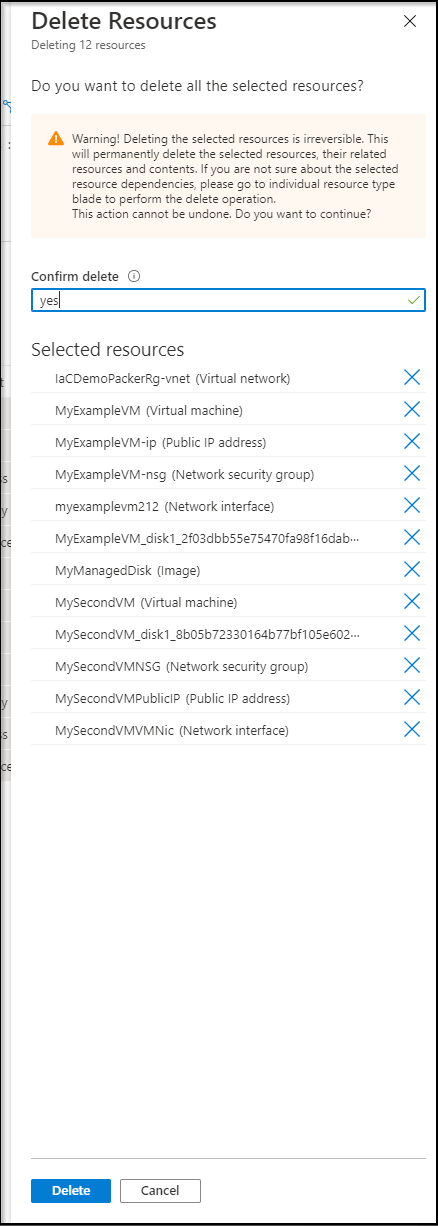
Actually this is where I really like Azure over similar cloud providers. Since we carefully did everything in a single Resource Group, it’s easy to nuke the whole thing, or just part.
If you want to be able to re-run the packer, delete all but the storage account and the resource group itself.
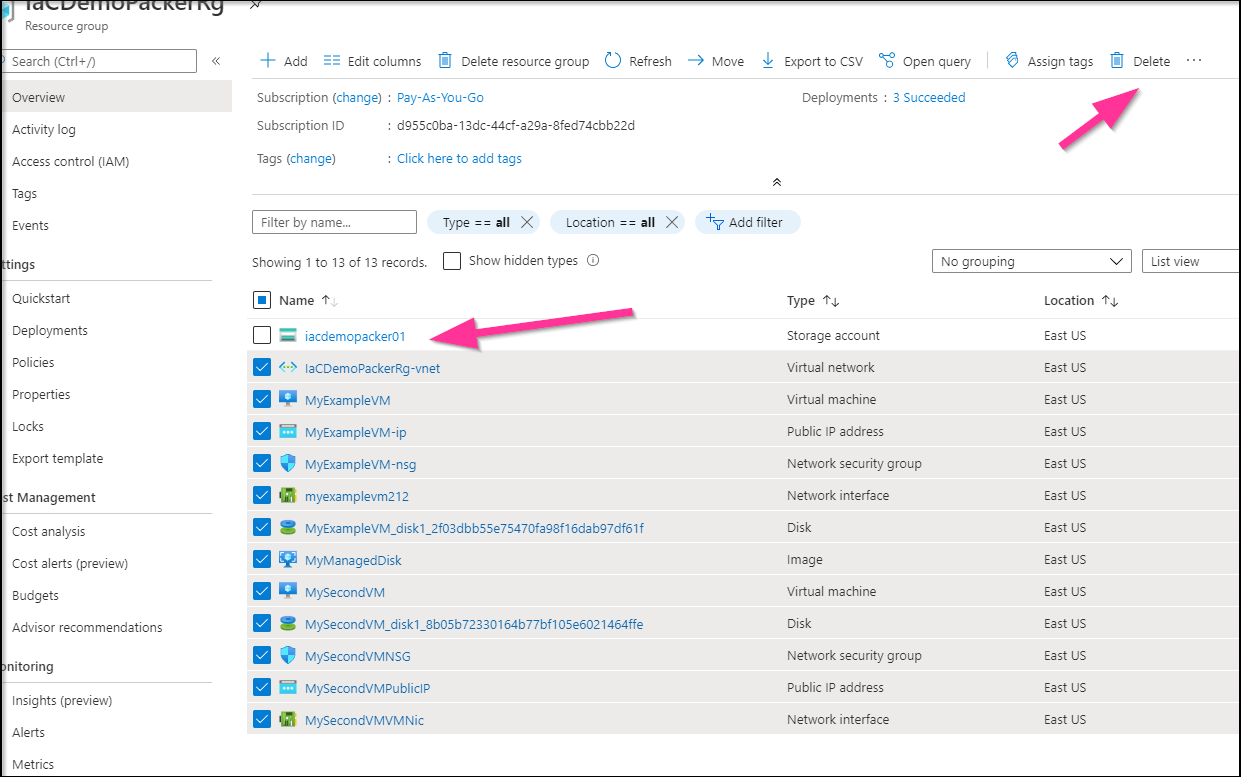
Otherwise, you can just choose “Delete resource group” to remove all of it and stop incurring charges.
Summary
Azure Pipelines with Packer and Azure make it very easy to quickly create VM Images that we can use in a variety of ways. We started with just an Azure DevOps subscription, created a Repo, setup a YAML pipeline that created a Linux VM with a file and lastly proved it worked. Azure makes cleanup a breeze as well. In future projects I will point to this one as we take our custom images and use Terraform/ARM to deploy more complicated examples.