Well I did it. It was a really strange feeling, to be honest, but I pulled the plug and wiped my windows SSD and finally loaded Linux on my last working Windows.
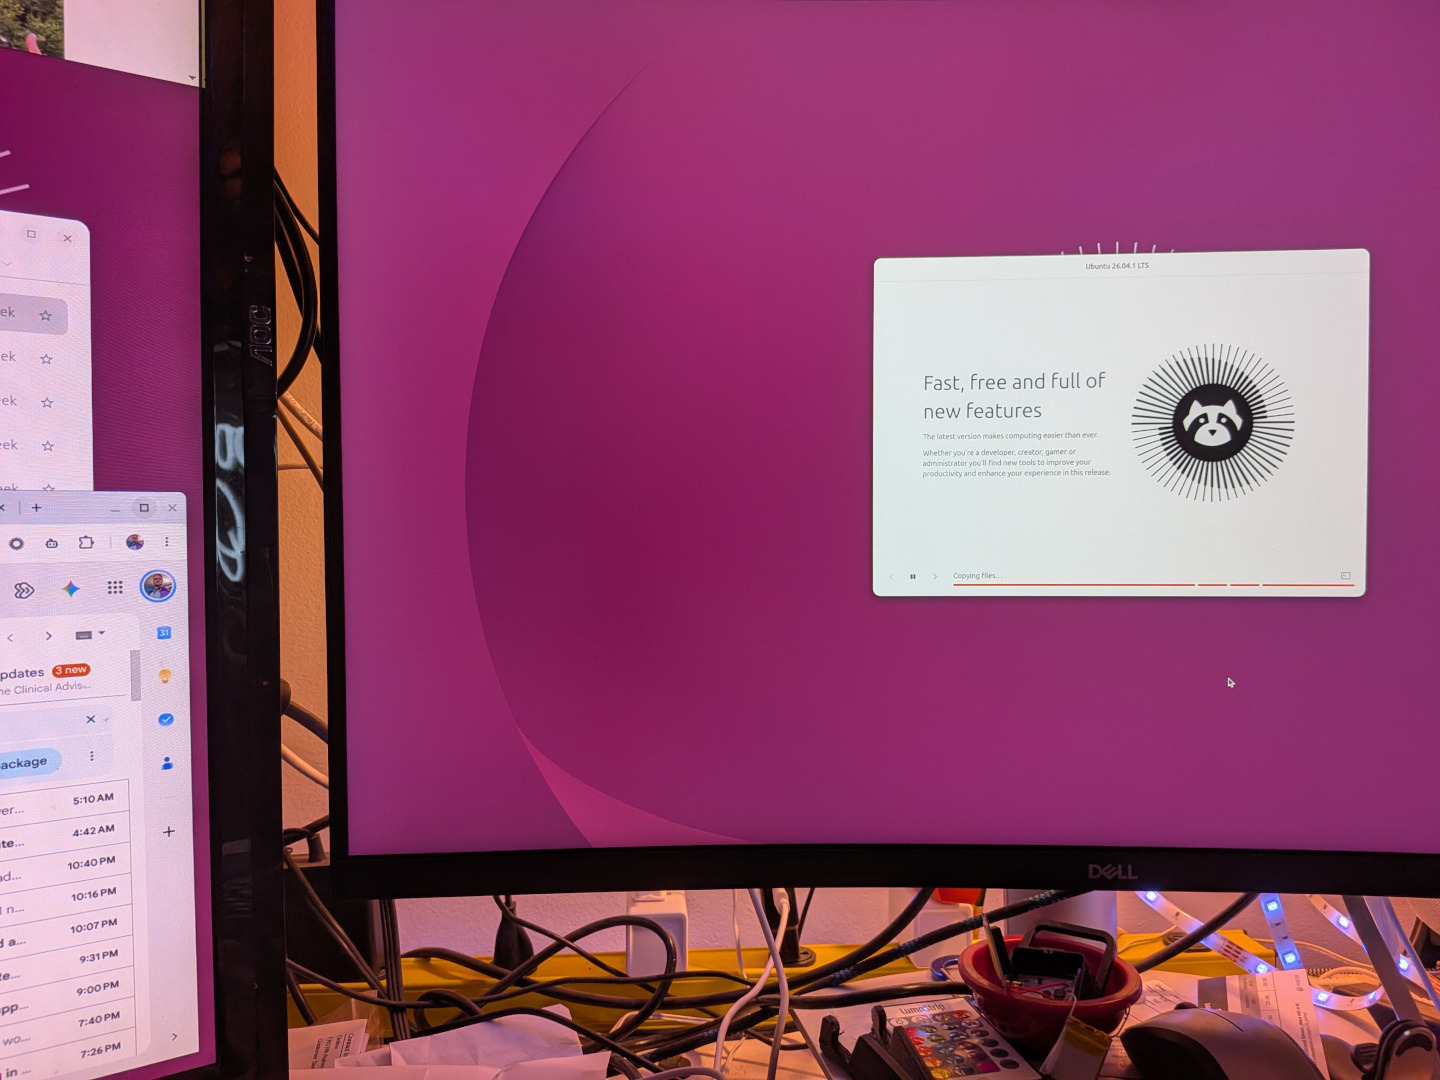
The gaming rig (whatever that has been at any given time) has always been Windows with WSL for fun and Steam for play. But every game is now supported quite well on Steam and I was tired of babying the 1Tb drive as my fun work in WSL was always bloating up the filesystem.
I backed up the WSL “Workspaces” directory (all my coding stuff). Logically that should be in various GITs but when I’m lazy, I leave files around like Ingress YAMLs or notes.
I know there is a lot of grumbling on the interwebs about Canonical and Ubuntu. I have put Fedora on one laptop. I just like Ubuntu. I really do. I actually like Gnome. I know it’s a bit ugly - but ugly is good. It has a distinct lack of Advertising and Copilot pop ups.
Backups
The key thing was to use rsync to push files out the data drive I might want to keep. I know there is still a trash OneDrive that was always steeling my documents and images on Windows so logically they are “in the cloud”.
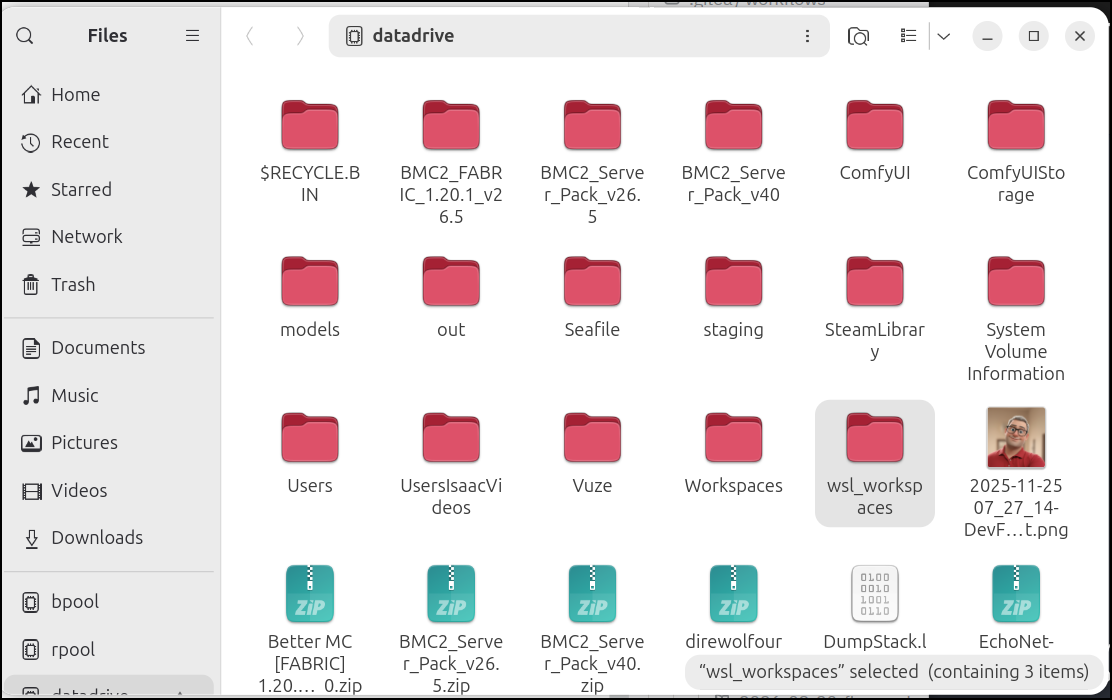
I can see the huge ComfyUI models and WSL Workspaces on the Datadrive presently mounted in Ubuntu
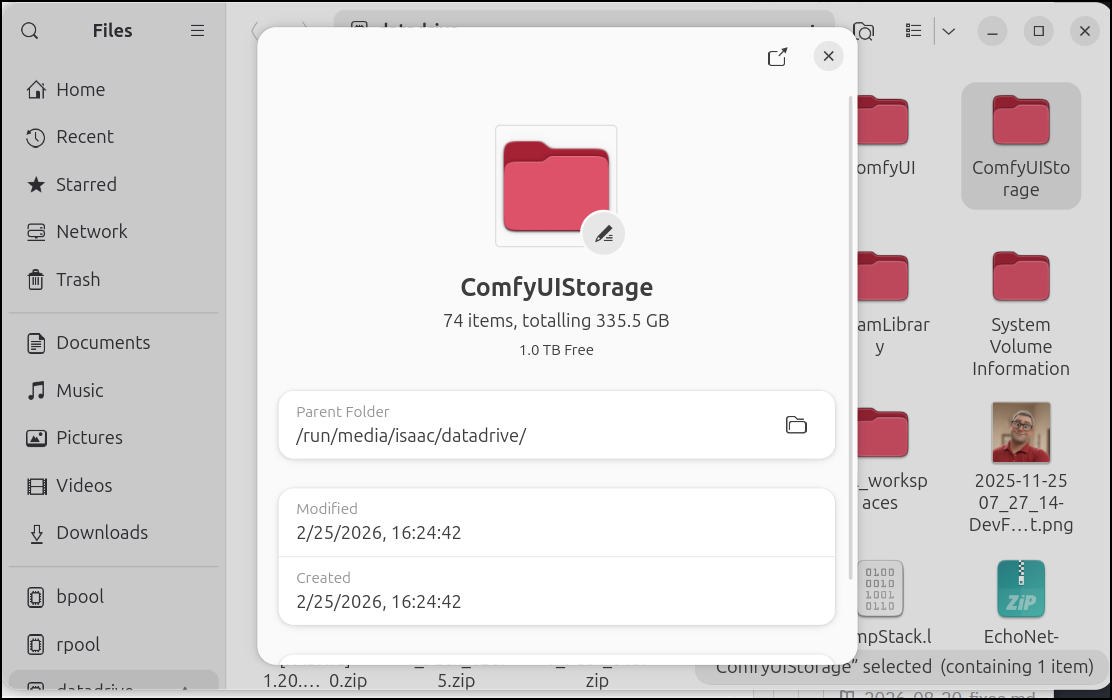
If you get into doing AI videos and images with ComfyUI, prepare for a lot of local disk usage
Things to install first
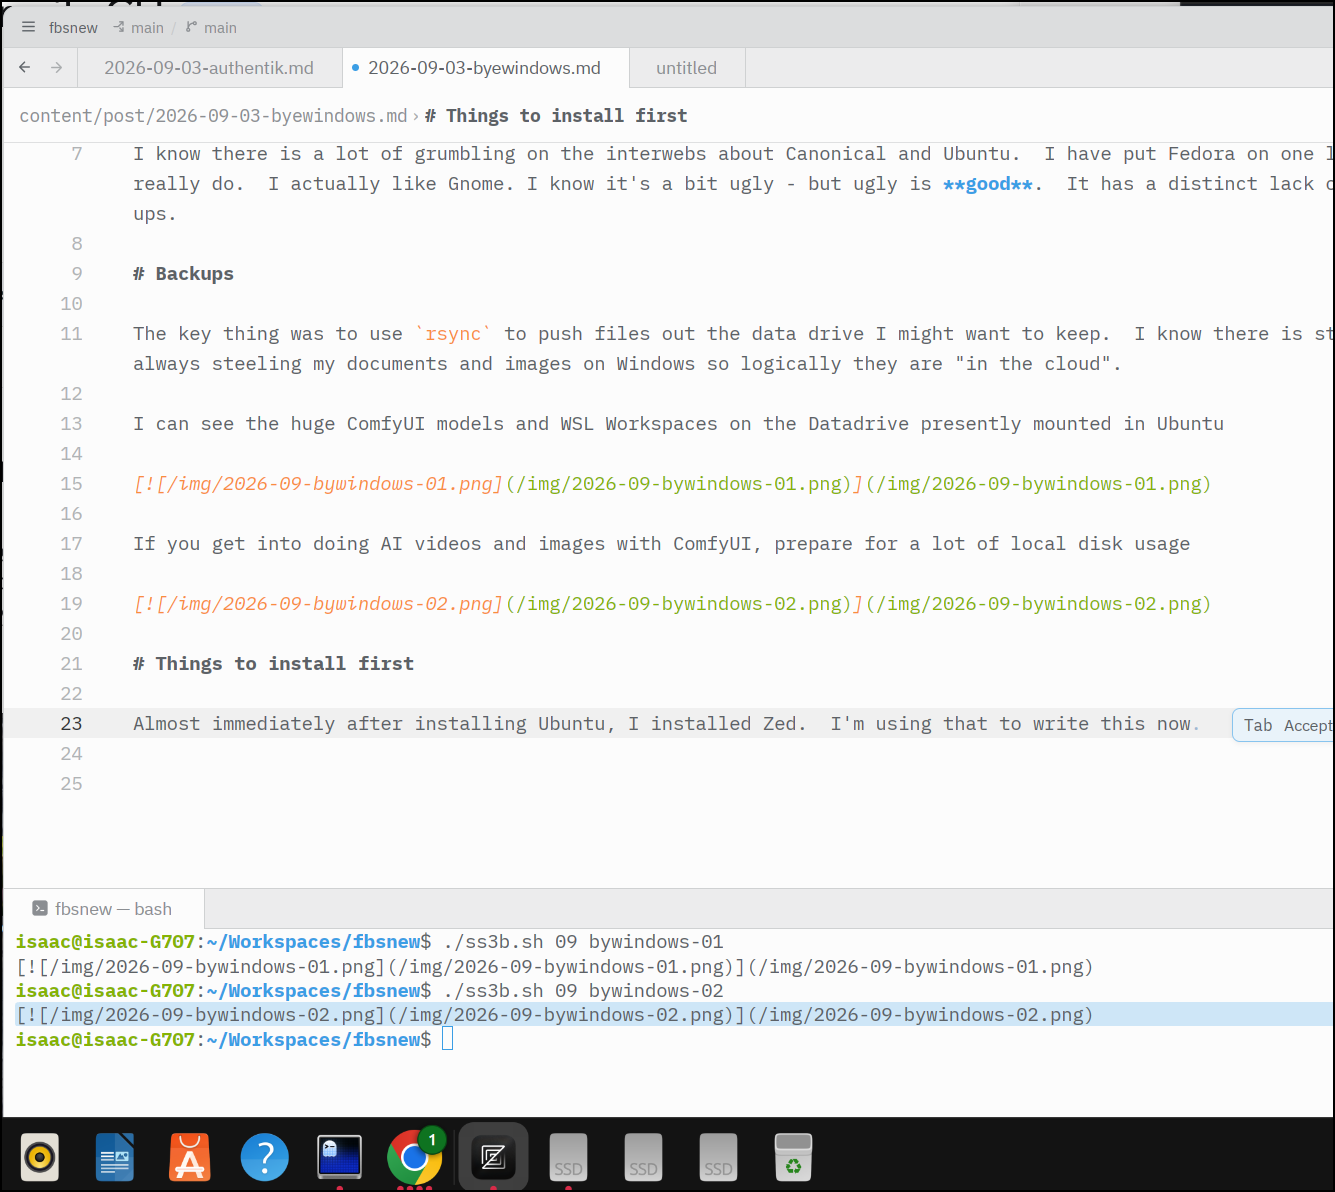
Almost immediately after installing Ubuntu, I installed Zed.
$ curl -f https://zed.dev/install.sh | sh
$ echo 'export PATH=$HOME/.local/bin:$PATH' >> ~/.bashrc
$ source ~/.bashrc
I’m using that to write this now
I actually have this little script that makes the images for here easily from the Ubuntu snapshots folder:
isaac@isaac-G707:~/Workspaces/fbsnew$ cat ./ss3b.sh
#!/bin/bash
set +x
export YEAR=2026
export MONTH=$1
export NAME=$2
# get latest picture and add a border
# sudo apt install imagemagick
cd ~/Pictures/Screenshots
convert "`ls -tra ~/Pictures/Screenshots/ | grep \.png | tail -n1 | sed 's/ /\\ /g'`" -bordercolor black -border 2x2 ~/Workspaces/fbsnew/static/img/$YEAR-$MONTH-$NAME.png
#[](/content/images/$YEAR/11/sumologic-44.png)
echo "[](/img/$YEAR-$MONTH-$NAME.png)"
You just need to have imagemagick installed and you’re good to go.
I also recently found I could script around ffmpeg to convert larger mp4 videos to very small webm ones so there is now a script for that too
isaac@isaac-G707:~/Workspaces/fbsnew$ cat ./ss3b-video.sh
#!/bin/bash

set -euo pipefail

export YEAR=2026
export MONTH="${1:-$(date +%m)}"
export NAME="${2:-screencast}"
export INDEX="${3:-01}"

INPUT_DIR="${INPUT_DIR:-/home/builder/Videos/Screencasts}"
OUTPUT_DIR="${OUTPUT_DIR:-/home/builder/Workspaces/fbsnew/static/vid}"

mkdir -p "$OUTPUT_DIR"

latest_mp4="$(find "$INPUT_DIR" -maxdepth 1 -type f -name '*.mp4' -printf '%T@ %p\n' 2>/dev/null | sort -nr | head -n1 | cut -d' ' -f2-)"

if [[ -z "$latest_mp4" ]]; then
  echo "No MP4 files found in $INPUT_DIR"
  exit 1
fi

output_file="$OUTPUT_DIR/$YEAR-$MONTH-$NAME-$INDEX.webm"

ffmpeg -i "$latest_mp4" -c:v libvpx-vp9 -crf 30 -b:v 0 -an "$output_file"

echo "Converted: $latest_mp4"
echo "Output: $output_file"
echo "<video controls><source src=\"/vid/$(basename "$output_file")\" type=\"video/webm\"></video>"
I won’t show the output of every command, but it’s basically just apt install ffmpeg:
saac@isaac-G707:~/Workspaces/fbsnew$ sudo apt install ffmpeg
[sudo: authenticate] Password:
The following package was automatically installed and is no longer required:
  grub-pc-bin
Use 'sudo apt autoremove' to remove it.

Installing:
  ffmpeg

Installing dependencies:
  libavdevice62  libsdl2-2.0-0  libsdl2-classic

Suggested packages:
  ffmpeg-doc

Summary:
  Upgrading: 0, Installing: 4, Removing: 0, Not Upgrading: 49
  Download size: 2,829 kB
  Space needed: 5,289 kB / 926 GB available

Continue? [Y/n] Y
Get:1 http://us.archive.ubuntu.com/ubuntu resolute/universe amd64 libavdevice62 amd64 7:8.0.1-3ubuntu2 [73.7 kB]
Get:2 http://us.archive.ubuntu.com/ubuntu resolute/main amd64 libsdl2-classic amd64 2.32.10+dfsg-6 [710 kB]
Get:3 http://us.archive.ubuntu.com/ubuntu resolute/main amd64 libsdl2-2.0-0 amd64 2.32.10+dfsg-6 [14.0 kB]
Get:4 http://us.archive.ubuntu.com/ubuntu resolute/universe amd64 ffmpeg amd64 7:8.0.1-3ubuntu2 [2,032 kB]
Fetched 2,829 kB in 2s (1,849 kB/s)
Selecting previously unselected package libavdevice62:amd64.
(Reading database… 249252 files and directories currently installed.)
Preparing to unpack …/libavdevice62_7%3a8.0.1-3ubuntu2_amd64.deb…
Unpacking libavdevice62:amd64 (7:8.0.1-3ubuntu2)…
Selecting previously unselected package libsdl2-classic:amd64.
Preparing to unpack …/libsdl2-classic_2.32.10+dfsg-6_amd64.deb…
Unpacking libsdl2-classic:amd64 (2.32.10+dfsg-6)…
Selecting previously unselected package libsdl2-2.0-0:amd64.
Preparing to unpack …/libsdl2-2.0-0_2.32.10+dfsg-6_amd64.deb…
Unpacking libsdl2-2.0-0:amd64 (2.32.10+dfsg-6)…
Selecting previously unselected package ffmpeg.
Preparing to unpack …/ffmpeg_7%3a8.0.1-3ubuntu2_amd64.deb…
Unpacking ffmpeg (7:8.0.1-3ubuntu2)…
Setting up libsdl2-classic:amd64 (2.32.10+dfsg-6)…
Setting up libavdevice62:amd64 (7:8.0.1-3ubuntu2)…
Setting up libsdl2-2.0-0:amd64 (2.32.10+dfsg-6)…
Setting up ffmpeg (7:8.0.1-3ubuntu2)…
Processing triggers for man-db (2.13.1-1build1)…
Processing triggers for libc-bin (2.43-2ubuntu2.3)…
Command line tools
I very quickly then added some standards like build-essentials and jq wget curl
I need NodeJS for some work which comes by way of NVM.
$ curl -o- https://raw.githubusercontent.com/nvm-sh/nvm/v0.40.7/install.sh | bash
$ source ~/.bashrc
$ nvm install lts/jod
$ nvm use lts/jod
I’m still in the habit of using lts/jod
isaac@isaac-G707:~/Workspaces/myTestApp$ nvm list
->     v22.23.2
default -> lts/jod (-> v22.23.2)
iojs -> N/A (default)
unstable -> N/A (default)
node -> stable (-> v22.23.2) (default)
stable -> 22.23 (-> v22.23.2) (default)
lts/* -> lts/krypton (-> N/A)
lts/argon -> v4.9.1 (-> N/A)
lts/boron -> v6.17.1 (-> N/A)
lts/carbon -> v8.17.0 (-> N/A)
lts/dubnium -> v10.24.1 (-> N/A)
lts/erbium -> v12.22.12 (-> N/A)
lts/fermium -> v14.21.3 (-> N/A)
lts/gallium -> v16.20.2 (-> N/A)
lts/hydrogen -> v18.20.8 (-> N/A)
lts/iron -> v20.20.2 (-> N/A)
lts/jod -> v22.23.2
lts/krypton -> v24.20.0 (-> N/A)
I will need to access my Kubernetes clusters so getting helm
curl -fsSL -o get_helm.sh https://raw.githubusercontent.com/helm/helm/main/scripts/get-helm-4
chmod 700 get_helm.sh
./get_helm.sh
and kubectl are first steps
$ sudo snap install kubectl --classic
I also use kubectx for context switching
$ sudo apt update
$ sudo apt install kubectx
In this case, I created my ~/.kube/config config by fetching off another host, but I often pull that from Azure Key Vault.
Thus, I needed access to my secrets and for most things I use AKV still.
I mentioned long ago, but happy to do it again here, some scripts I use to get my passwords:
- listpass.sh : shows secrets in my vault
- getpass.sh : gets a specific secret from my vault
- setpass.sh : sets a secret in my vault
isaac@isaac-G707:~/Workspaces/fbsnew$ cat /usr/local/bin/listpass.sh
#!/bin/bash +x
if [ "$1" == "work" ]; then
  az keyvault secret list --vault-name AWORKKV --subscription "ANEMPLOYERSUBSCRIPTION" -o table
elif [ "$1" == "help" ]; then
  echo "$0 [vault-name/work]"
  echo ""
  echo "Here are your Keyvaults:"
  az keyvault list --subscription Pay-As-You-Go -o table
else
  az keyvault secret list --vault-name $1 --subscription Pay-As-You-Go -o table
fi

isaac@isaac-G707:~/Workspaces/fbsnew$ cat /usr/local/bin/getpass.sh
#!/bin/bash +x
if [ "$2" == "work" ]; then
  az keyvault secret show --vault-name AWORKKV --subscription "ANEMPLOYERSUBSCRIPTION" --name $1 | jq -r .value
elif [ "$1" == "help" ]; then
  echo "$0 [secret name] [vault-name/work]"
  echo ""
  echo "Here are your Key Vaults:"
  az keyvault list --subscription Pay-As-You-Go -o table
else
  az keyvault secret show --vault-name $2 --name $1 --subscription Pay-As-You-Go | jq -r .value
fi

isaac@isaac-G707:~/Workspaces/fbsnew$ cat /usr/local/bin/setpass.sh
#!/bin/bash -x
if [ "$2" == "work" ]; then
  az keyvault secret set --vault-name AWORKKV --subscription "ANEMPLOYERSUBSCRIPTION" --name $1 --description "$3" --value $4
elif [ "$1" == "help" ]; then
  echo "$0 [secret name] [vault-name/work] [description] [value]"
  echo ""
  echo "Here are your Key Vaults:"
  az keyvault list --subscription Pay-As-You-Go -o table
else
  az keyvault secret set --vault-name $2 --name $1 --subscription Pay-As-You-Go --description "$3" --value $4
fi
Azure
This requires the Azure CLI which we can follow these steps to get
$ curl -fsSL 'https://azurecliprod.blob.core.windows.net/$root/deb_install.sh' | sudo bash
HOWEVER this does not actually work with the latest Ubuntu (Resolute) because Microsoft is being a bit lazy.
So you need to do some of the manual steps:
$ sudo apt-get update
$ sudo apt-get install apt-transport-https ca-certificates curl gnupg lsb-release

$ sudo mkdir -p /etc/apt/keyrings
$ curl -sLS https://packages.microsoft.com/keys/microsoft.asc |
  gpg --dearmor | sudo tee /etc/apt/keyrings/microsoft.gpg > /dev/null
$ sudo chmod go+r /etc/apt/keyrings/microsoft.gpg
But instead of the documented release step (don’t do this one):
AZ_DIST=$(lsb_release -cs)
echo "Types: deb
URIs: https://packages.microsoft.com/repos/azure-cli/
Suites: ${AZ_DIST}
Components: main
Architectures: $(dpkg --print-architecture)
Signed-by: /etc/apt/keyrings/microsoft.gpg" | sudo tee /etc/apt/sources.list.d/azure-cli.sources
Instead force it to use the last release (Noble):
$ echo "deb [arch=$(dpkg --print-architecture) signed-by=/etc/apt/keyrings/microsoft.gpg] https://packages.microsoft.com/repos/azure-cli/ noble main" | sudo tee /etc/apt/sources.list.d/azure-cli.list
Then you can install:
$ sudo apt-get update
$ sudo apt-get install azure-cli
Next you’ll use az login to authenticate with Azure:
$ az login
I think a bit of my Azure account is wonky as it was trying to authenticate into Azure Subscriptions from my past as well as my “Pay As You Go” and was erroring.
I looked up my Pay-As-You-Go subscription and pulled out the Tenant (which is really just Microsoft’s). Logging in that way worked fine
$ az login --tenant 28c575f6-ade1-4838-8e7c-7e6d1ba0eb4a

$ az account list -o table
Name           CloudName    SubscriptionId                        TenantId                              State    IsDefault
-------------  -----------  ------------------------------------  ------------------------------------  -------  -----------
Pay-As-You-Go  AzureCloud   d955c0ba-13dc-44cf-a29a-8fed74cbb22d  28c575f6-ade1-4838-8e7c-7e6d1ba0eb4a  Enabled  True
AWS
AWS was a bit easier
$ curl -fsSL https://awscli.amazonaws.com/v2/install.sh | bash
Then just use aws configure.
$ export PATH=$PATH:/home/isaac/.local/bin
$ aws configure
Then on to Google for my gcloud commands
$ curl https://packages.cloud.google.com/apt/doc/apt-key.gpg | sudo gpg --dearmor -o /usr/share/keyrings/cloud.google.gpg
$ echo "deb [signed-by=/usr/share/keyrings/cloud.google.gpg] https://packages.cloud.google.com/apt cloud-sdk main" | sudo tee -a /etc/apt/sources.list.d/google-cloud-sdk.list
$ sudo apt-get update && sudo apt-get install google-cloud-cli
$ sudo apt install google-cloud-cli-kubectl-oidc google-cloud-cli-gke-gcloud-auth-plugin google-cloud-cli-cloud-run-proxy google-cloud-cli-cloud-build-local
$ gcloud init
Developer tools
I wanted to get hugo next (for this blog)
sudo snap install hugo
I’ll very quick need containers working and forgive me, but I’m still not all in on Podman. I use Docker
sudo apt update
sudo apt install ca-certificates curl
sudo install -m 0755 -d /etc/apt/keyrings
sudo curl -fsSL https://download.docker.com/linux/ubuntu/gpg -o /etc/apt/keyrings/docker.asc
sudo chmod a+r /etc/apt/keyrings/docker.asc
# Add the repository to Apt sources:
sudo tee /etc/apt/sources.list.d/docker.sources <<EOF
Types: deb
URIs: https://download.docker.com/linux/ubuntu
Suites: $(. /etc/os-release && echo "${UBUNTU_CODENAME:-$VERSION_CODENAME}")
Components: stable
Architectures: $(dpkg --print-architecture)
Signed-By: /etc/apt/keyrings/docker.asc
EOF
$ sudo apt update
$ sudo apt install docker-ce docker-ce-cli containerd.io docker-buildx-plugin docker-compose-plugin
Now check it is running and add our user (isaac) to the docker group
$ sudo systemctl status docker
$ sudo groupadd docker
$ sudo usermod -aG docker $USER
I need Ghostty for my terminal
$ sudo apt install ghostty
And I downloaded Chrome because I do have a lot of things that still need Chrome (I switch between that and Firefox equally)
$ sudo dpkg -i ~/Downloads/google-chrome-stable_current_amd64.deb
I use brew to install a few things so let’s add homebrew next
$ sudo apt install build-essential procps curl file git -y
$ /bin/bash -c "$(curl -fsSL https://raw.githubusercontent.com/Homebrew/install/HEAD/install.sh)"
$ echo 'eval "$(/home/linuxbrew/.linuxbrew/bin/brew shellenv)"' >> ~/.profile
$ eval "$(/home/linuxbrew/.linuxbrew/bin/brew shellenv)"
$ brew
$ brew doctor
I can now use that for hunk when I install Herdr and Hunk
$ curl -fsSL https://herdr.dev/install.sh | sh
$ brew install hunk
For AI work, I’ll want Ollama
$ curl -fsSL https://ollama.com/install.sh | sh
We can see it’s working with an ollama list:
$ ollama list
NAME    ID    SIZE    MODIFIED
My video card is a desktop 3070 but I think it just has 8Gb so I’m somewhat limited on which models I can use
$ nvidia-smi
Tue Sep  1 06:33:25 2026
+-----------------------------------------------------------------------------------------+
| NVIDIA-SMI 595.84                 Driver Version: 595.84         CUDA Version: 13.2     |
+-----------------------------------------+------------------------+----------------------+
| GPU  Name                 Persistence-M | Bus-Id          Disp.A | Volatile Uncorr. ECC |
| Fan  Temp   Perf          Pwr:Usage/Cap |           Memory-Usage | GPU-Util  Compute M. |
|                                         |                        |               MIG M. |
|=========================================+========================+======================|
|   0  NVIDIA GeForce RTX 3070        Off |   00000000:0A:00.0  On |                  N/A |
|  0%   39C    P8             26W /  240W |    1936MiB /   8192MiB |     16%      Default |
|                                         |                        |                  N/A |
+-----------------------------------------+------------------------+----------------------+

+-----------------------------------------------------------------------------------------+
| Processes:                                                                              |
|  GPU   GI   CI              PID   Type   Process name                        GPU Memory |
|        ID   ID                                                               Usage      |
|=========================================================================================|
|    0   N/A  N/A            5709      G   /usr/bin/gnome-shell                    590MiB |
|    0   N/A  N/A            6035      G   /usr/bin/Xwayland                         8MiB |
|    0   N/A  N/A            6581    C+G   ...exec/xdg-desktop-portal-gnome          5MiB |
|    0   N/A  N/A            7531      G   ...share/Steam/ubuntu12_32/steam          5MiB |
|    0   N/A  N/A            7741      G   ./steamwebhelper                         59MiB |
|    0   N/A  N/A            7781      G   ...am/ubuntu12_64/steamwebhelper         94MiB |
|    0   N/A  N/A           13946      G   .../8763/usr/lib/firefox/firefox        158MiB |
|    0   N/A  N/A           42963    C+G   ...rack-uuid=3190708988185955192        265MiB |
|    0   N/A  N/A           67976      G   /usr/bin/ghostty                        118MiB |
|    0   N/A  N/A           68642    C+G   ...al/zed.app/libexec/zed-editor        168MiB |
|    0   N/A  N/A          290147    C+G   /usr/bin/nautilus                        26MiB |
+-----------------------------------------------------------------------------------------+
Let’s pull and run gemma4:12b
isaac@isaac-G707:~/Workspaces/myTestApp$ ollama run gemma4:12b
pulling manifest
pulling 1278394b6936: 100% ▕████████████████████████████████████████████████████████████████████████████████████████████ ▏ 7.4 GB/7.4 GB   68 MB/s      0s
pulling 675ad6e68101: 100% ▕████████████████████████████████████████████████████████████████████████████████████████████ ▏ 174 MB/175 MB   28 MB/s      0s
verifying sha256 digest
writing manifest
success
>>> Tell me a short story about a penguin and a robot.
We can see a short recording of it making a story about a robot and a penguin:
And Agy right off the bat (though you know I would have liked Gemini CLI more)
$ curl -fsSL https://antigravity.google/cli/install.sh | bash
I went back to my article on Agy Status-Lines and went to setup the first one.
$ git clone https://codeberg.org/jochenkirstaetter/agy-statusline.git
$ cd agy-statusline
$ cp ./statusline.sh ~/.gemini/antigravity-cli/
$ chmod 755 ~/.gemini/antigravity-cli/statusline.sh
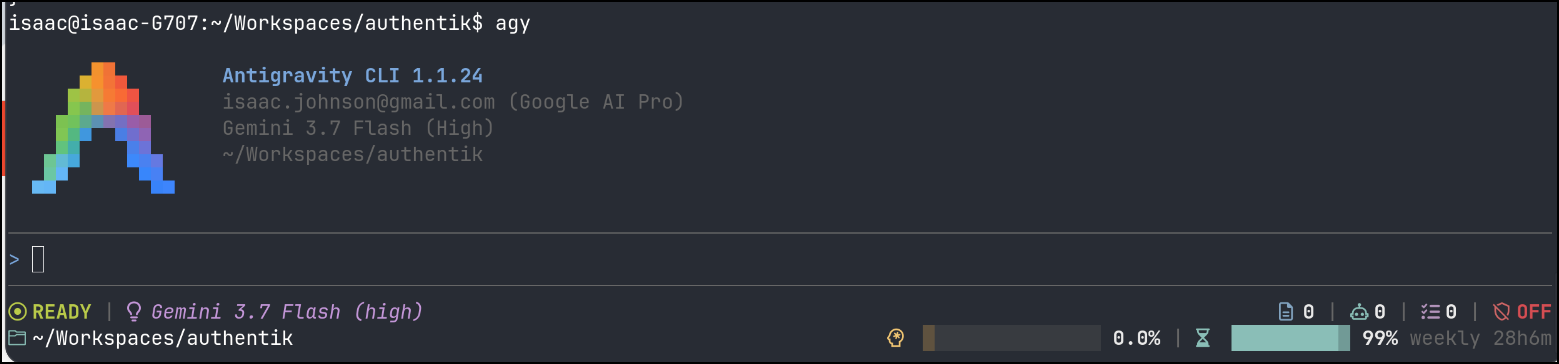
I had noted back then that the “NerdFonts” were not working.
This is actually easy to fix.
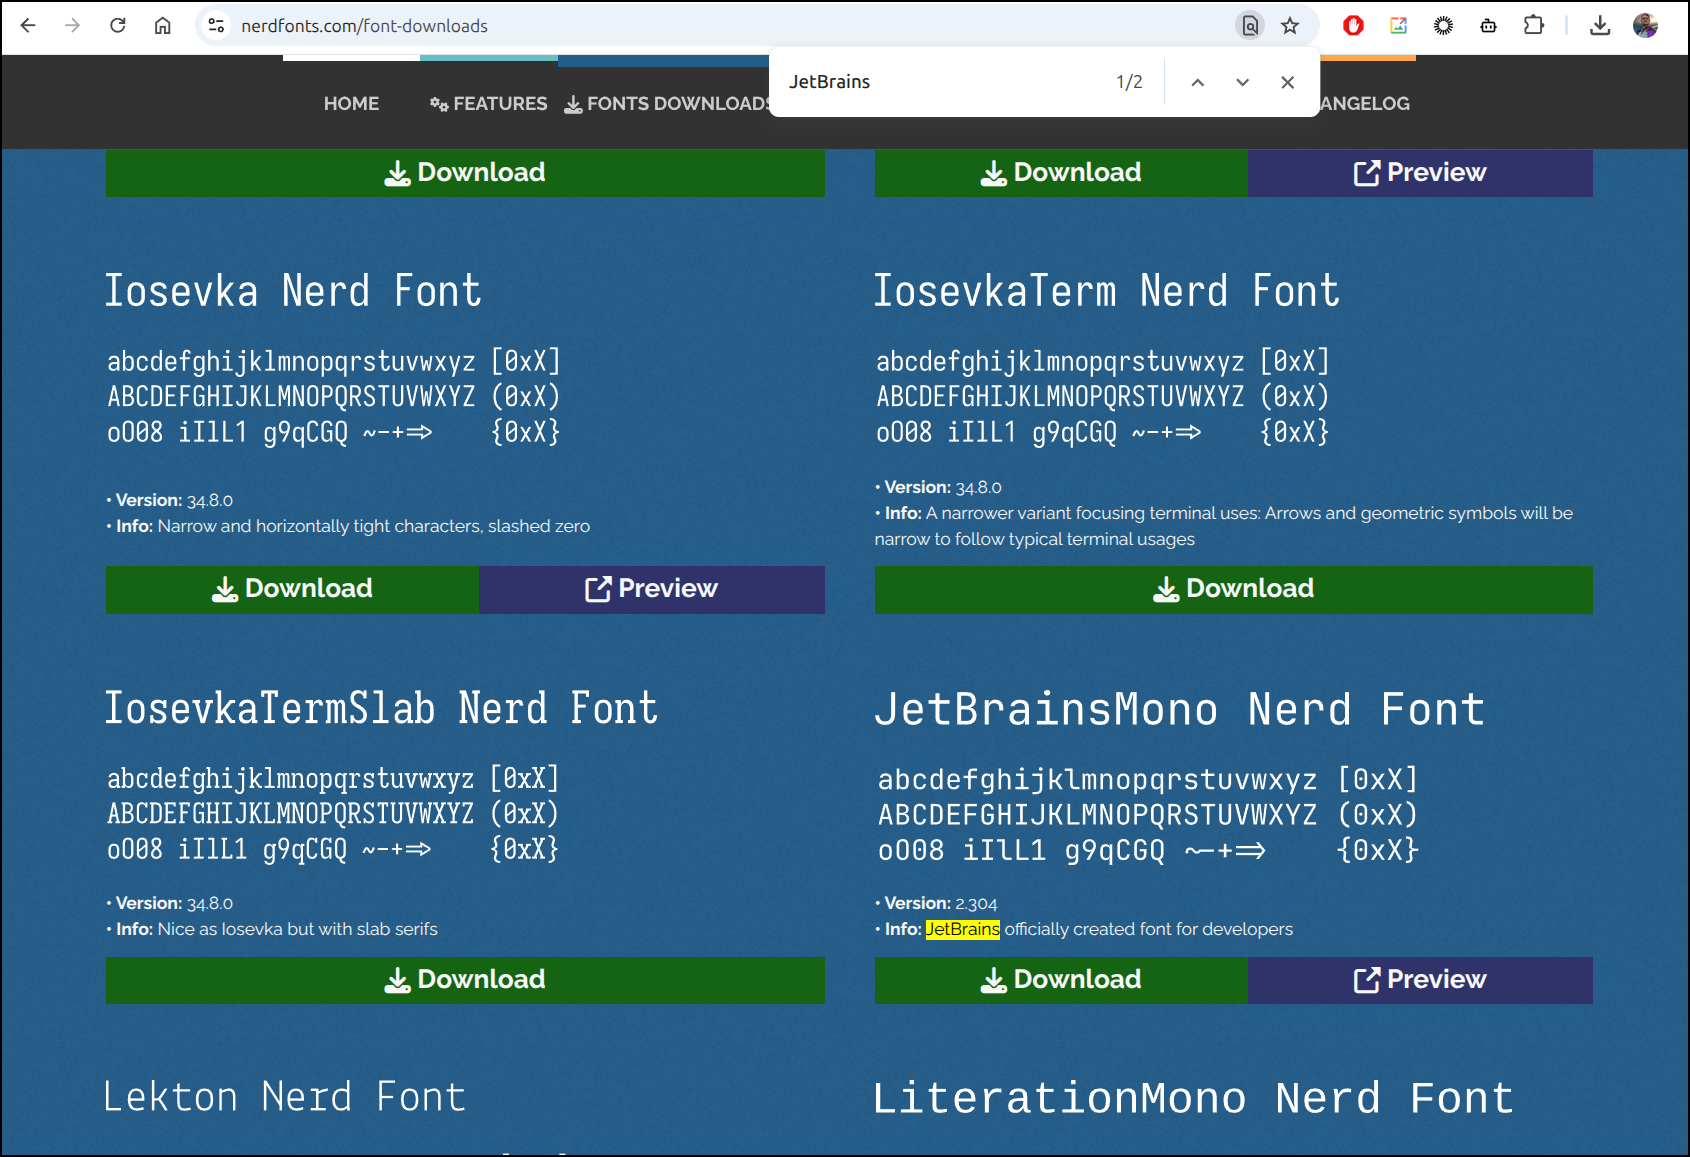
Go to this fonts page and download the font “JetBrainsMono Nerd Font”(comes down as a zip)
Then extract it to /usrlocal/share/fonts
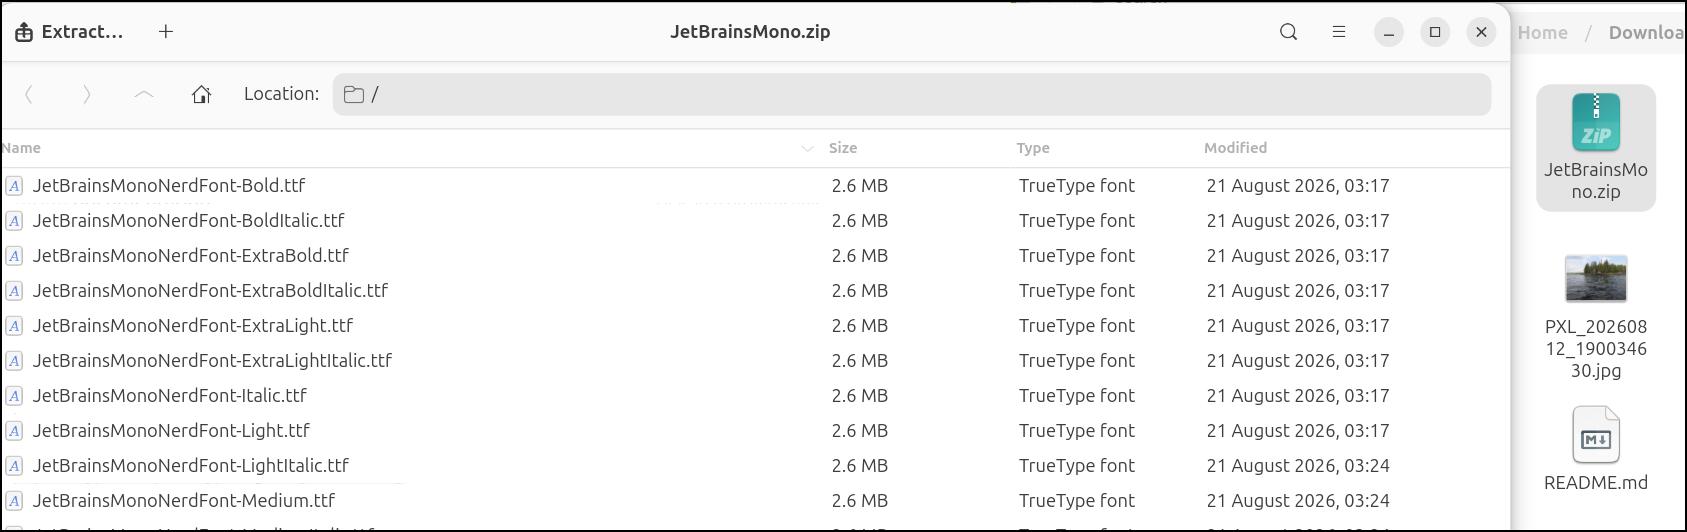
# I errantly dumped the zip into ~/Downloads where all the .ttfs now where.
# So i just copied them over

$ cd /usr/local/share/fonts
$ sudo mv /home/isaac/Downloads/*.ttf ./
Then update your font cache (or reboot)
$ sudo fc-cache -f -v
Now do the rest of the steps
$ cp ./statusline.sh ~/.gemini/antigravity-cli/
$ chmod 755 ~/.gemini/antigravity-cli/statusline.sh
$ vi ~/.gemini/antigravity-cli/settings.json
$ cat ~/.gemini/antigravity-cli/settings.json
{
  "enableTelemetry": false,
  "statusLine": {
    "type": "",
    "command": "~/.gemini/antigravity-cli/statusline.sh",
    "enabled": true
  },
  "trustedWorkspaces": [
    "/home/isaac/Workspaces/authentik"
  ]
}
Agy now looks right
Fun
I added steam
$ sudo dpkg -i ~/Downloads/steam_latest.deb
It was a bit glitchy at the start but I did get the login to finally work.
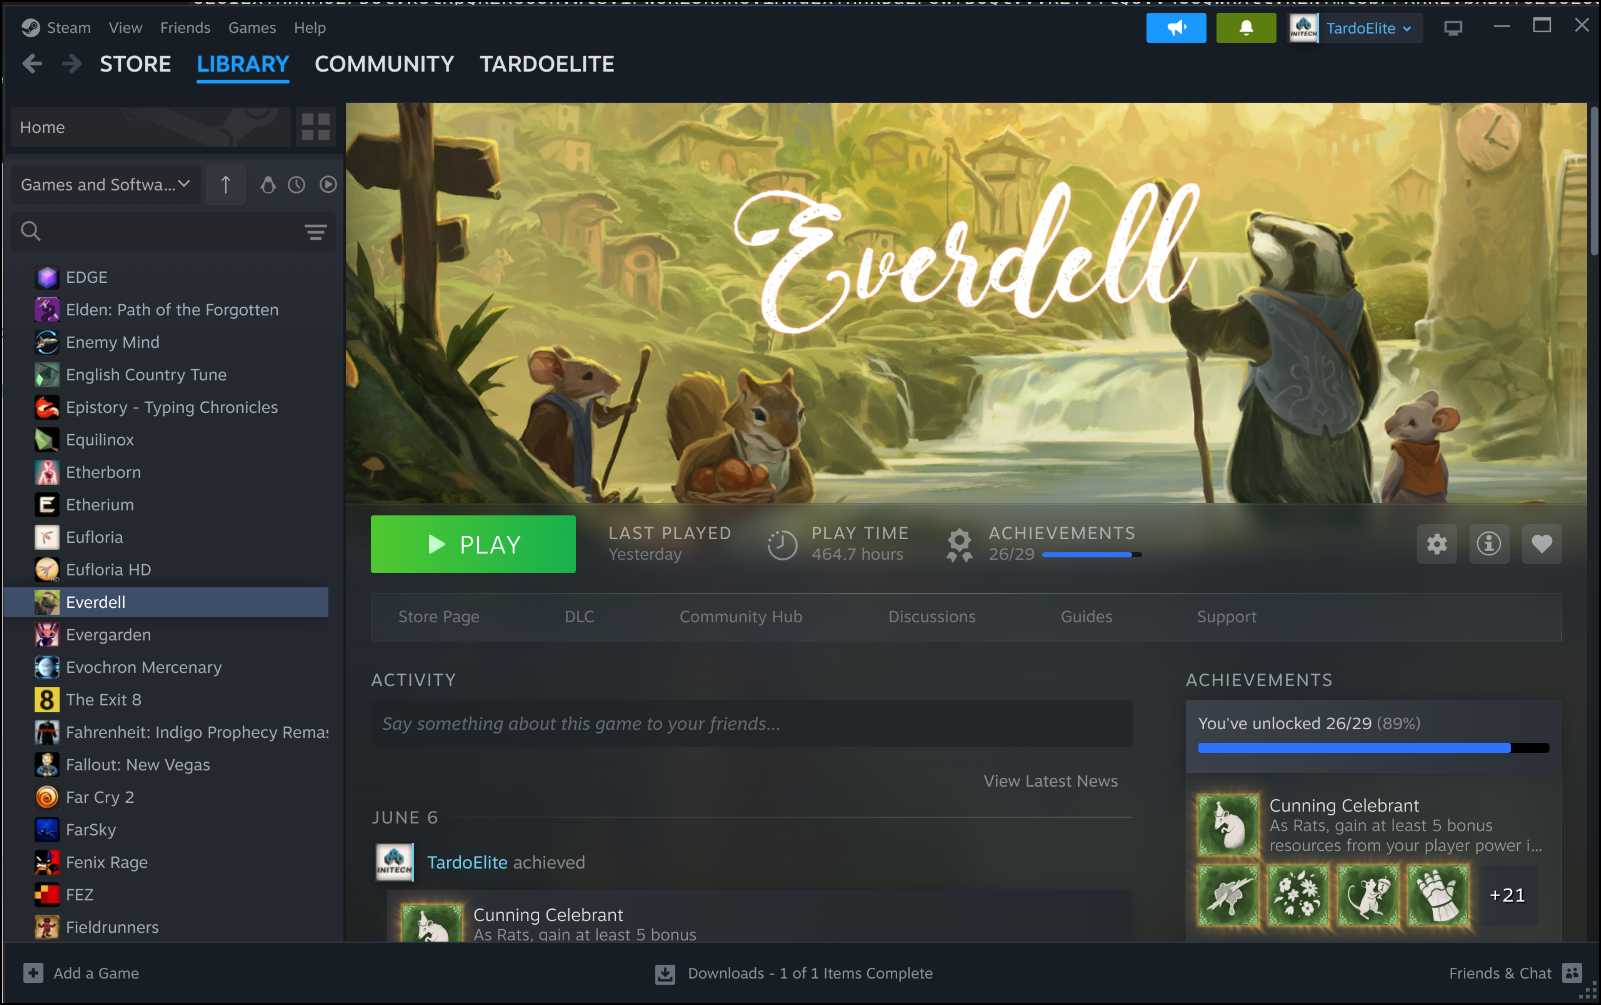
even though my default monitor is on the right, at least for Everdell it keeps firing it up on the leftmost screen and I have to go windowed mode to move it. So far that has been the only annoyance.
VPN
Not sure where to really categorize VPNs, but I need one and I only use ones not based in the US.
Presently that is Mullvad for me.
$ sudo curl -fsSLo /usr/share/keyrings/mullvad-keyring.asc https://repository.mullvad.net/deb/mullvad-keyring.asc

$ echo "deb [signed-by=/usr/share/keyrings/mullvad-keyring.asc arch=$( dpkg --print-architecture )] https://repository.mullvad.net/deb/stable stable main" | sudo tee /etc/apt/sources.list.d/mullvad.list

$ sudo apt update && sudo apt install mullvad-vpn
Hit:1 http://us.archive.ubuntu.com/ubuntu resolute InRelease
Hit:2 https://download.docker.com/linux/ubuntu resolute InRelease
Get:3 https://repo.steampowered.com/steam stable InRelease [3,622 B]
Hit:4 http://us.archive.ubuntu.com/ubuntu resolute-updates InRelease
Hit:5 https://packages.microsoft.com/repos/azure-cli noble InRelease
Hit:6 https://dl.google.com/linux/chrome-stable/deb stable InRelease
Hit:7 http://us.archive.ubuntu.com/ubuntu resolute-backports InRelease
Hit:8 http://security.ubuntu.com/ubuntu resolute-security InRelease
Get:10 https://packages.cloud.google.com/apt cloud-sdk InRelease [1,442 B]
Get:11 https://repository.mullvad.net/deb/stable stable InRelease [3,536 B]
Hit:9 https://packages.buildkite.com/helm-linux/helm-debian/any any InRelease
Get:12 https://repository.mullvad.net/deb/stable stable/main amd64 Packages [1,376 B]
Get:13 https://packages.cloud.google.com/apt cloud-sdk/main amd64 Packages [947 kB]
Get:14 https://packages.cloud.google.com/apt cloud-sdk/main all Packages [299 kB]
Get:15 https://packages.cloud.google.com/apt cloud-sdk/main i386 Packages [172 kB]
Fetched 1,429 kB in 2s (579 kB/s)
24 packages can be upgraded. Run 'apt list --upgradable' to see them.
The following package was automatically installed and is no longer required:
  grub-pc-bin
Use 'sudo apt autoremove' to remove it.

Installing:
  mullvad-vpn

Summary:
  Upgrading: 0, Installing: 1, Removing: 0, Not Upgrading: 24
  Download size: 112 MB
  Space needed: 392 MB / 918 GB available

Get:1 https://repository.mullvad.net/deb/stable stable/main amd64 mullvad-vpn amd64 2026.4 [112 MB]
Fetched 112 MB in 17s (6,626 kB/s)
Selecting previously unselected package mullvad-vpn.
(Reading database… 249310 files and directories currently installed.)
Preparing to unpack …/mullvad-vpn_2026.4_amd64.deb…
Unpacking mullvad-vpn (2026.4)…
Setting up mullvad-vpn (2026.4)…
Created symlink '/etc/systemd/system/multi-user.target.wants/mullvad-daemon.service' → '/usr/lib/systemd/system/mullvad-daemon.service'.
Created symlink '/etc/systemd/system/mullvad-daemon.service.wants/mullvad-early-boot-blocking.service' → '/usr/lib/systemd/system/mullvad-early-boot-blocking.service'.
Creating apparmor profile
Processing triggers for hicolor-icon-theme (0.18-2build1)…
Processing triggers for gnome-menus (3.38.1-1ubuntu1)…
Processing triggers for desktop-file-utils (0.28-1build1)…
Let’s test it by connecting to an endpoint in a stable democracy to my north
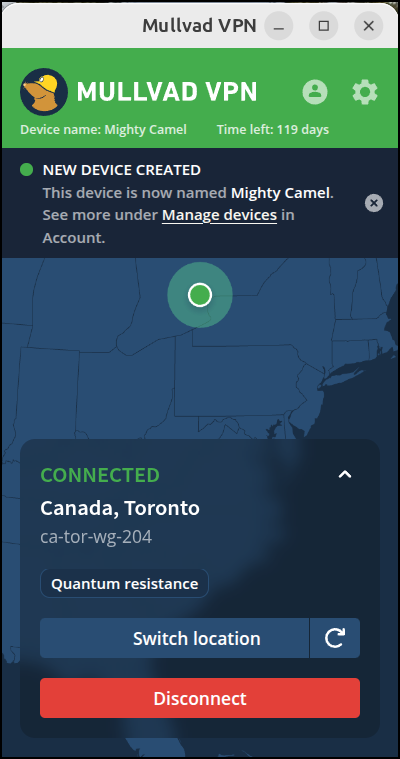
Then we can use Google Maps to see if they have the right name for the lake not that new name from tiny dictator
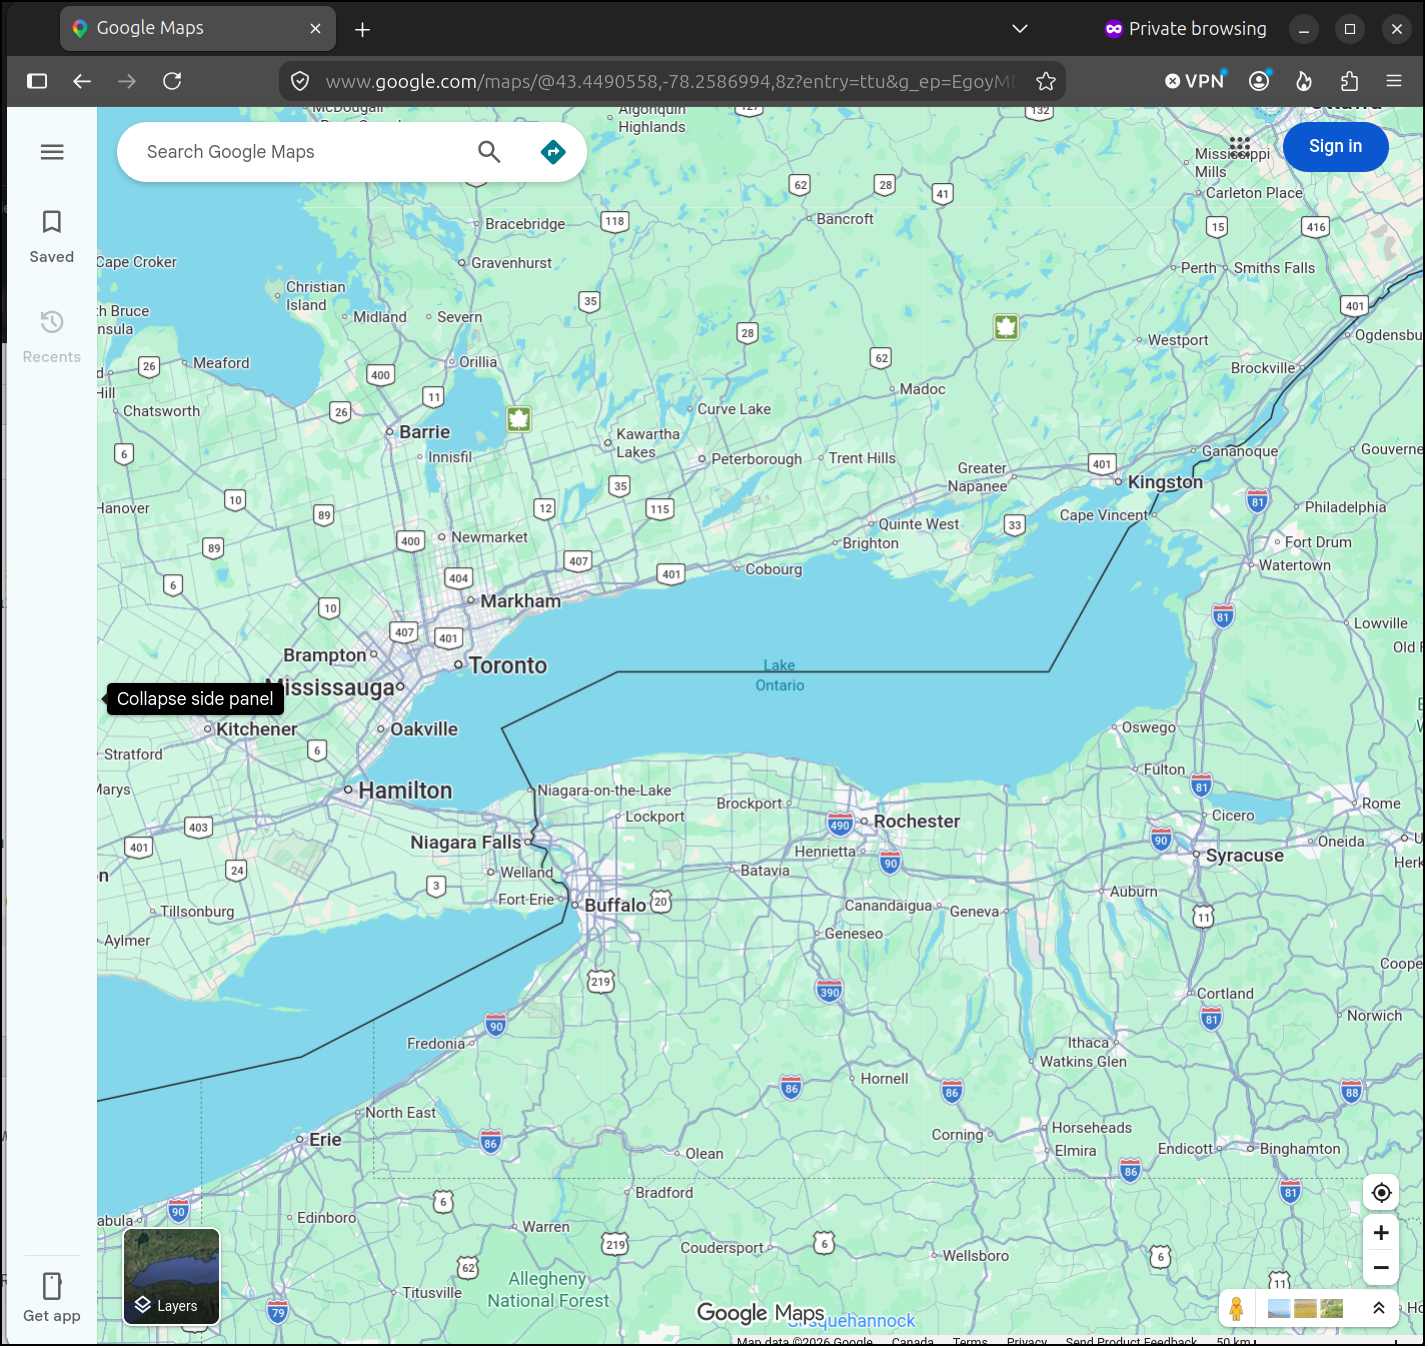
Well, here I let a bit of my feelings show, but I live in Minnesota which dealt with extrajudicial kidnappings all winter so forgive me if I miss being in a stable democracy.
Okay, let’s move on and recap
Summary
In ditching Windows we covered setting up a lot of CLI tools:
- jq, hunk, herdr, ollama (also a service), zed, brew, jq, aws/azure/google cli’s, imagemagick, ffmpeg
We added some key desktop apps
- Chrome, Mullvad (VPN), and Steam for games
We, of course, added a terminal app, Ghostty since, well, I just like it better.
Not written above, I also added Audacity for some later audio work I plan and VLC for video playback. And I will add OBS Studio soon.
Some of the minor issues have really been minor - the old TCL Roku 50" TV that is my “calendar” TV isn’t quite as sharp with two panes of browsers tabs open. I’m not sure what resolution Windows was able to push, but on HDMI with Ubuntu, its kind of tapped out at 1080p. I can still see my work/home cal’s just fine so I’m not too concerned.
The rest of my world really comes down to:
- Editors (like Zed and VS Code)
- Web things (e.g. watching YouTube, bilibili or Hulu)
- Chats (messenger apps)
- A few games here and there
Maybe I’m just old, but I really do not see anything I’m missing.
I was already using OBS and GIMP in Windows so adding them in Linux was the same experience. The only app I use that now I won’t be able to is Cyberlink Powerdirector. I’ll just have to get used to Blender.
I’m wishing Ubuntu just had a PIN to login like Windows did, but it’s not a bad habit to develop always typing my login password.