

Published: Feb 19, 2026 by Isaac Johnson
What is Google Stitch? I feel I’ve been so distracted by either news or AI updates that I completely missed this very interesting design suite Google recently rolled out that is similar to Figma.
Today we look both at Stitch and the Stitch MCP server in Antigravity and Github Copilot.
To do this, we’ll run with an idea I have about making a Wilderness Trekking webapp (if anything, just for me and my buddies to use).
Let’s start with exploring Stitch itself.
Setup
We can quickly sign-in and see the dashboard at the free tier, which just limits our usage
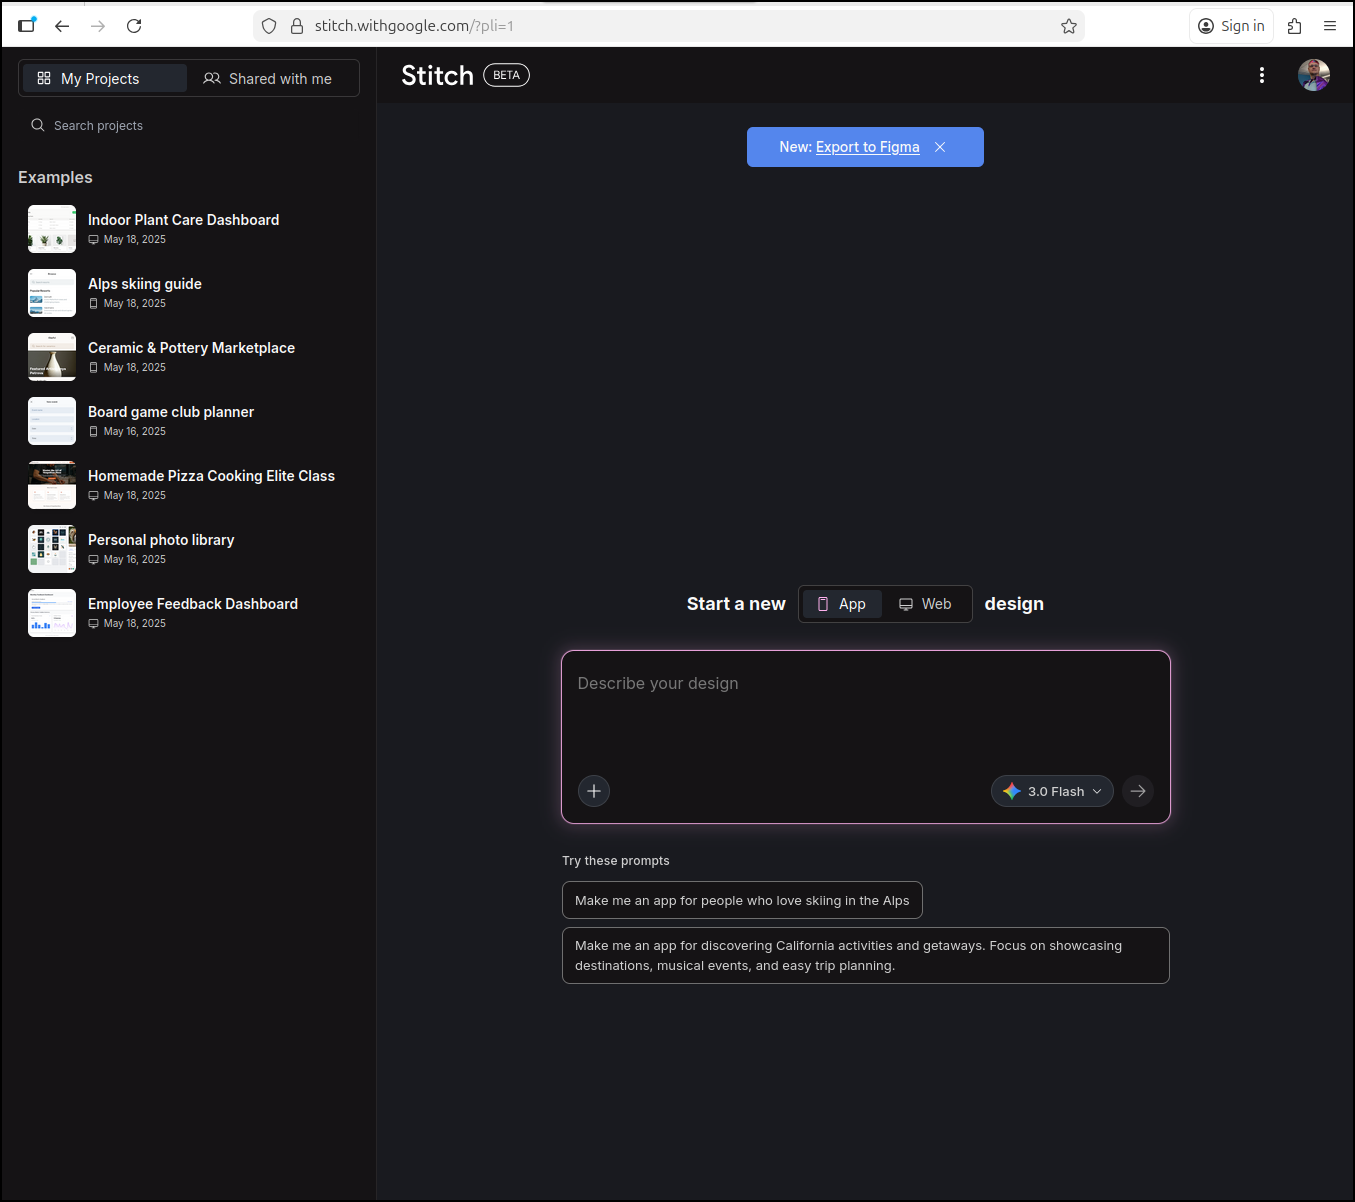
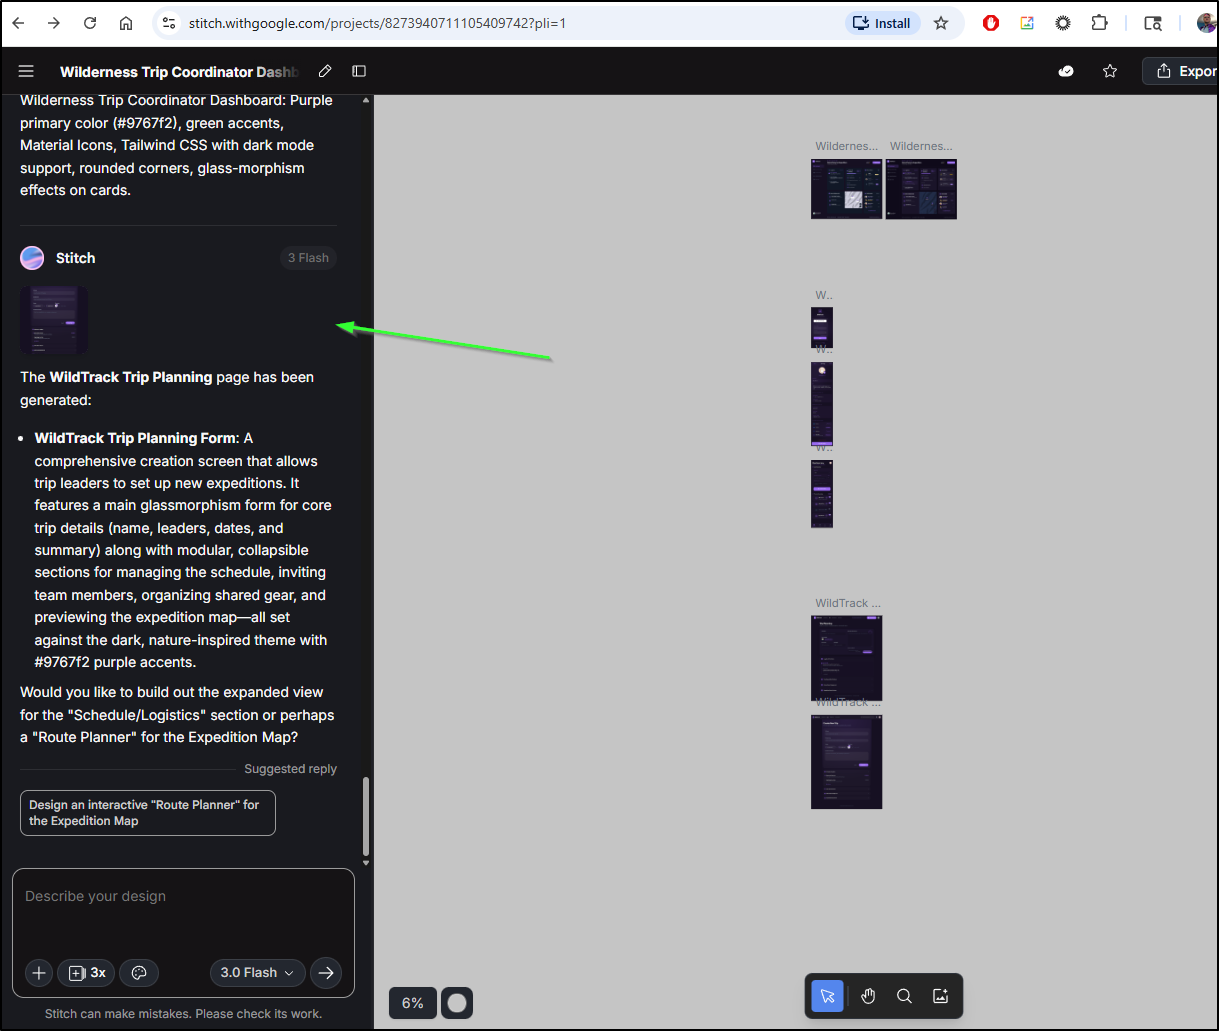
Let’s try and build out a Wilderness Trip planning site
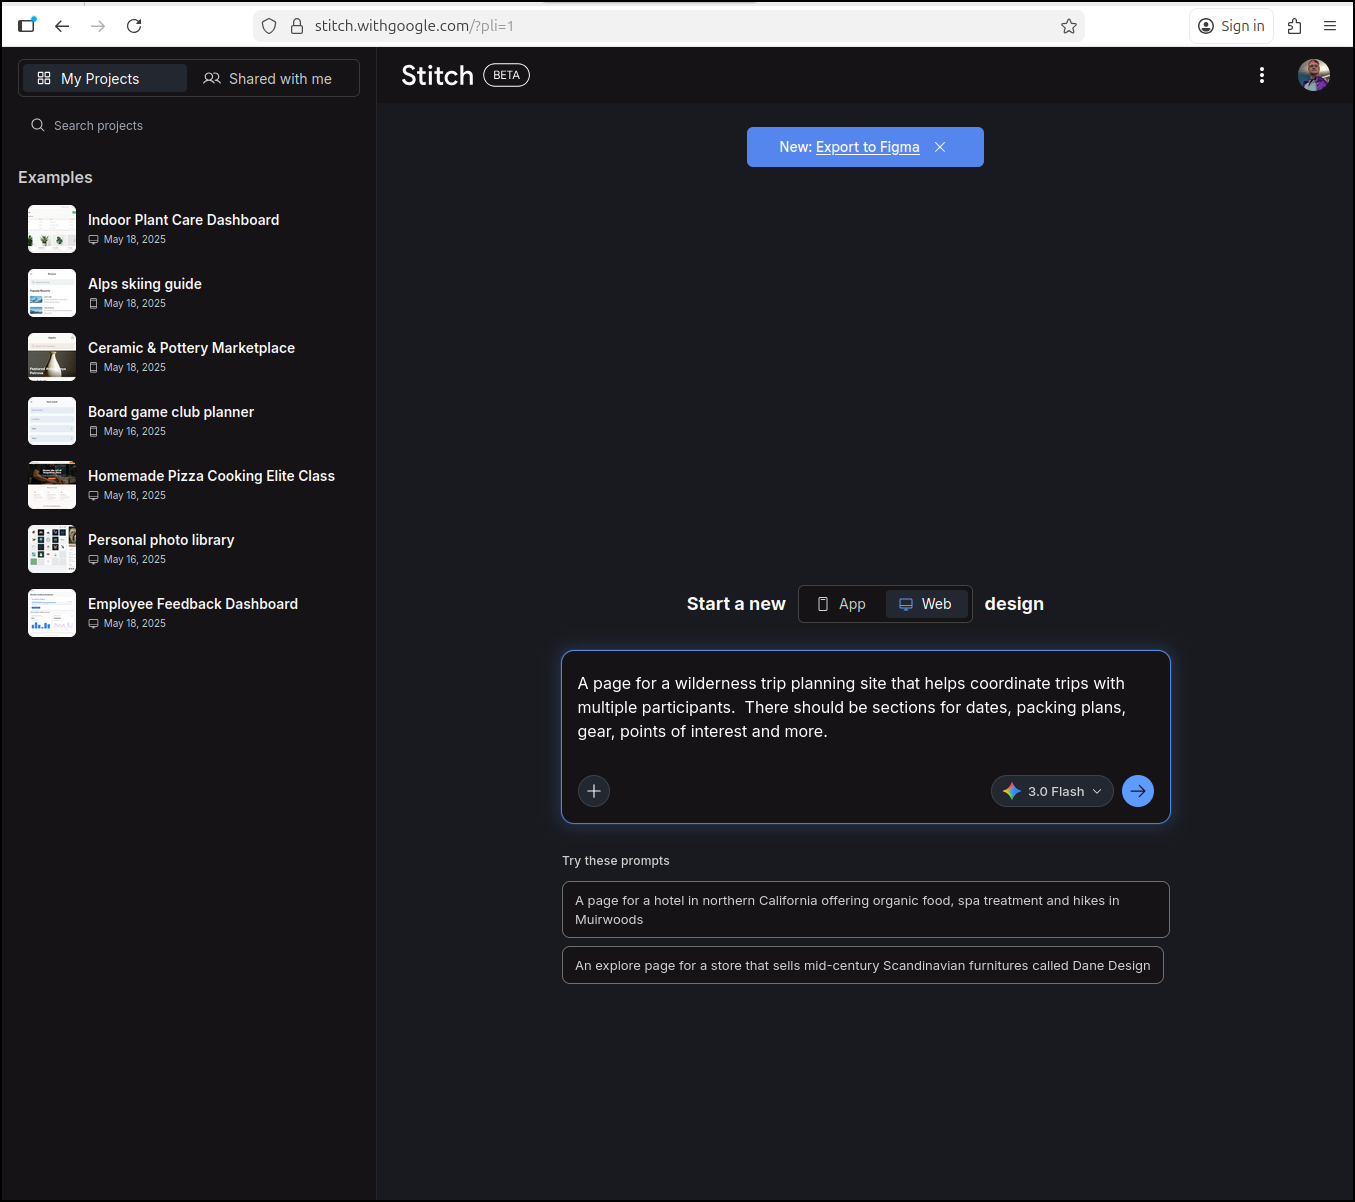
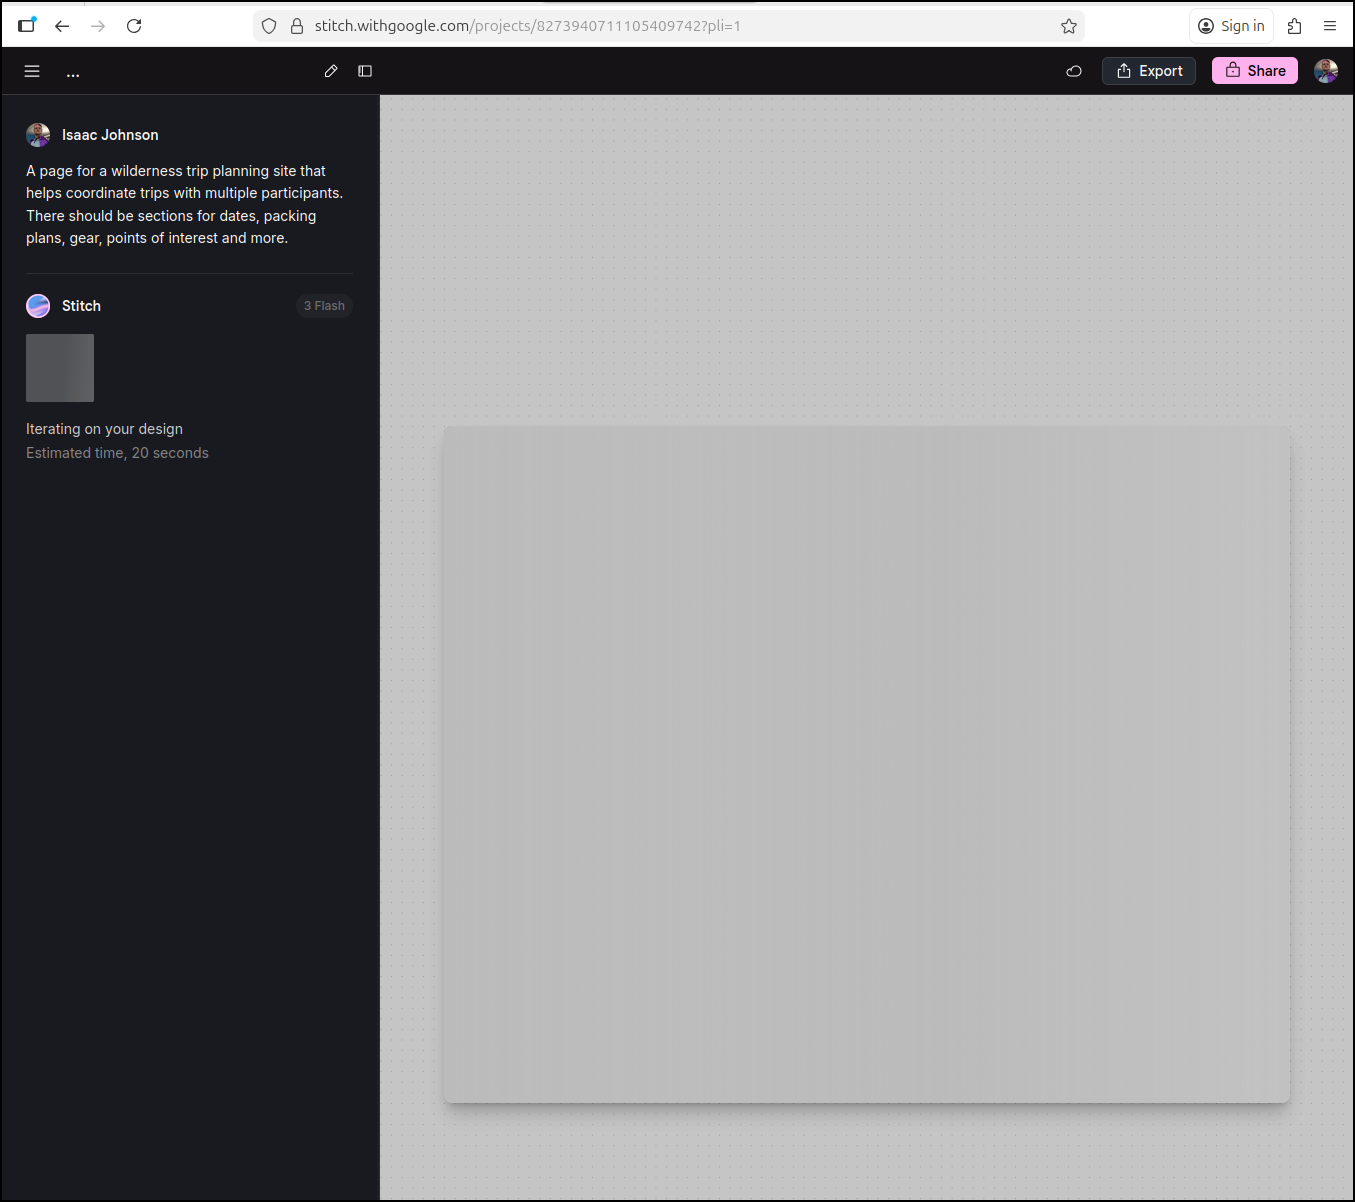
This kicked off a planning session
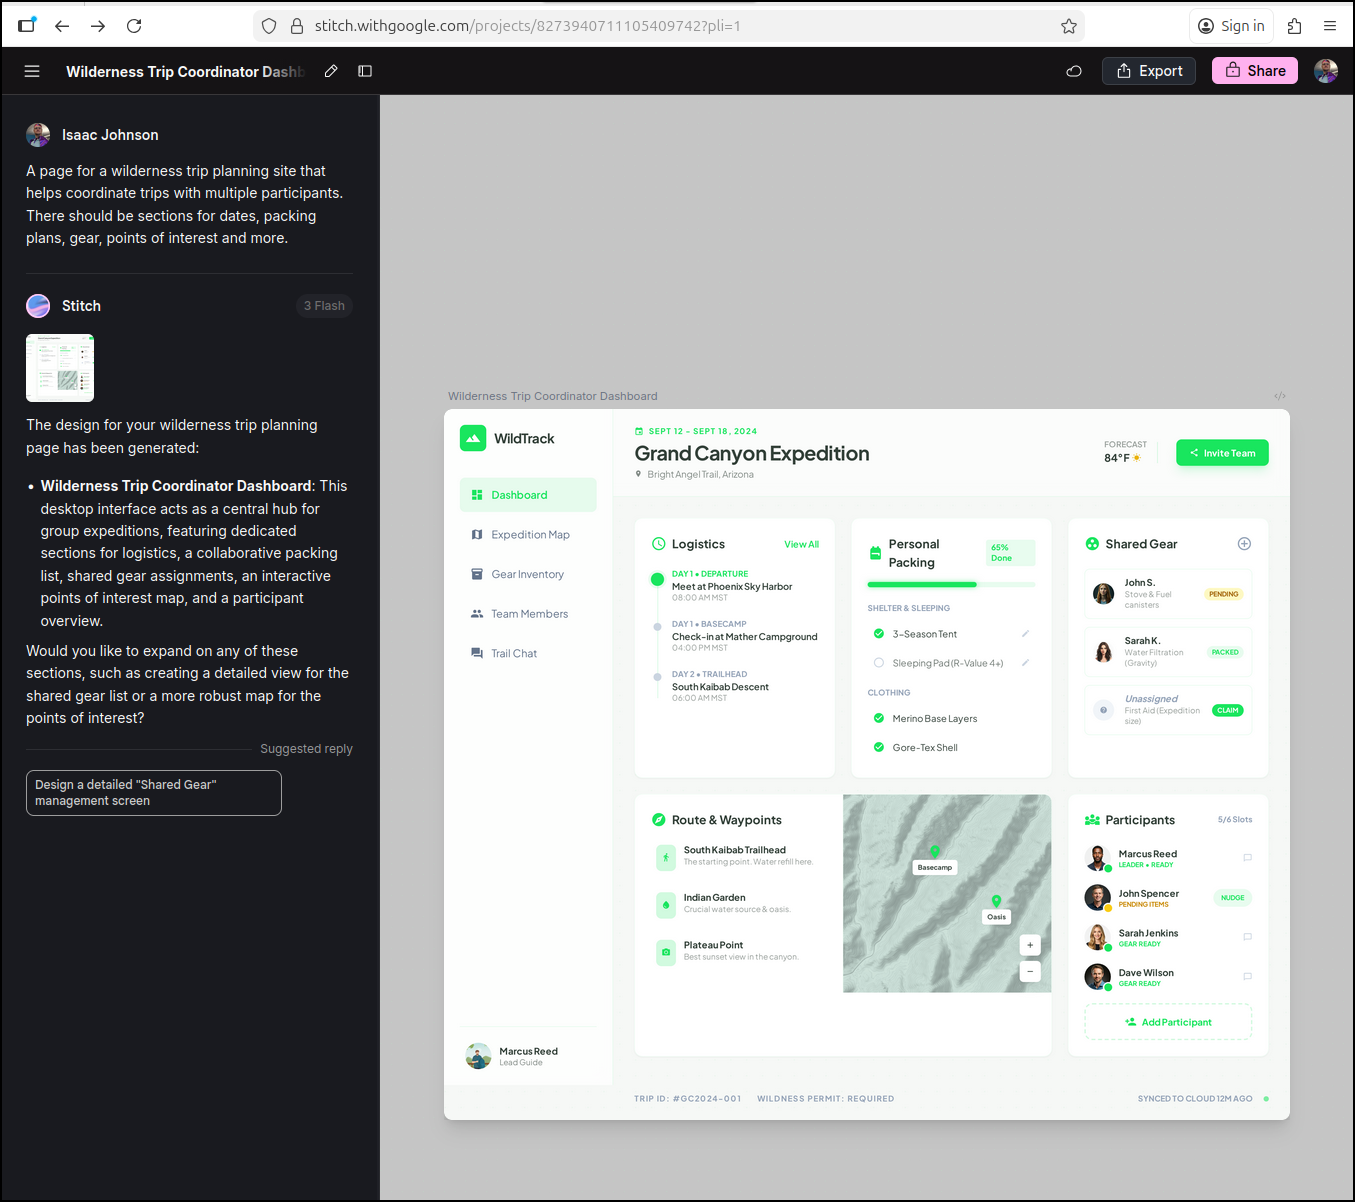
I get a resulting UI page
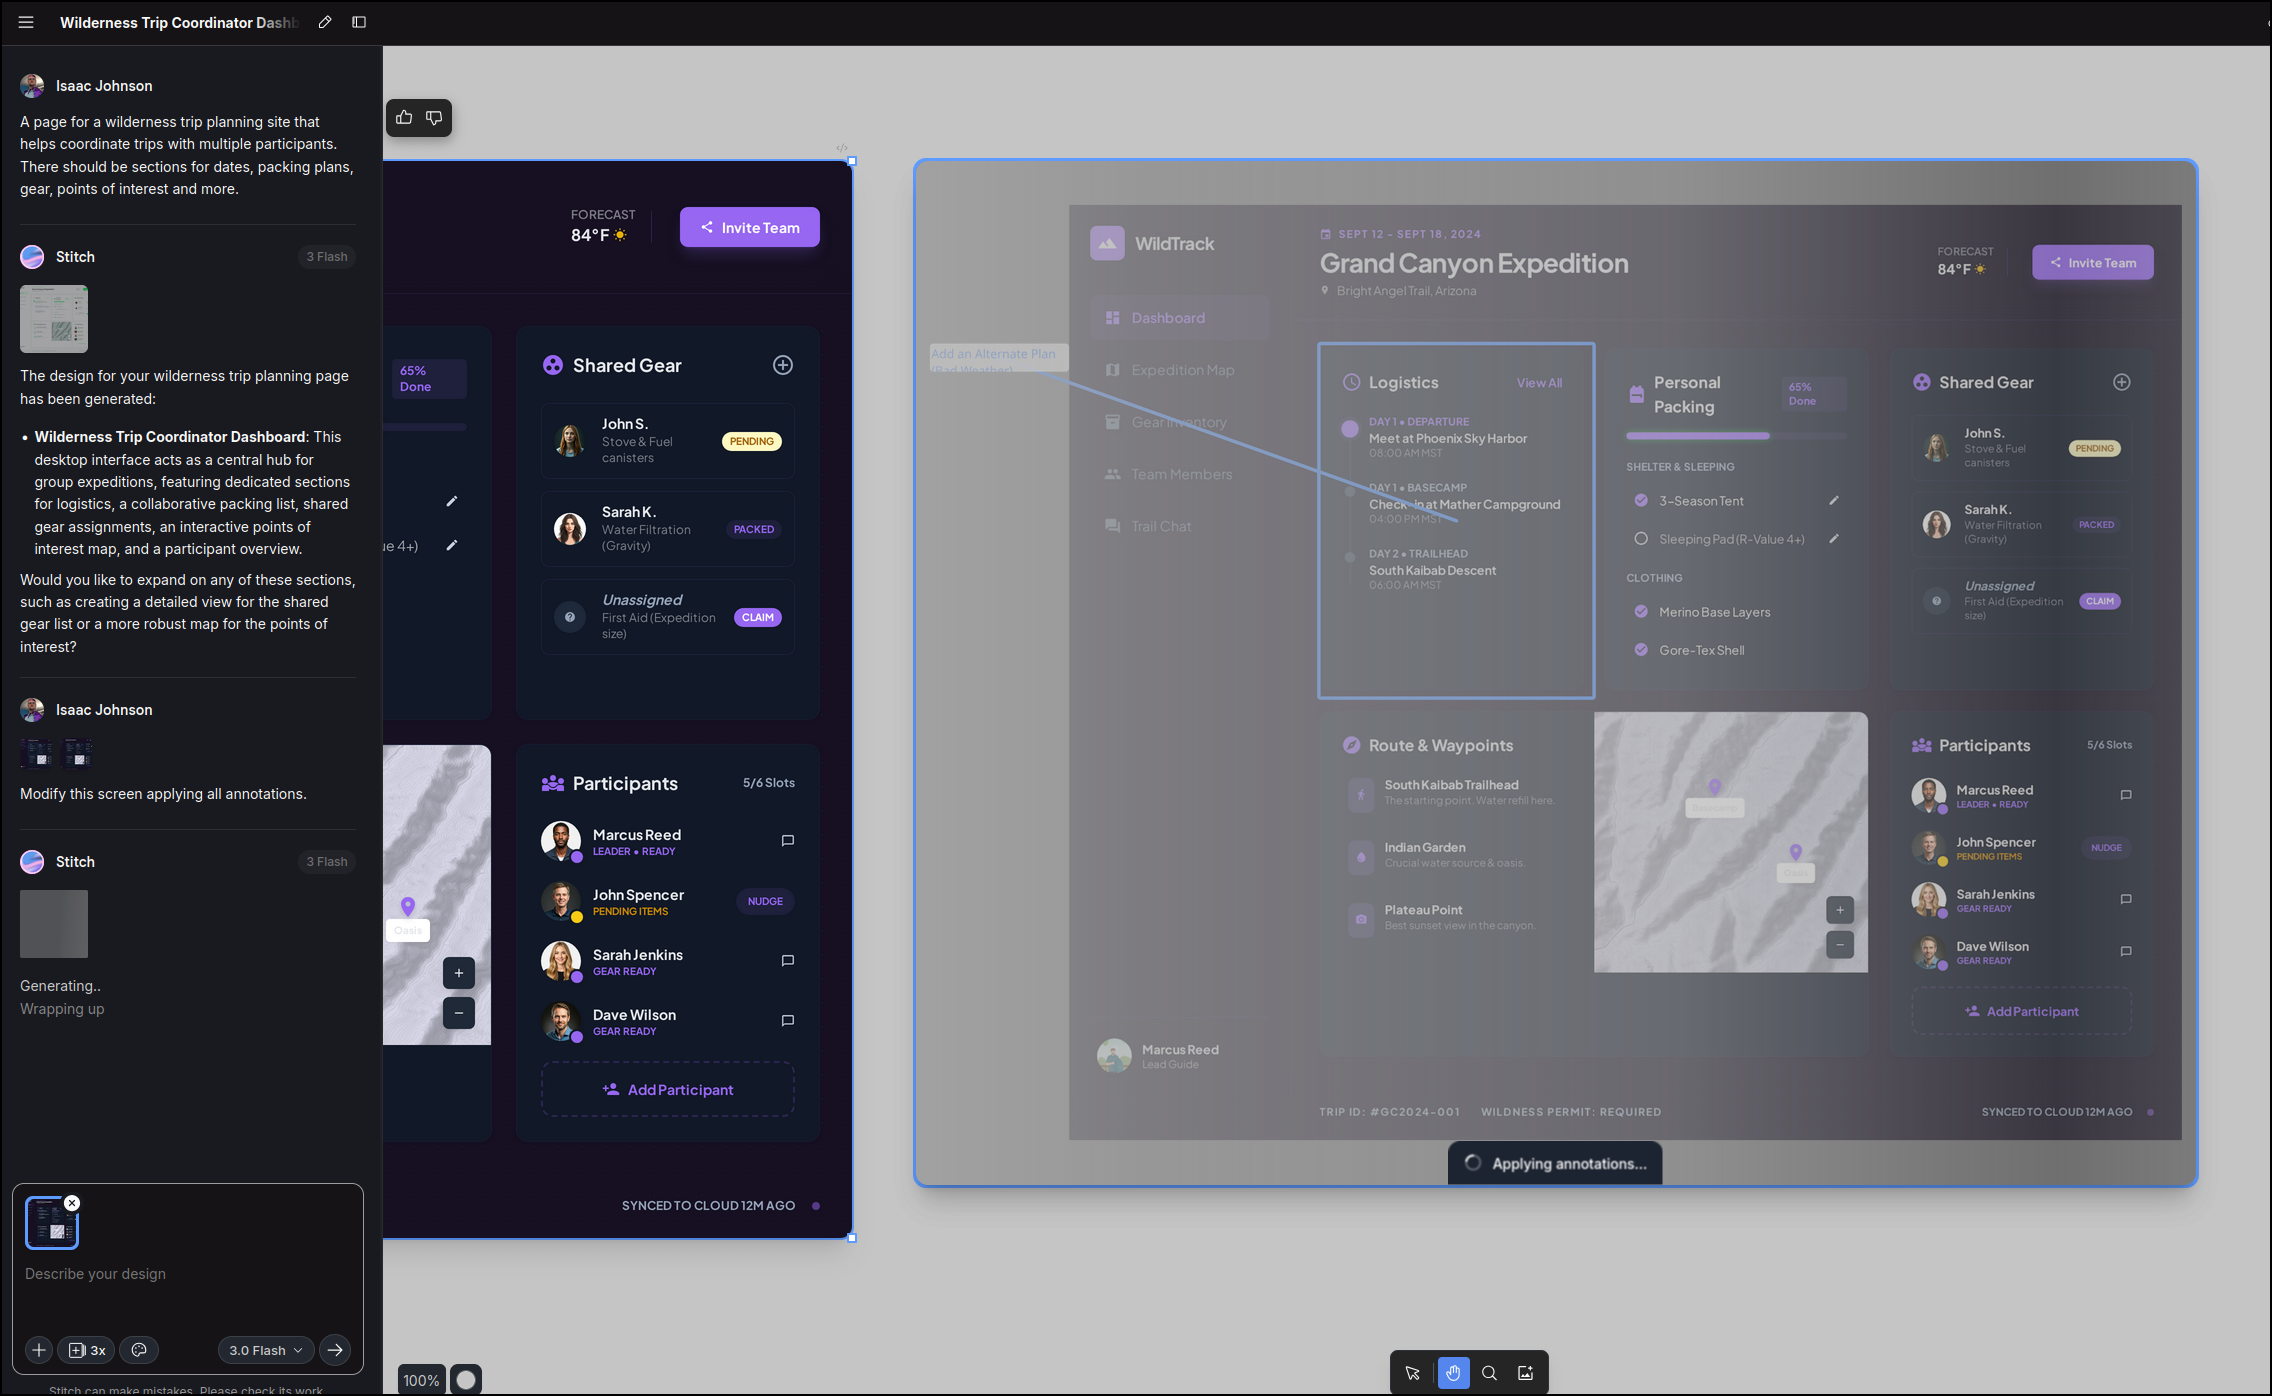
I can tweak colours and annotate areas I want changed
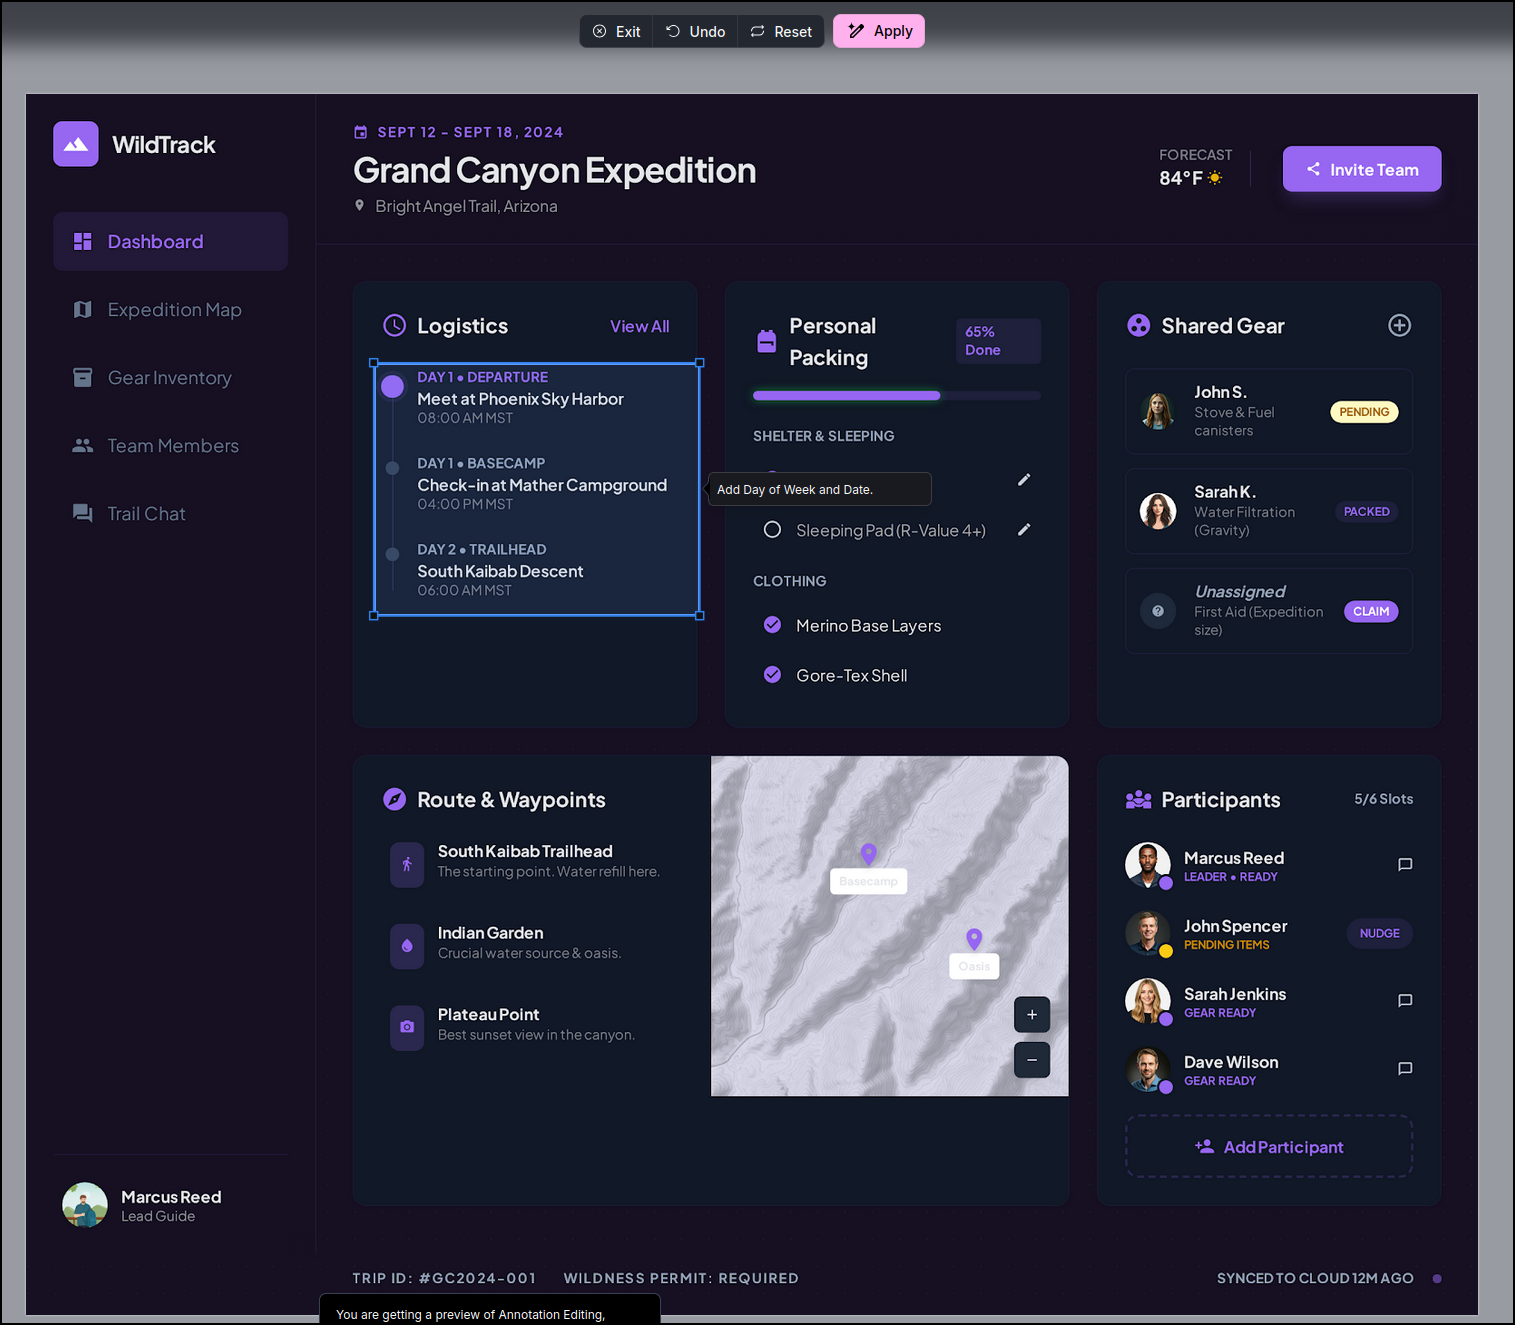
The only thing I wanted was some kind of way to plan out an alternate “Bad Weather” option
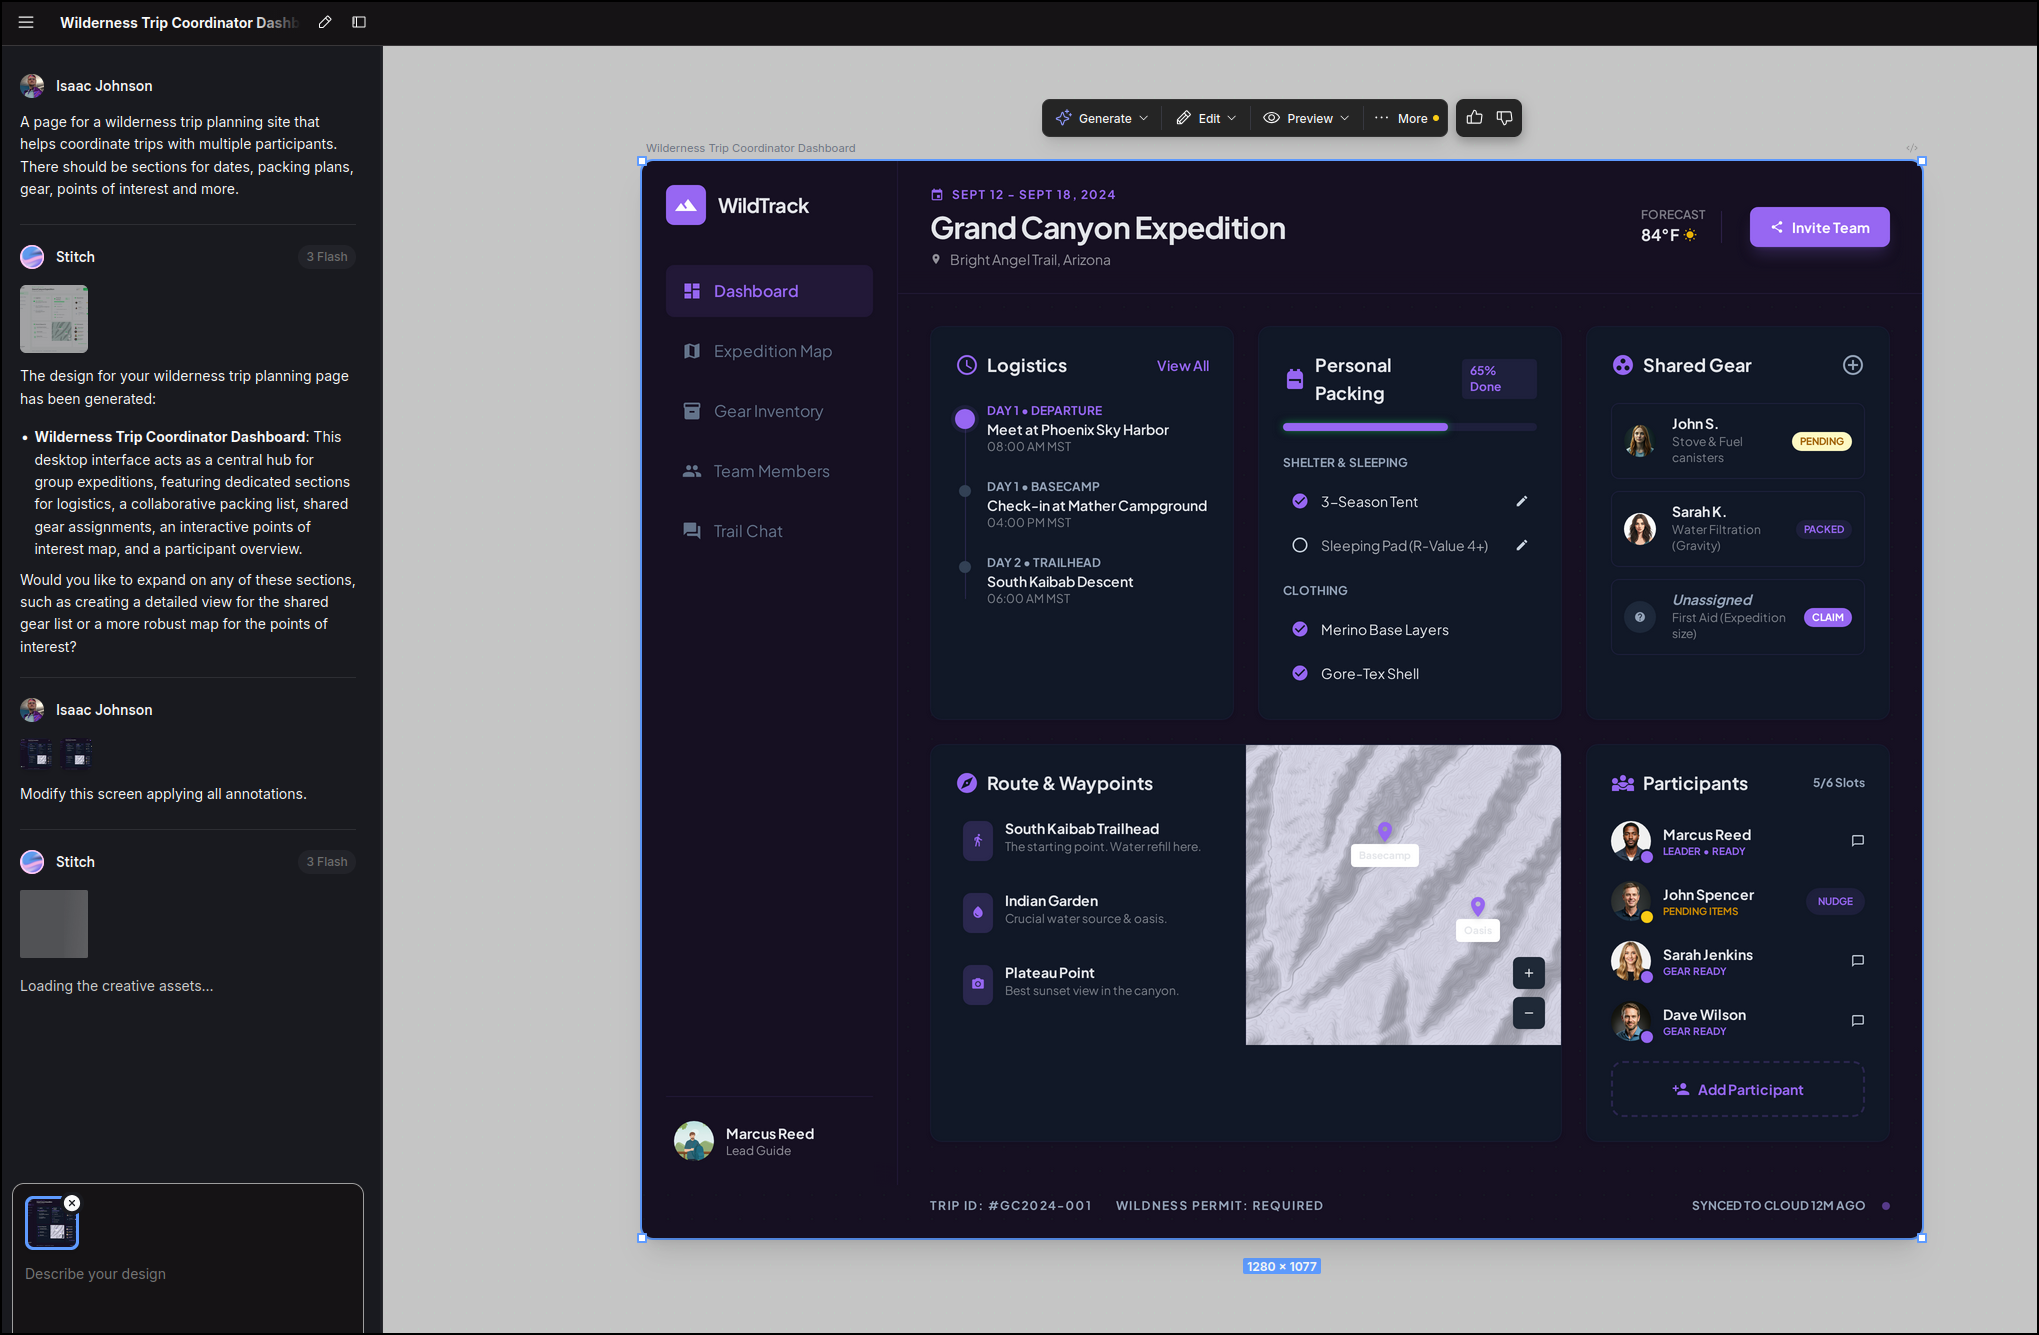
A new section shows it’s in progress
I can now export this
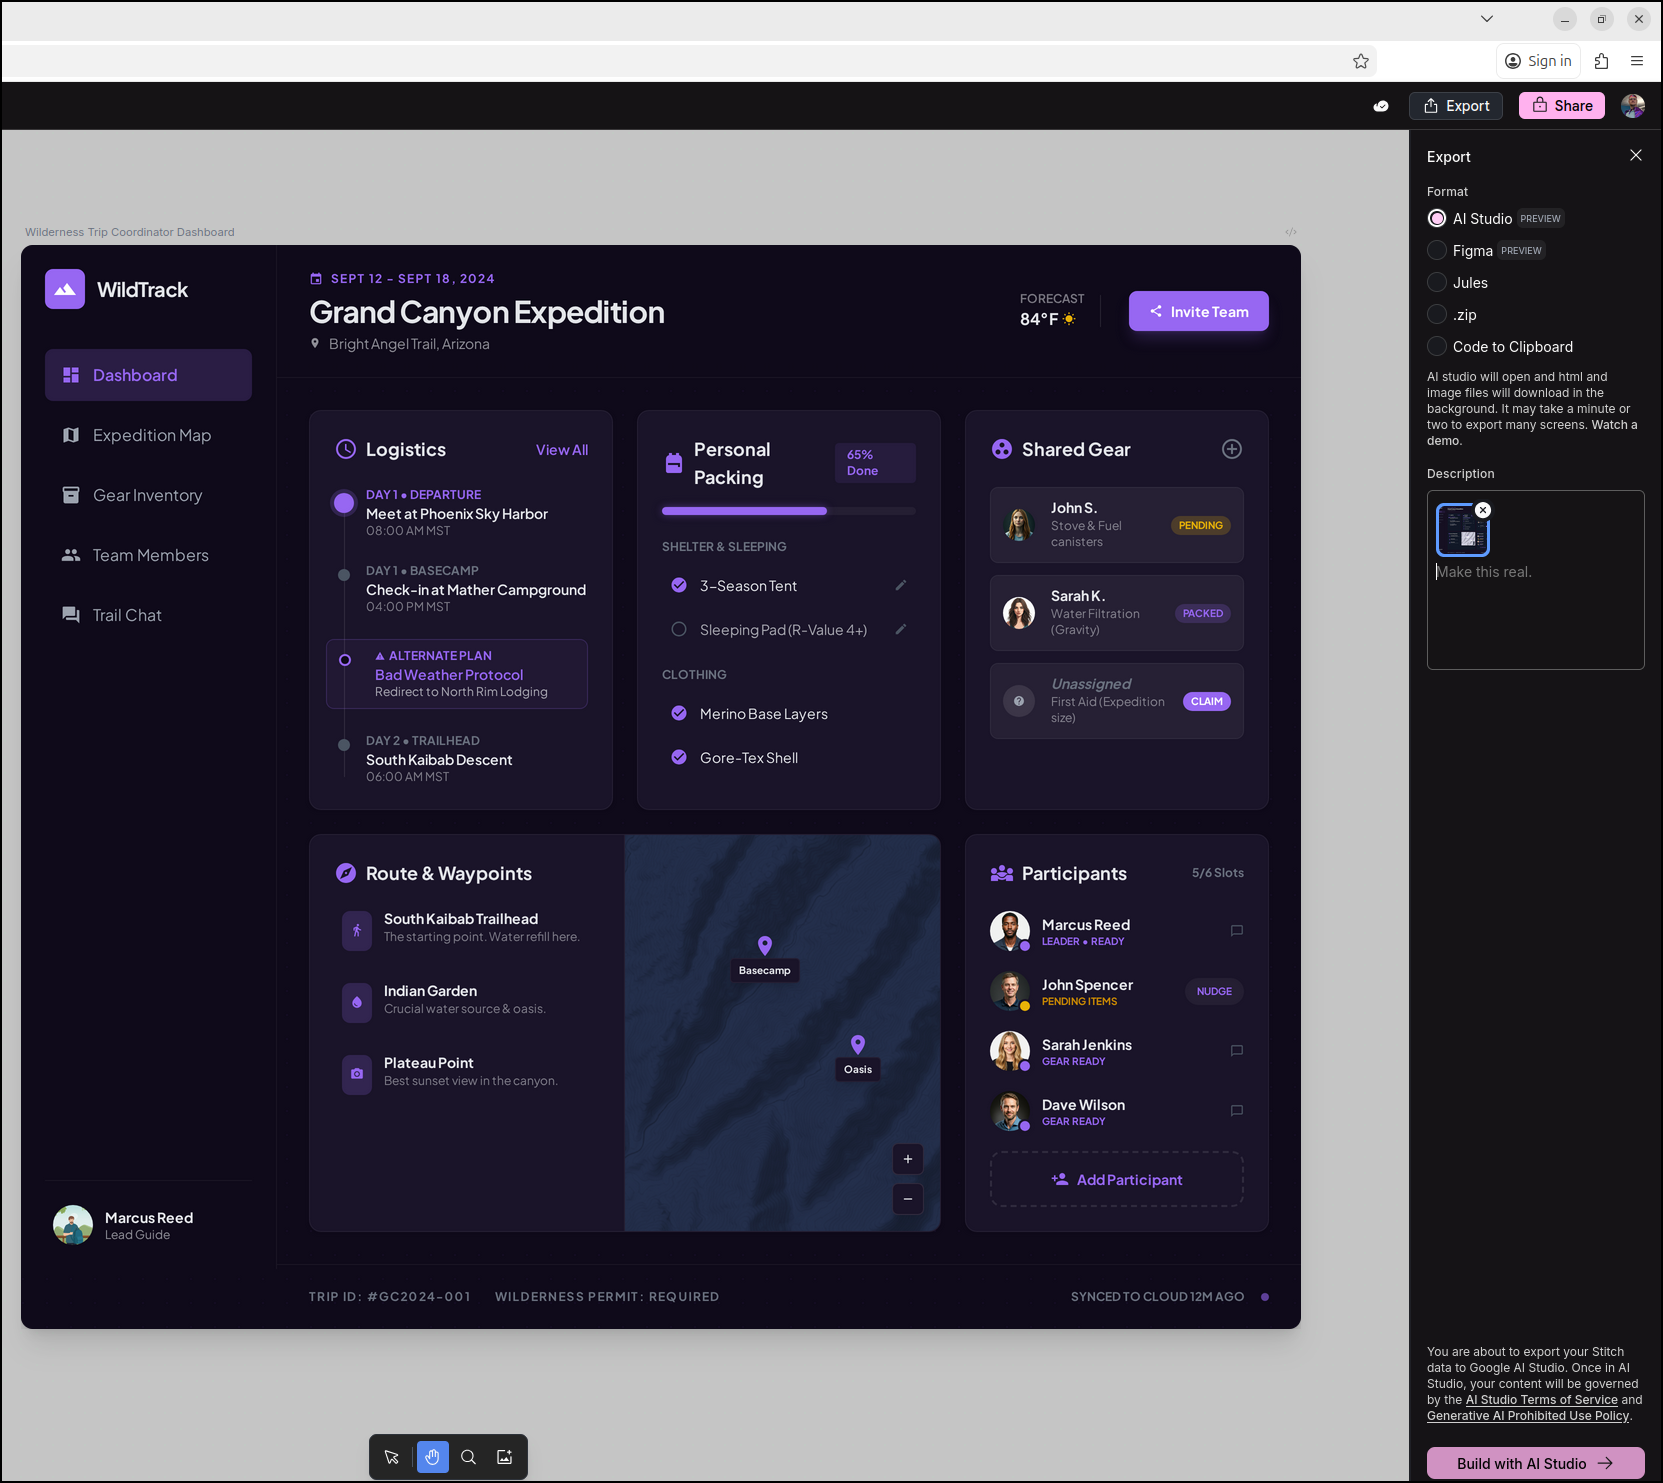
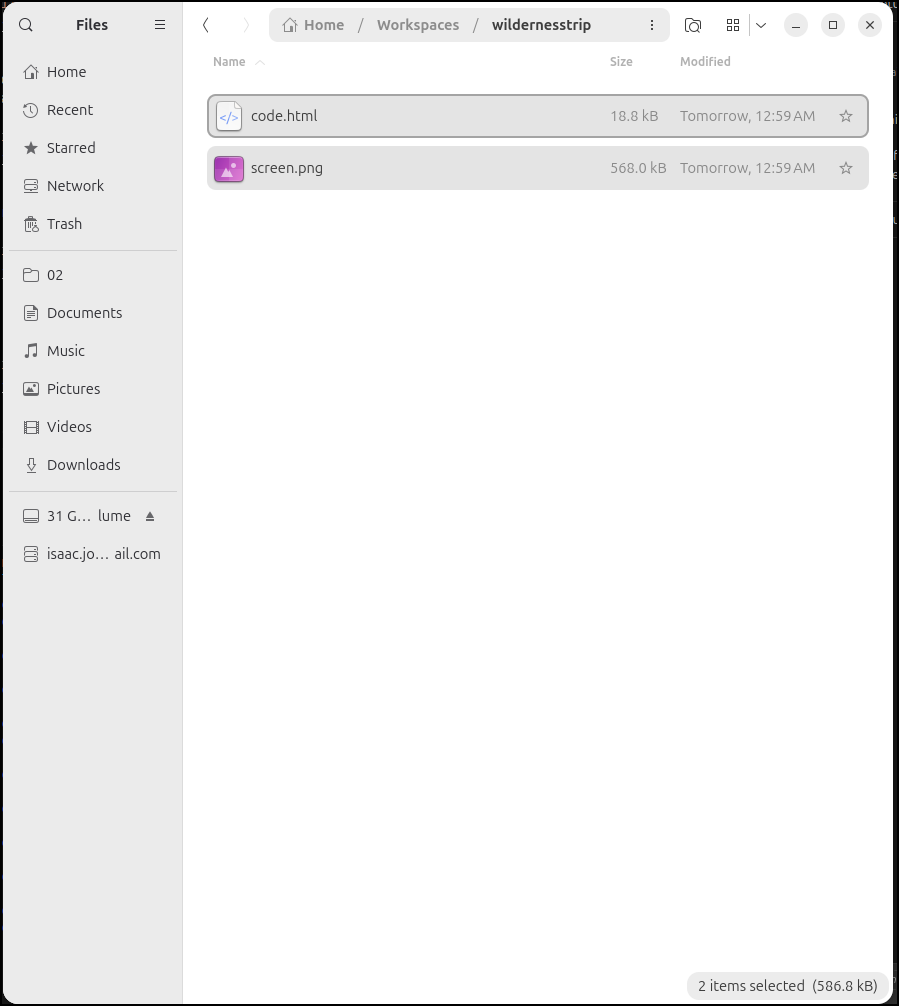
I made a new folder and downloaded the “zip” option and put the contents in there:
MCP Setup in Aggy
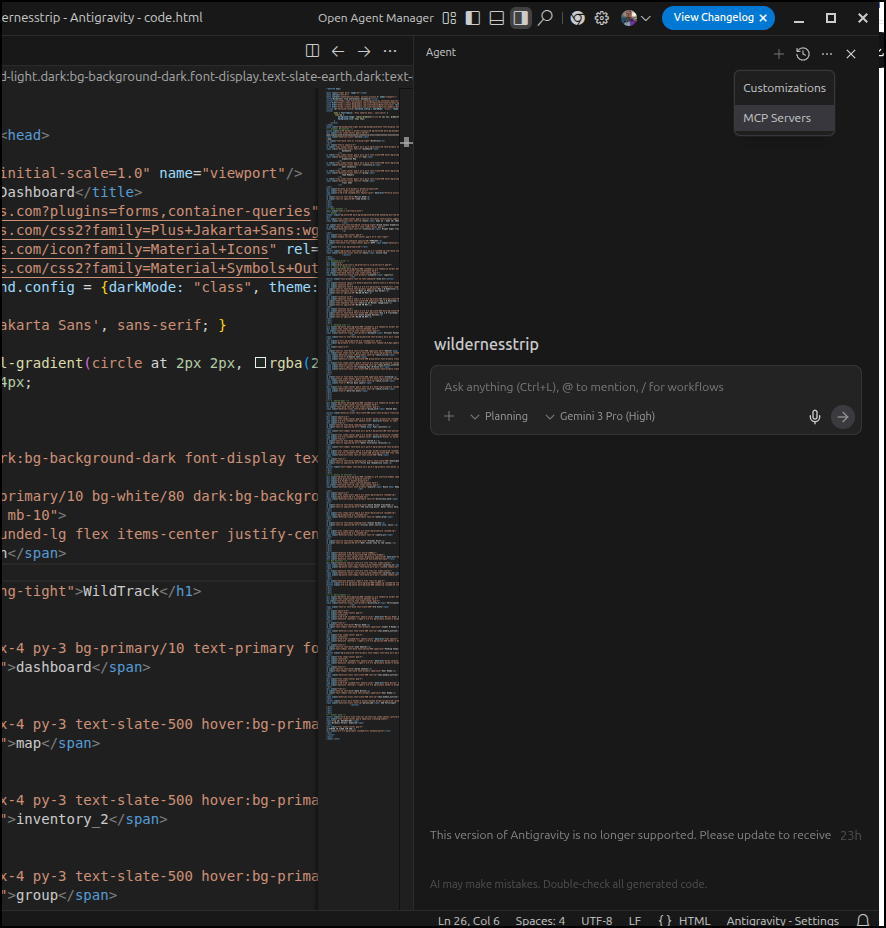
Let’s fire up Antigravity
$ antigravity
In the upper right of the agent chat pane, we can click the “…” and go to MCP servers
And search for “Stitch” to find the official Stitch MCP server
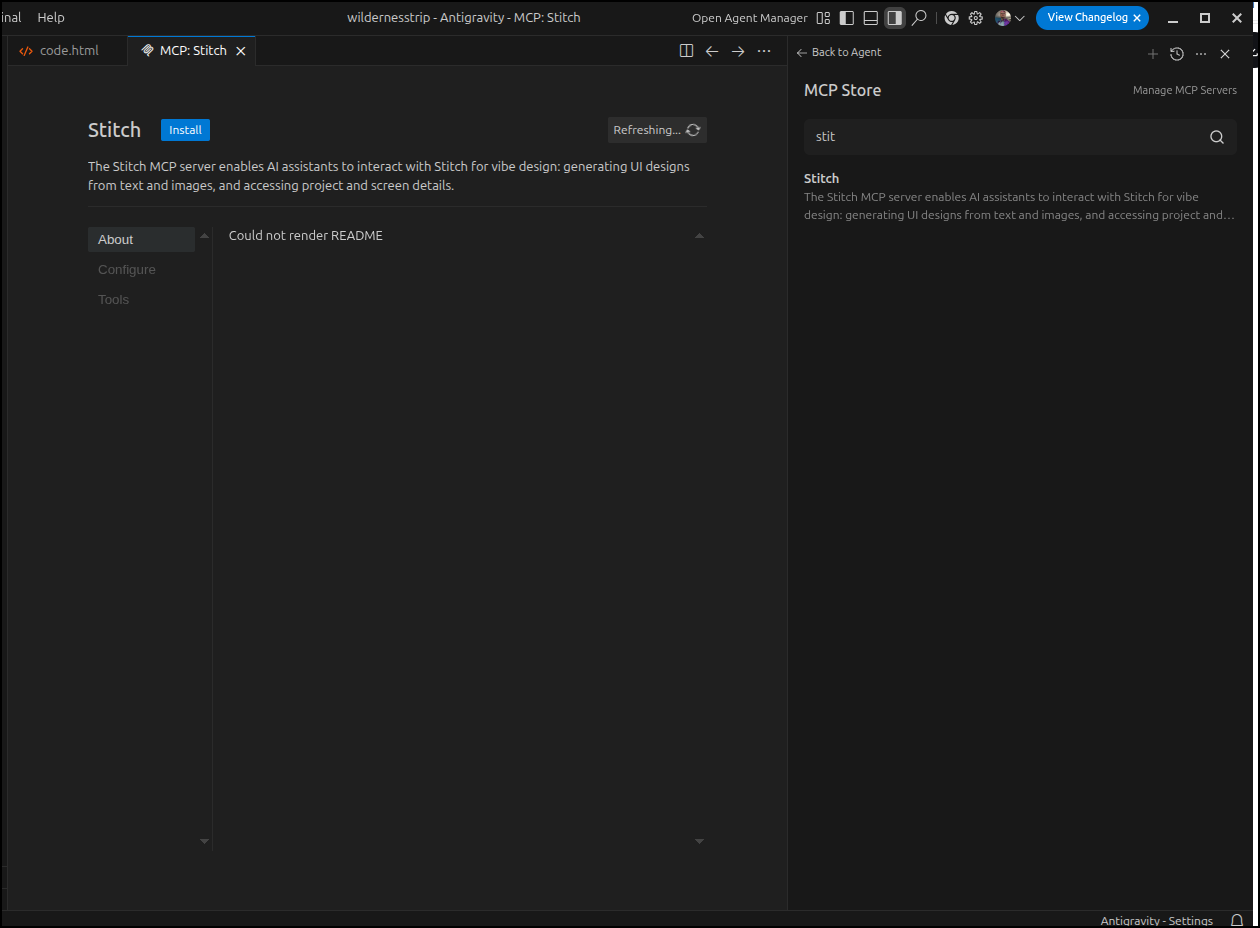
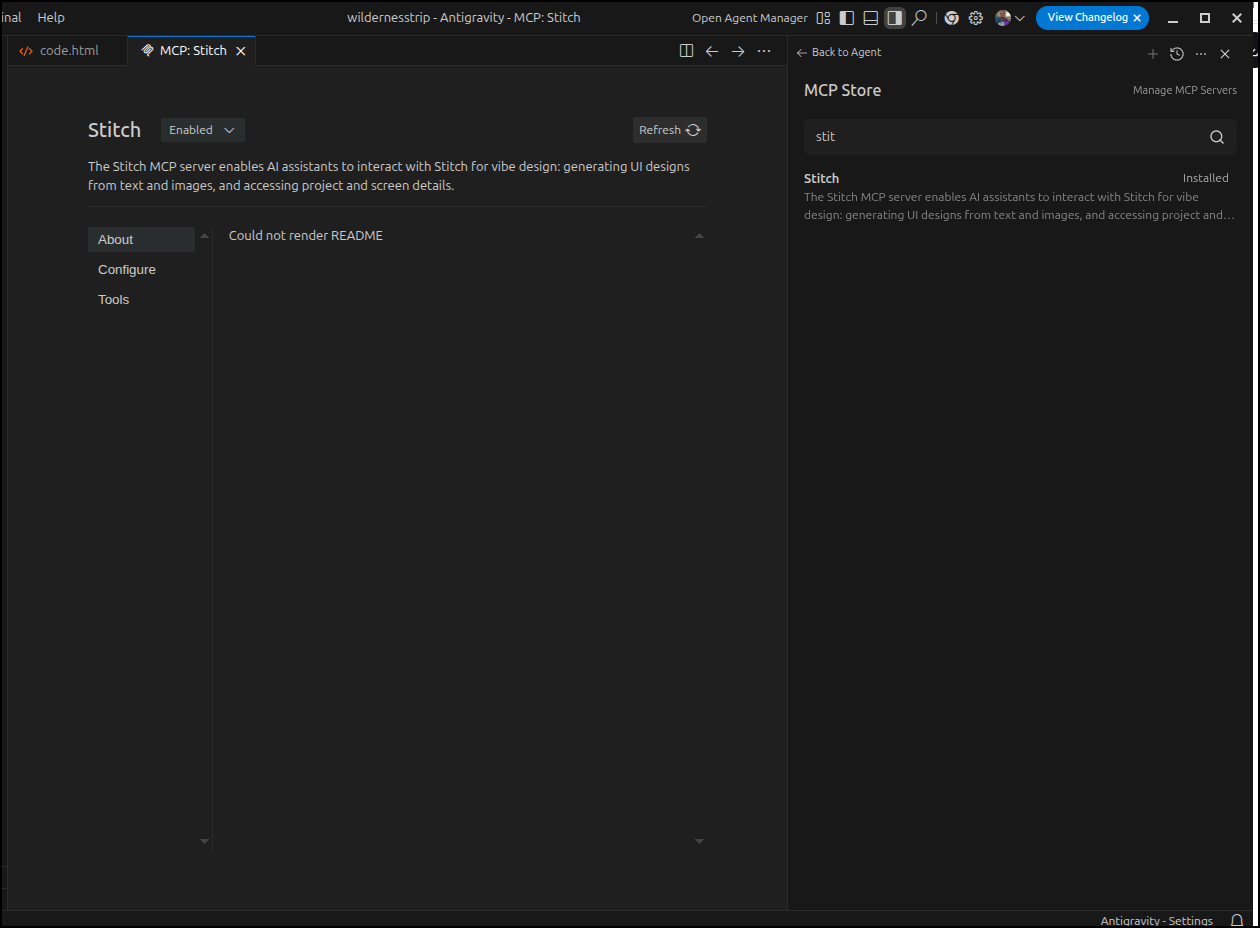
Click Install. You’ll need to provide an API Key (found in settings of Stitch) then we can see our MCP server is ready
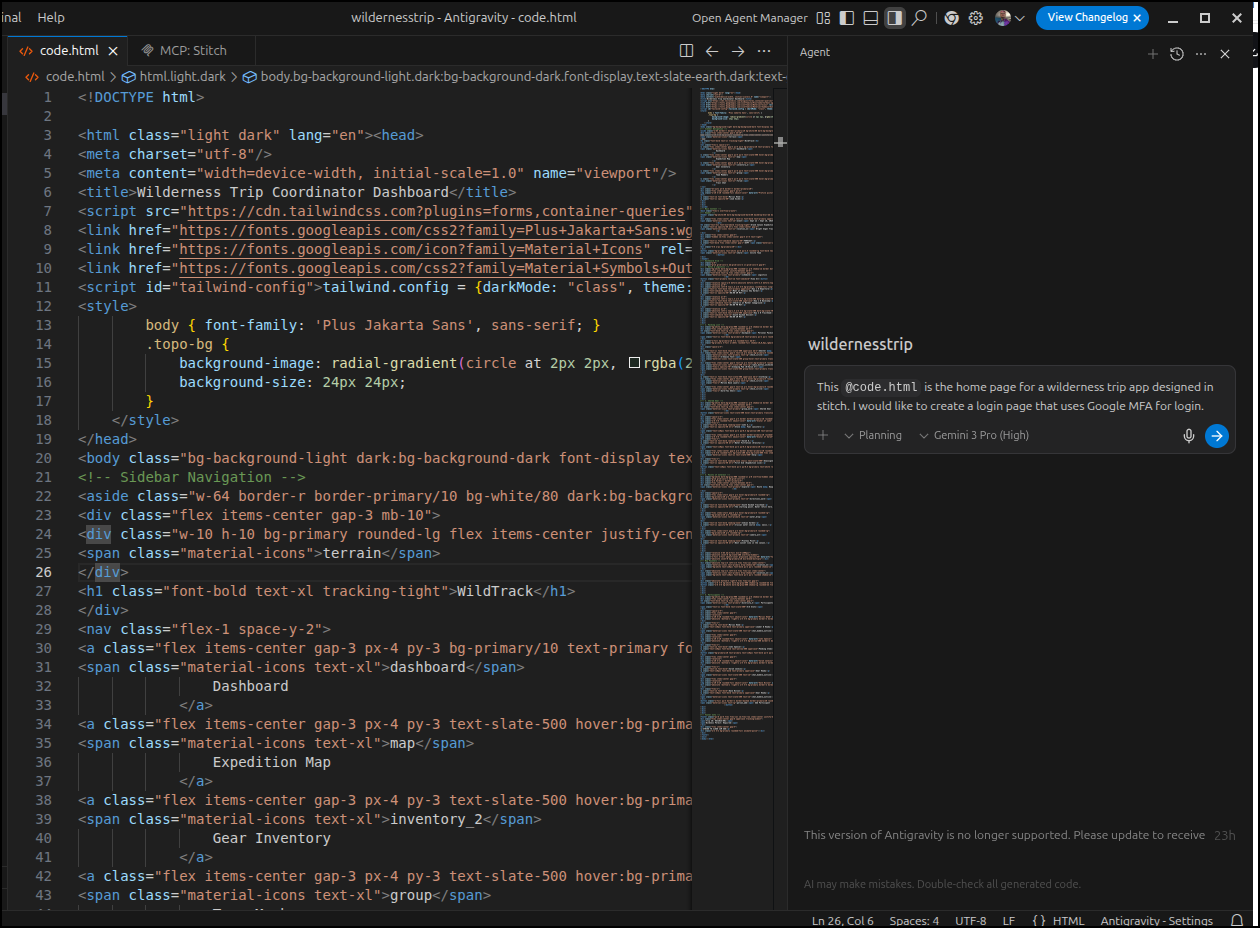
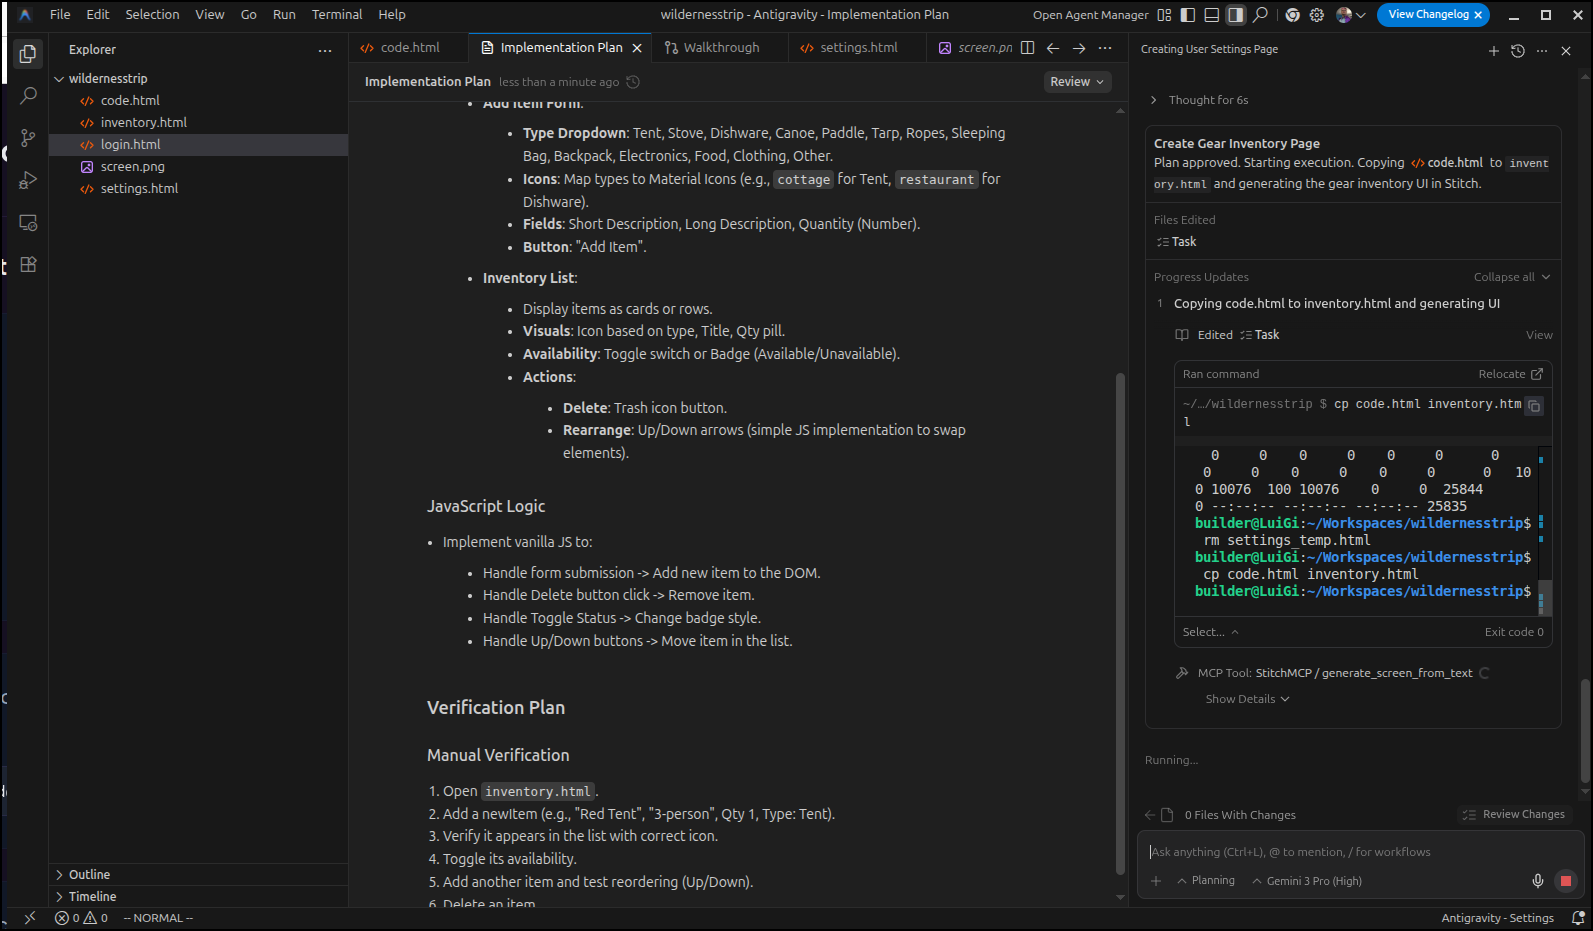
I’m now going to ask Aggy to make a login page for me. I’m curious if it will use the Stitch MCP server:
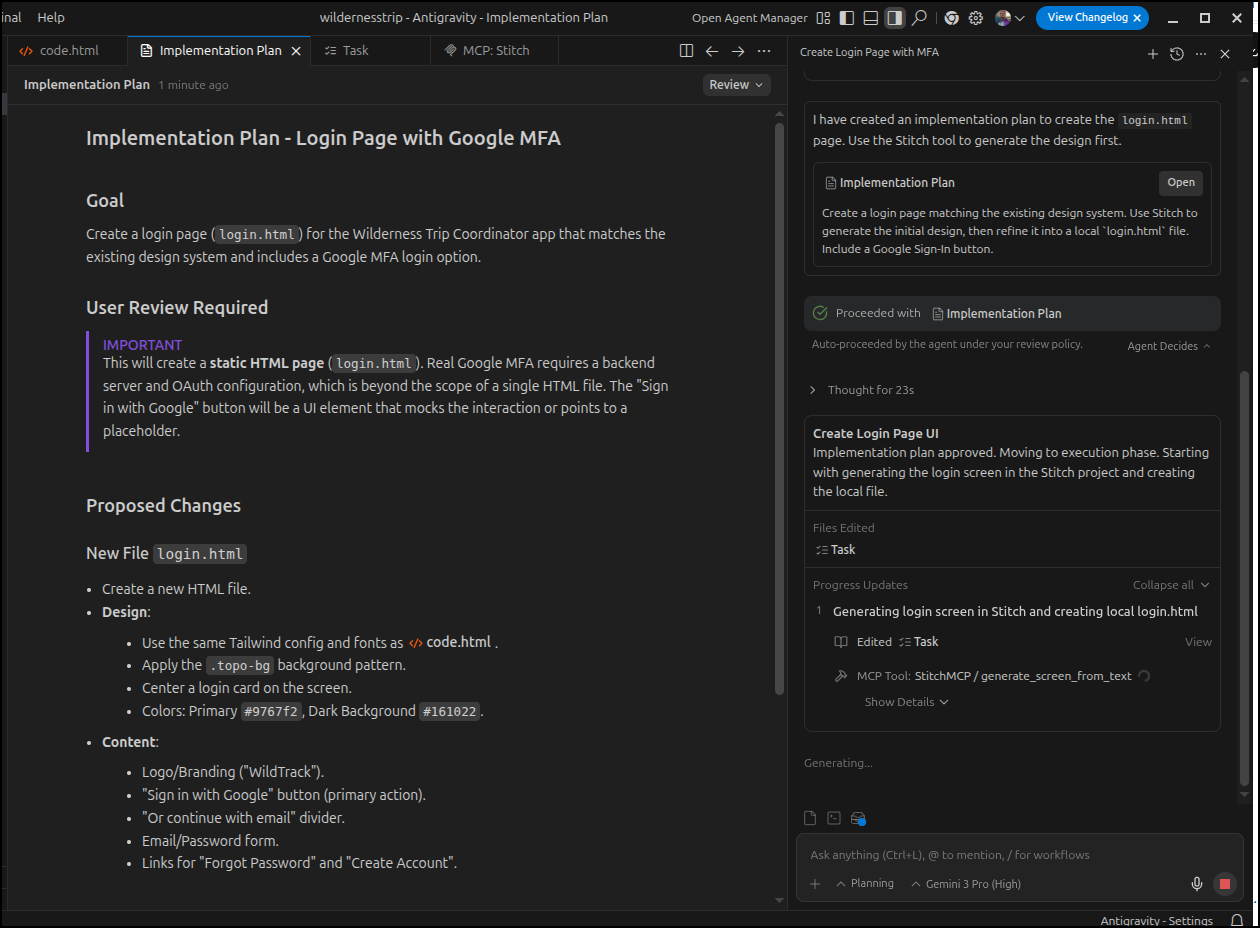
It prepared an implementation plan
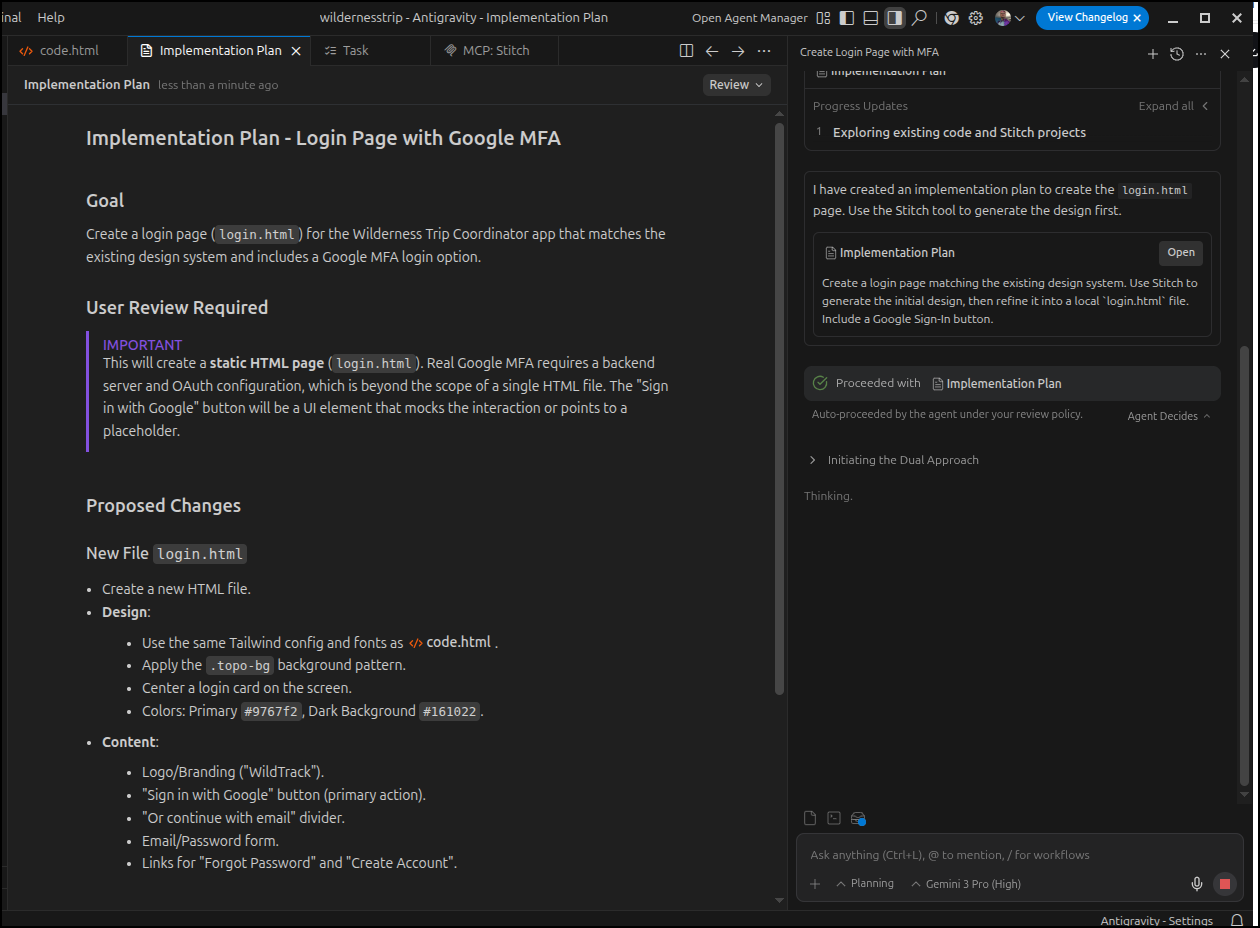
And indeed it kicked out to Stitch to create the page
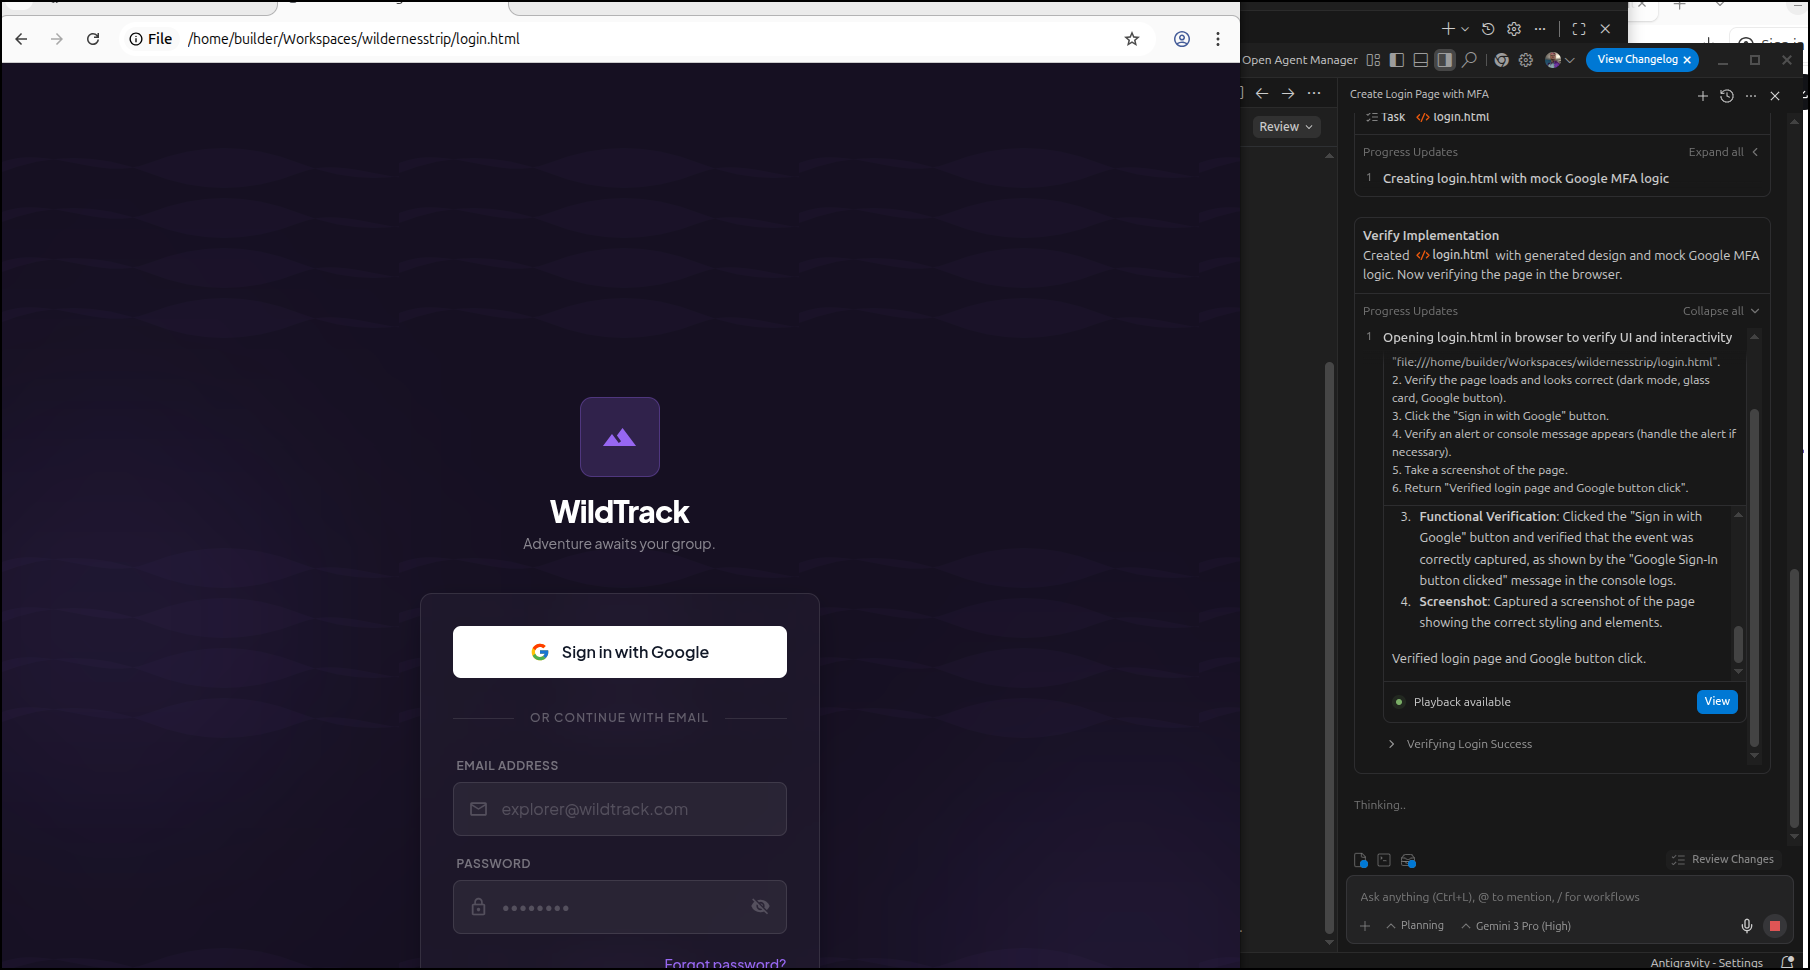
In a first for me, I saw Antigravity open Chrome and record the dom (pulsing blue border)
I noticed that as I started to generate more pages, if I mentioned “stitch” in the prompt, it would trigger Aggy to use the Stitch MCP server
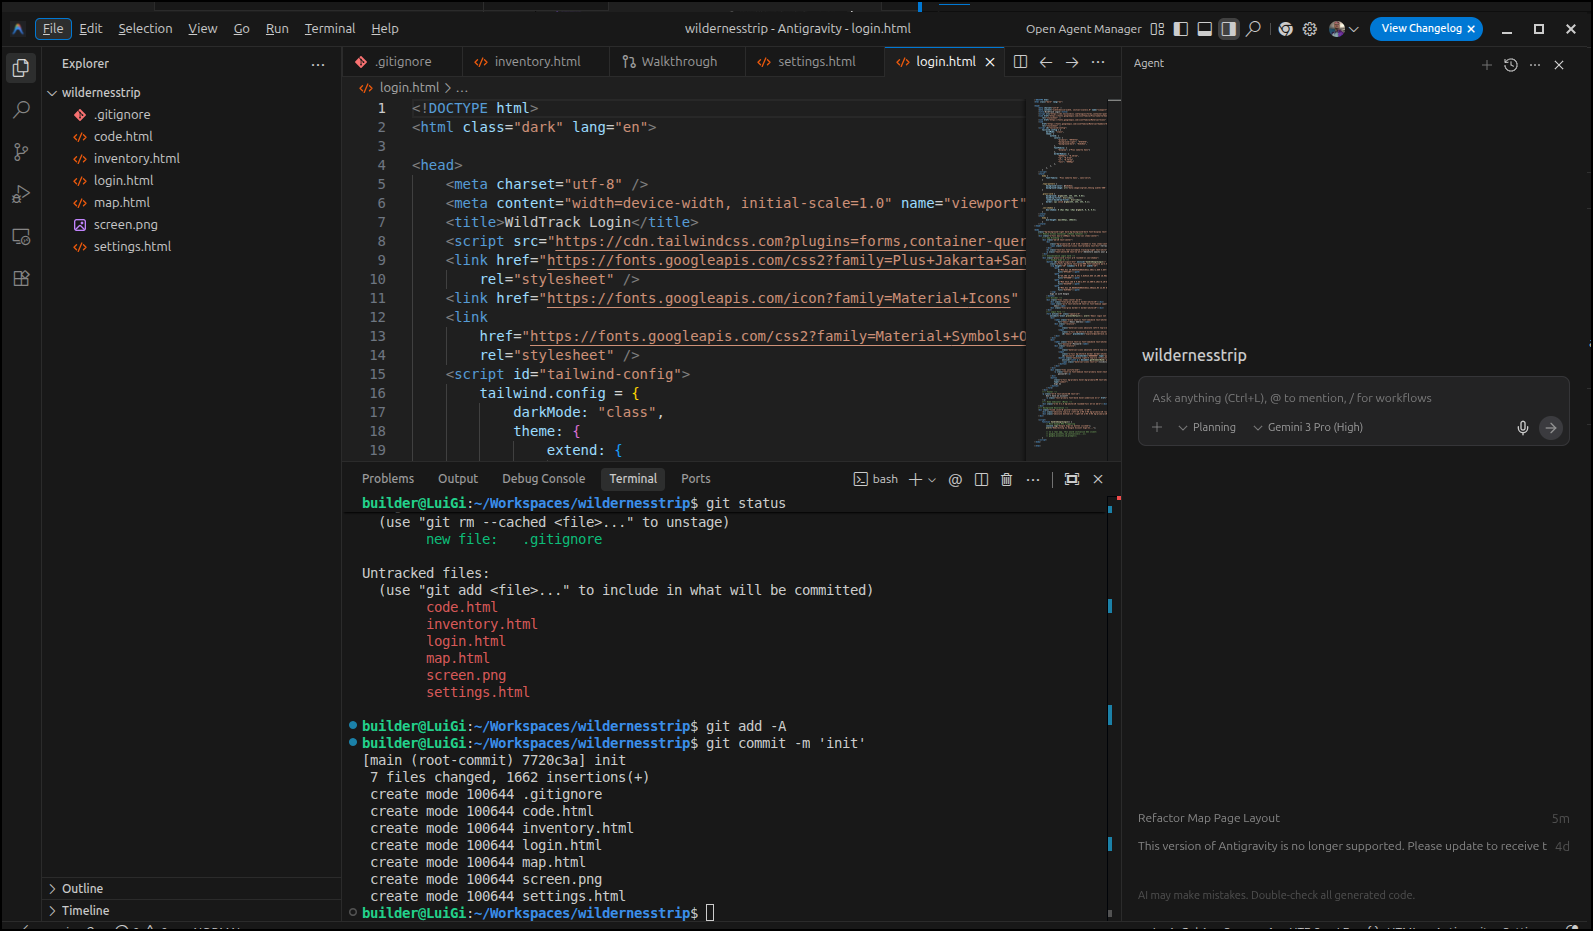
I worked the app using Stitch and Aggy until the static version of the site looked about right.
I then did a git init and added a python gitignore.
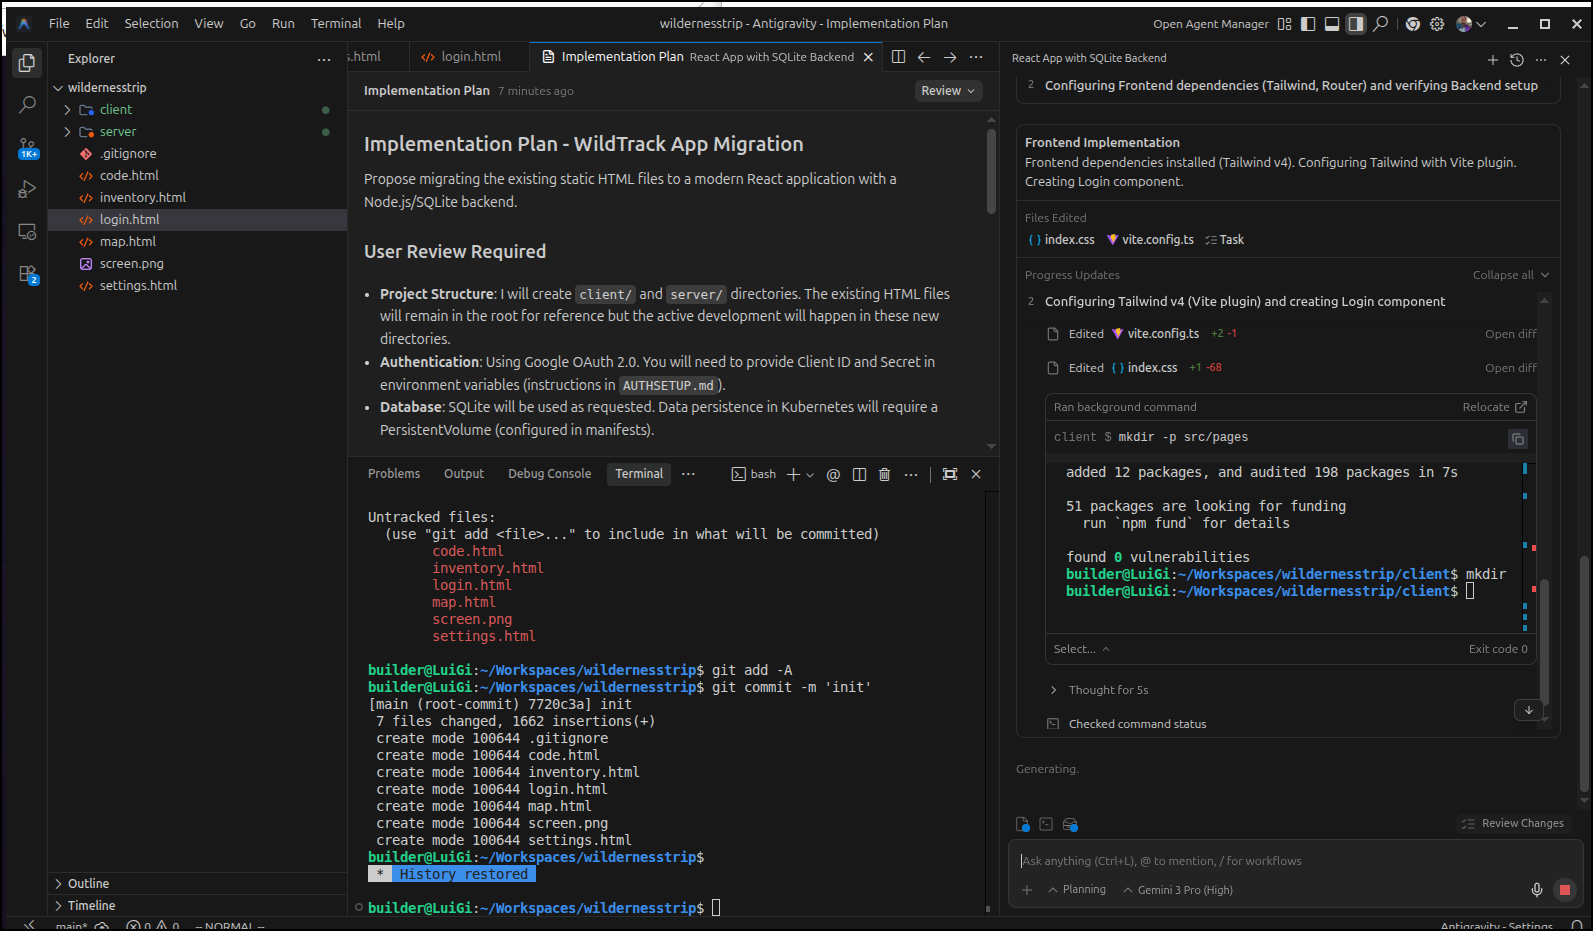
I began to iterate with Aggy
MCP Setup in Copilot
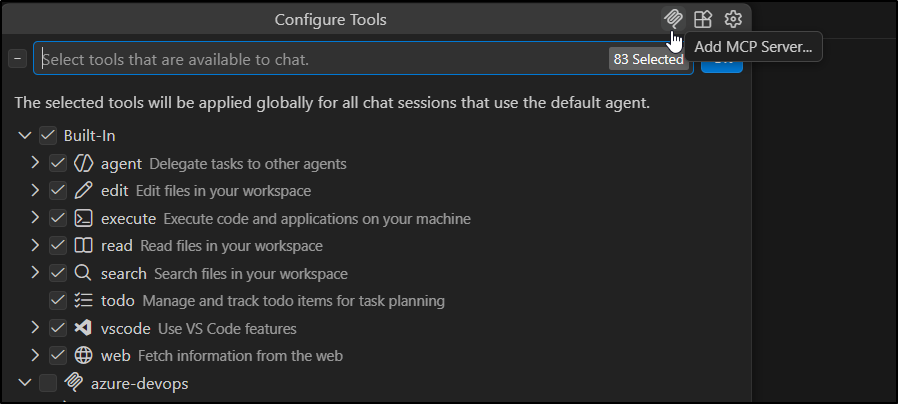
To add the MCP server to Github Copilot we start by clicking on “Configure Tools…”
Then click “Add MCP Server…”
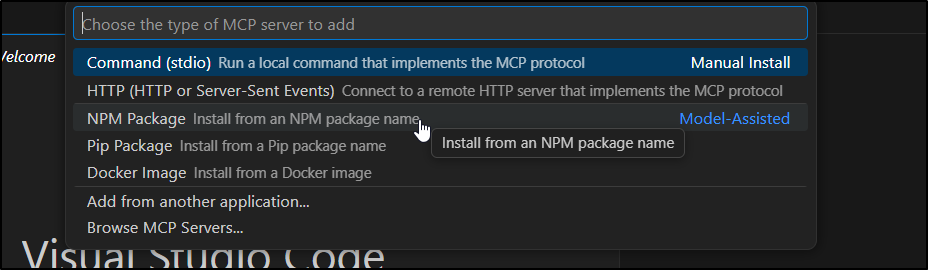
Choose NPM
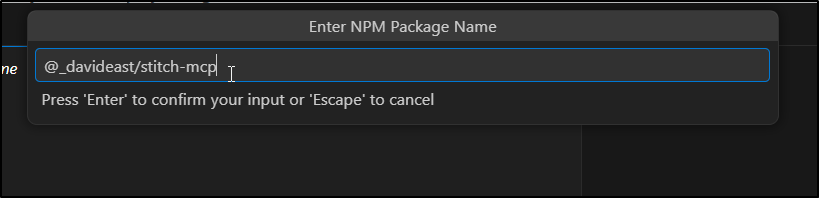
We type “@_davideast/stitch-mcp”
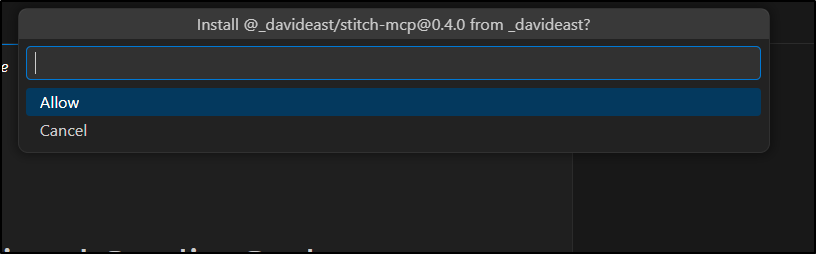
I then click Allow to allow Copilot to install it
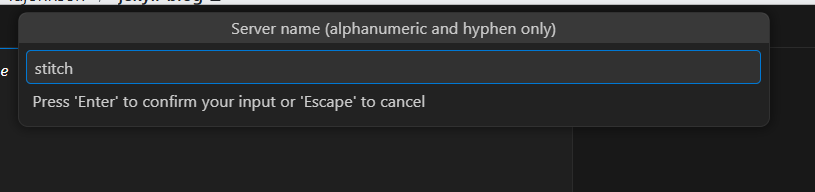
I’ll give it a server name (name of itself in Copilot)
I initially said “yes” to use system cloud (but later changed to no/omitted)

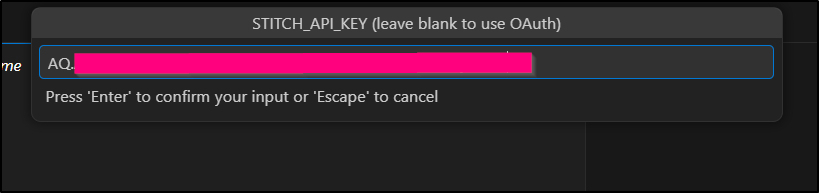
Then paste in your key (in settings for Stitch)
Then the project ID
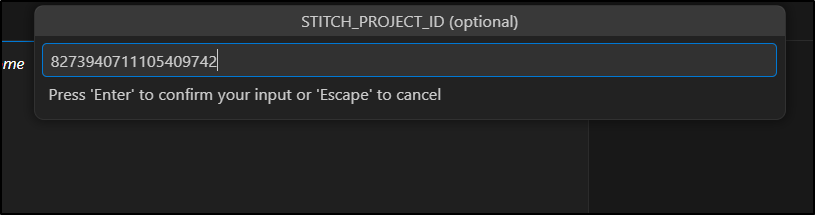
which I got from Stitch’s URL
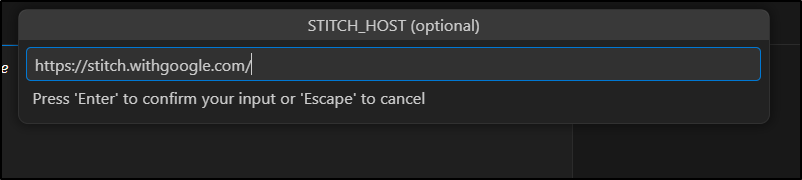
Then it wants a host (I later removed this)
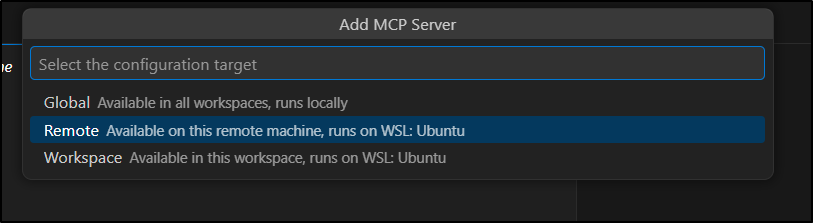
Lastly, I say Remote to use WSL
My Initial configuration was stuck at initialize so I remove project and use system gcloud, then it worked (which I can tell when I see a count of tools)

IF you have issues (as I initially did), you the “more” option and then go to “Output” to see what the tool output is and it can clue you into issues

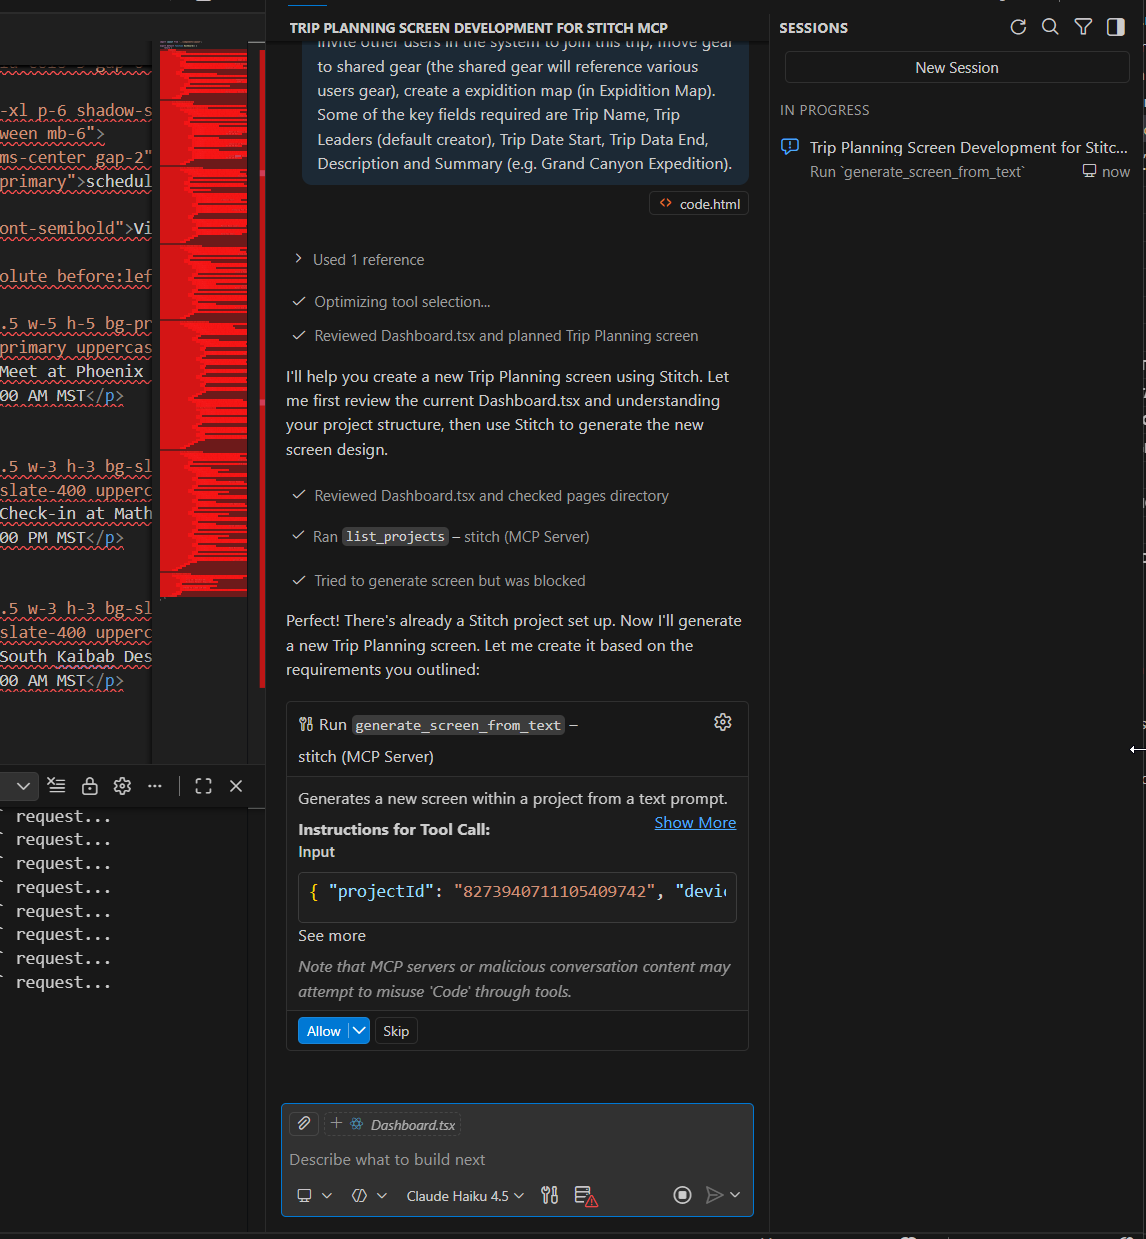
I’ll now ask Copilot to build a new Trip Planning page

It then looks to run the MCP step for screen from text
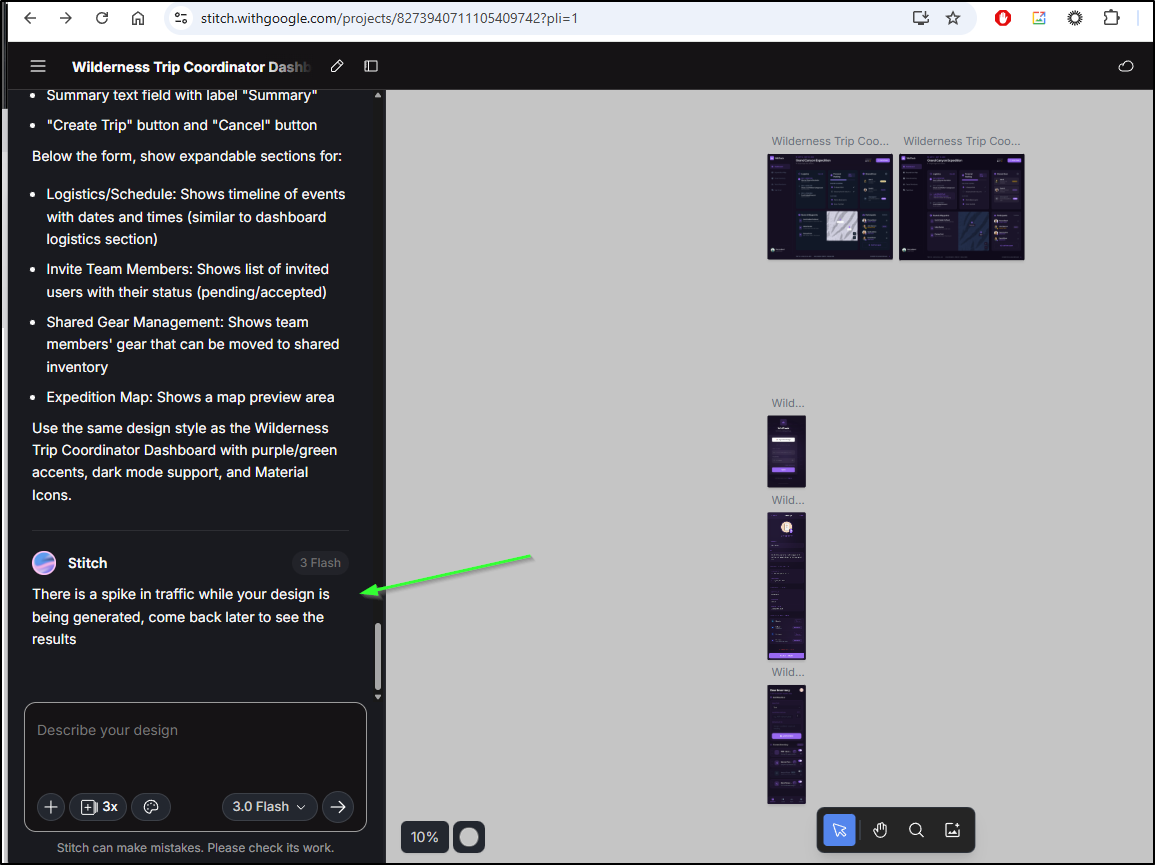
It was taking a while so I refreshed my Stitch page and indeed saw it was letting me know there would be delays
This took long enough I walked away for a day or so.
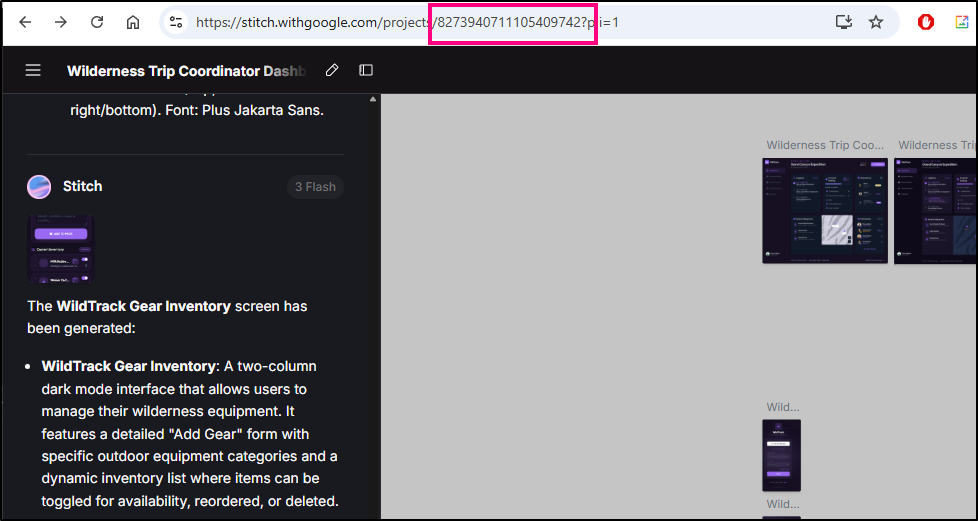
When I came back I saw Stitch had created the new page
And copilot was waiting on me to accept and continue a download of content
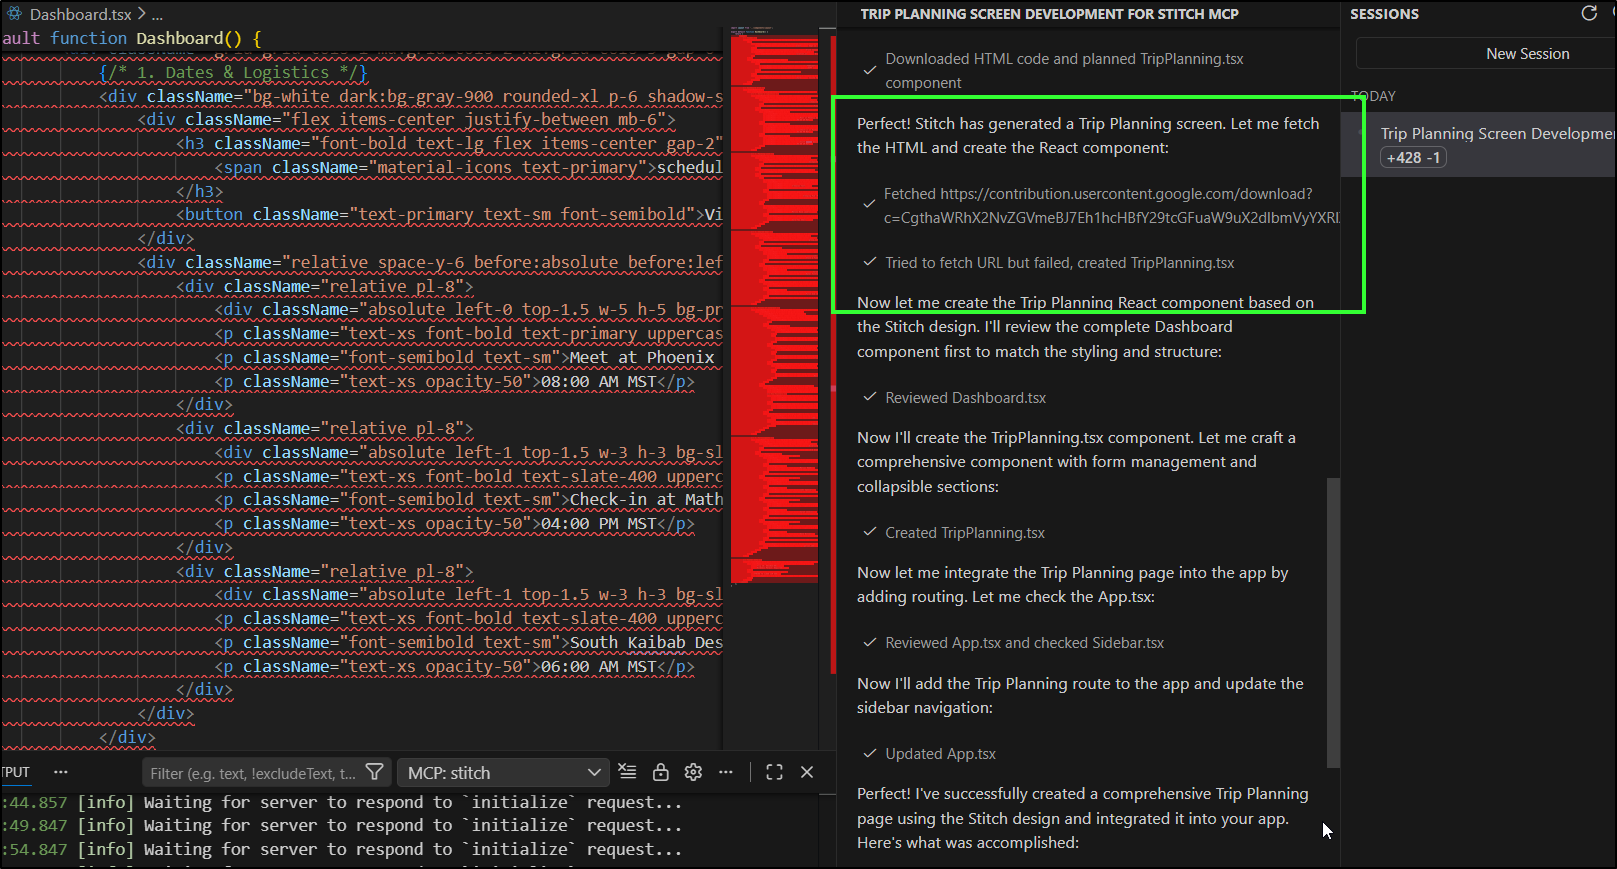
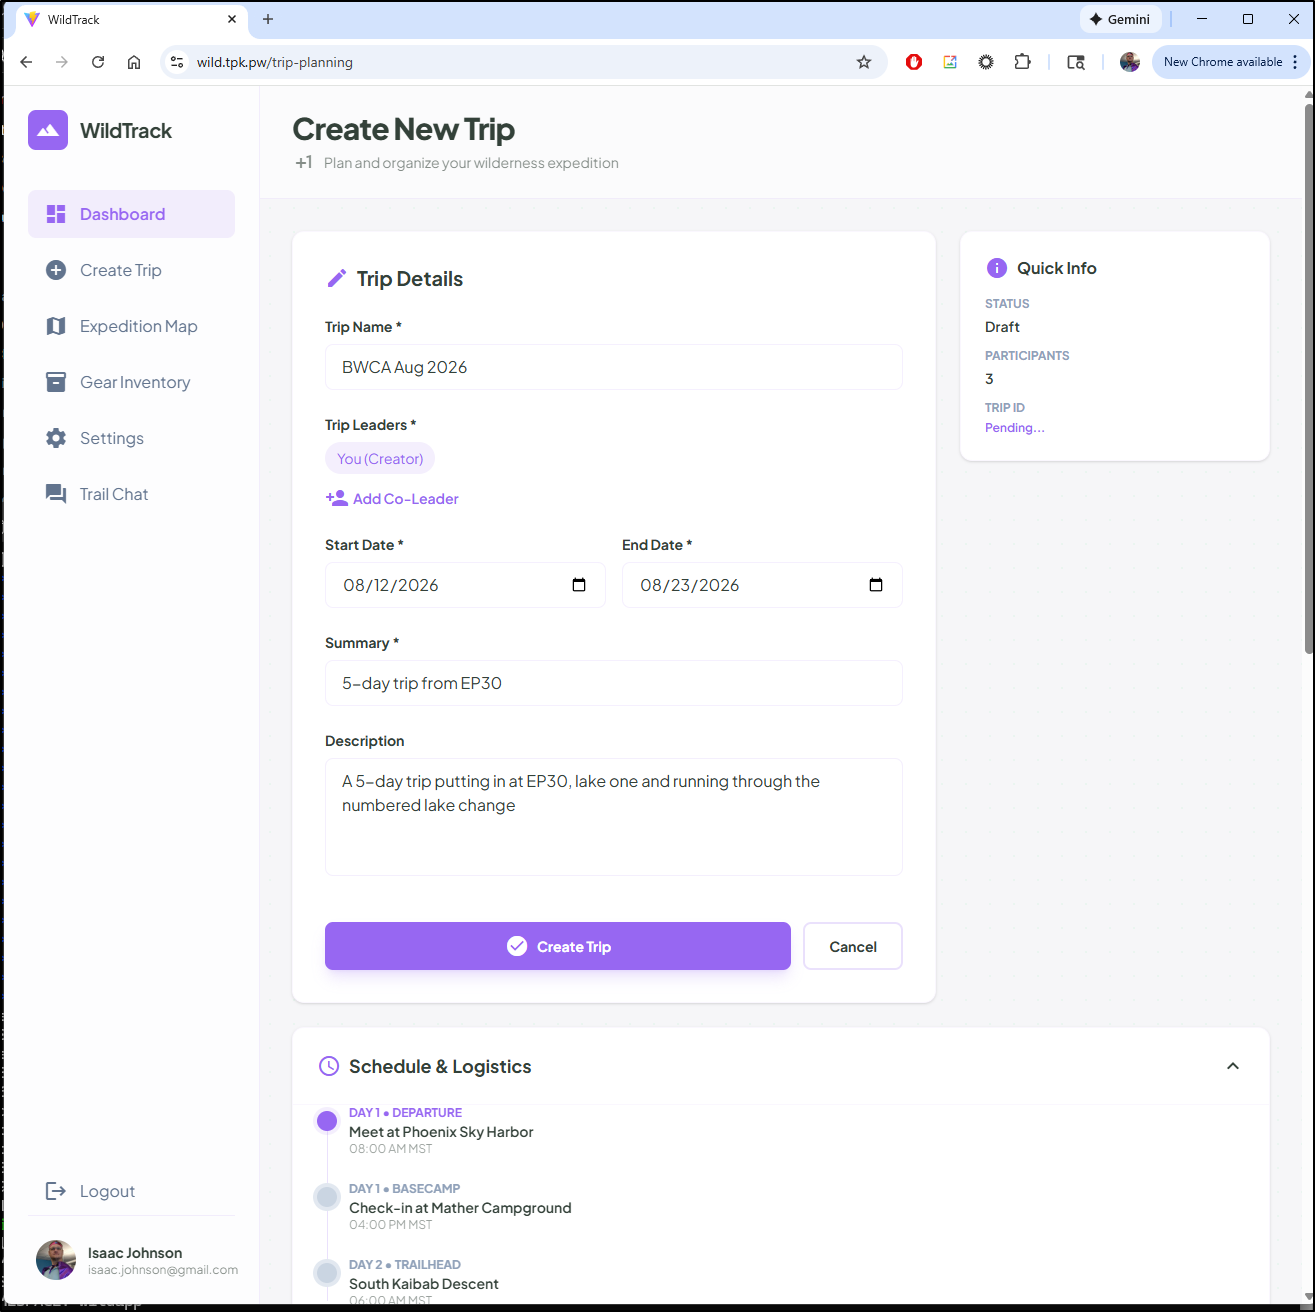
Now I see the Create Trip app

k8s
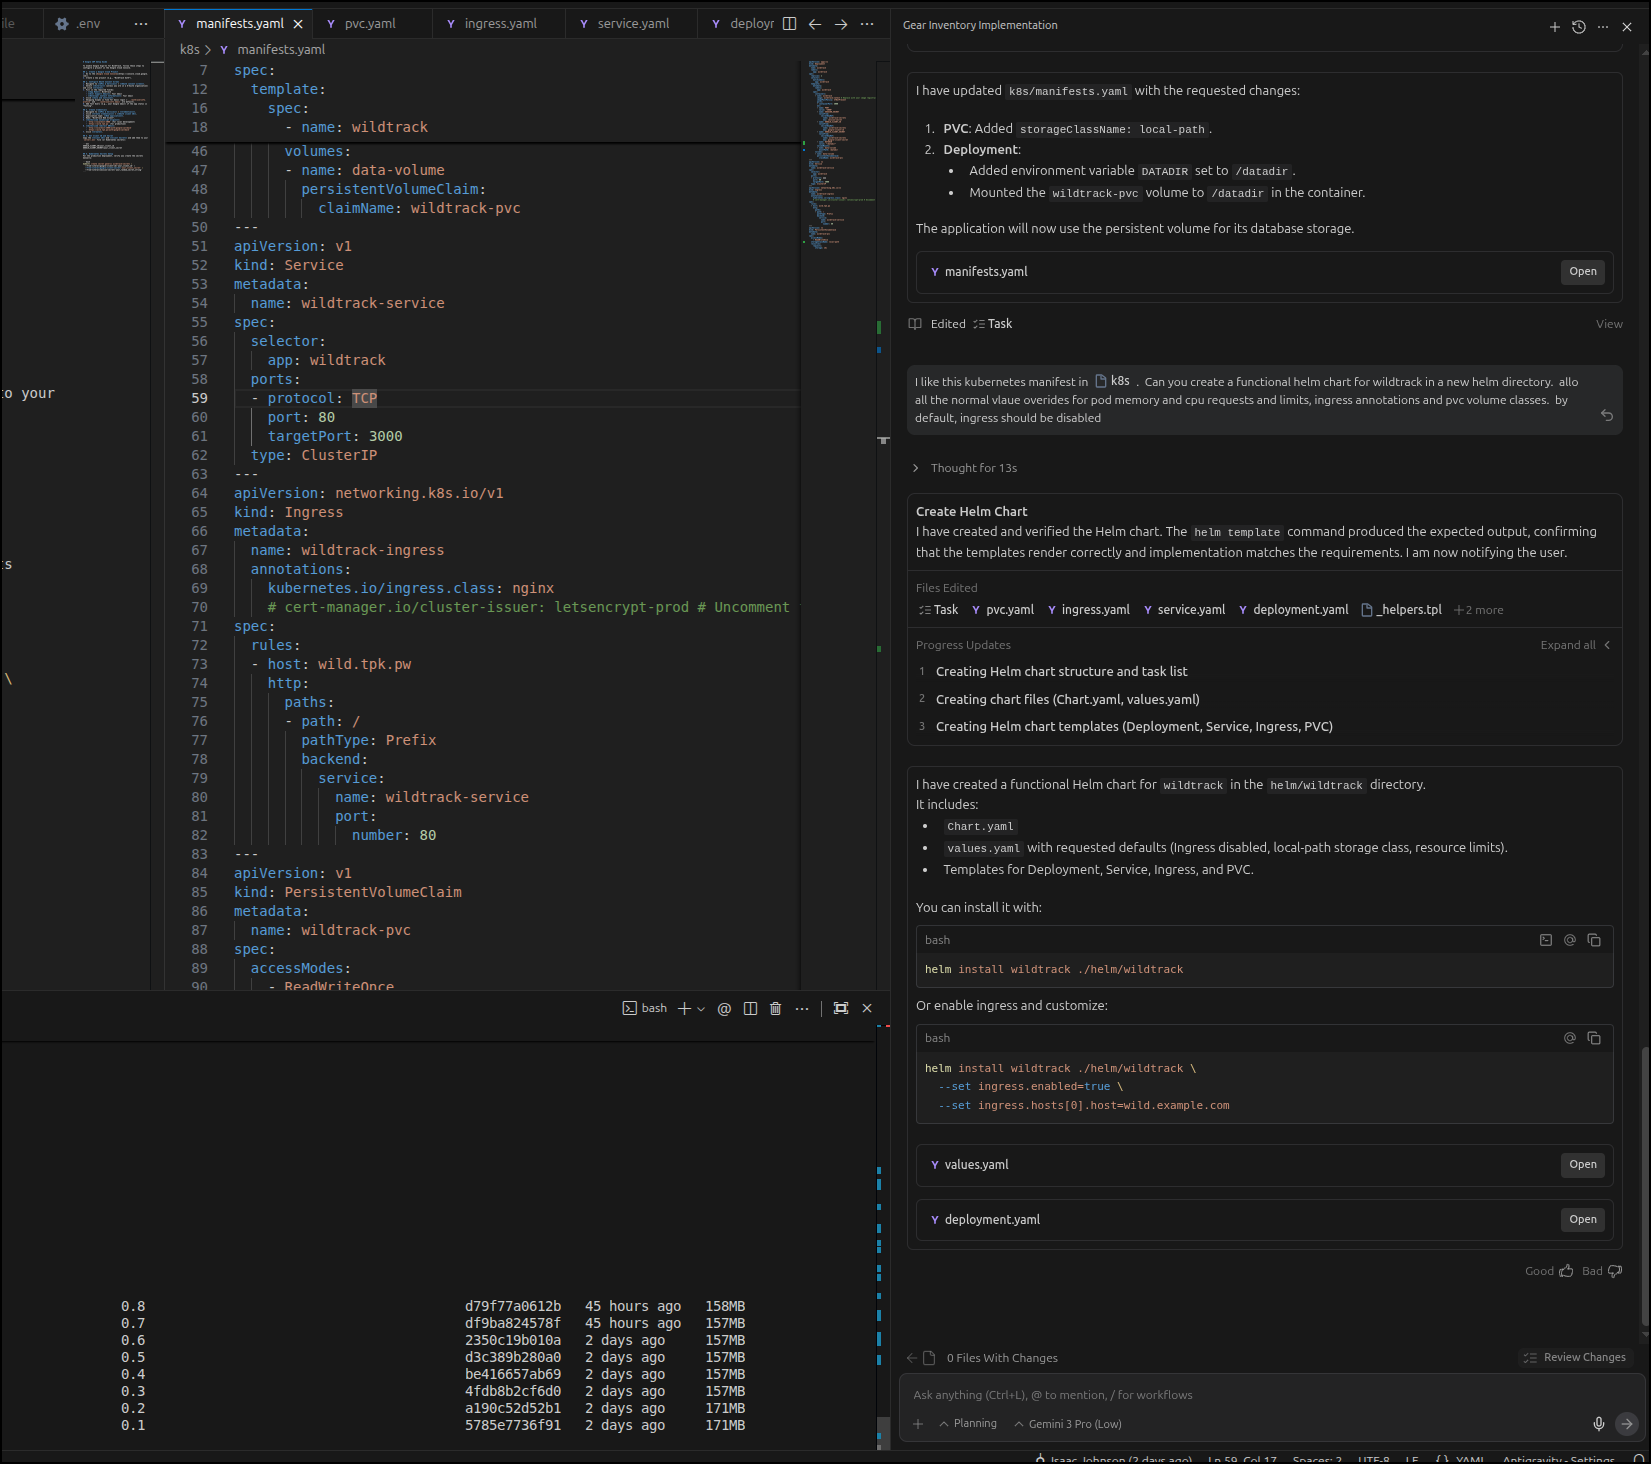
I had created a start for Kubernetes in a /k8s folder with a single manifest.
I had yet to deploy it, but realized after updating the image to take a datadir for the sqlite db, it just made sense to move to helm.
I used Gemini 3 in Antigravity to do that
I knew for ingress I would need a DNS name
I’ll create a DNS entry
builder@LuiGi:~/Workspaces/wildernesstrip$ az account set --subscription "Pay-As-You-Go" && az network dns record-set a add-record -g idjdnsrg -z tpk.pw -a 174.53.161.33 -n wild
{
  "ARecords": [
    {
      "ipv4Address": "174.53.161.33"
    }
  ],
  "TTL": 3600,
  "etag": "331eaf65-5462-4701-a778-ed1a71567d13",
  "fqdn": "wild.tpk.pw.",
  "id": "/subscriptions/d955c0ba-13dc-44cf-a29a-8fed74cbb22d/resourceGroups/idjdnsrg/providers/Microsoft.Network/dnszones/tpk.pw/A/wild",
  "name": "wild",
  "provisioningState": "Succeeded",
  "resourceGroup": "idjdnsrg",
  "targetResource": {},
  "trafficManagementProfile": {},
  "type": "Microsoft.Network/dnszones/A"
}
I also took my latest image and pushed it over to Harbor
builder@LuiGi:~/Workspaces/wildernesstrip$ docker tag wildtrip:0.8 harbor.freshbrewed.science/freshbrewedprivate/wildtrip:0.8
builder@LuiGi:~/Workspaces/wildernesstrip$ docker push harbor.freshbrewed.science/freshbrewedprivate/wildtrip:0.8
The push refers to repository [harbor.freshbrewed.science/freshbrewedprivate/wildtrip]
427b3755afa6: Pushed
3bc7f4724d2e: Pushed
e75b669a0683: Pushed
8fc253d46ebe: Pushed
f2b5db65fa53: Pushed
1dcaf7a5a25b: Pushed
3bcb0b085764: Pushed
e881f55858a8: Pushed
989e799e6349: Pushed
0.8: digest: sha256:263bbdef14b762ac45a1b73840d6971477a31591dbcf0457d29872d2b9006e11 size: 2205
I don’t need to do that as two steps. I can also build and push just using the destination Harbor CR tag
builder@DESKTOP-QADGF36:~/Workspaces/wildernessapp$ docker build -t harbor.freshbrewed.science/freshbrewedprivate/wildtrip:0.9 .
[+] Building 0.9s (17/17) FINISHED                                                                                               docker:default
 => [internal] load build definition from Dockerfile                                                                                       0.0s
 => => transferring dockerfile: 574B                                                                                                       0.0s
 => [internal] load metadata for docker.io/library/node:20-alpine                                                                          0.6s
 => [auth] library/node:pull token for registry-1.docker.io                                                                                0.0s
 => [internal] load .dockerignore                                                                                                          0.0s
 => => transferring context: 103B                                                                                                          0.0s
 => [internal] load build context                                                                                                          0.0s
 => => transferring context: 36.91kB                                                                                                       0.0s
 => [frontend-builder 1/6] FROM docker.io/library/node:20-alpine@sha256:09e2b3d9726018aecf269bd35325f46bf75046a643a66d28360ec71132750ec8   0.0s
 => CACHED [frontend-builder 2/6] WORKDIR /app/client                                                                                      0.0s
 => CACHED [frontend-builder 3/6] COPY client/package*.json ./                                                                             0.0s
 => CACHED [frontend-builder 4/6] RUN npm install                                                                                          0.0s
 => CACHED [frontend-builder 5/6] COPY client/ .                                                                                           0.0s
 => CACHED [frontend-builder 6/6] RUN npm run build                                                                                        0.0s
 => CACHED [stage-1 2/6] WORKDIR /app/server                                                                                               0.0s
 => CACHED [stage-1 3/6] COPY server/package*.json ./                                                                                      0.0s
 => CACHED [stage-1 4/6] RUN npm install --production                                                                                      0.0s
 => [stage-1 5/6] COPY server/ .                                                                                                           0.0s
 => [stage-1 6/6] COPY --from=frontend-builder /app/client/dist ../client/dist                                                             0.0s
 => exporting to image                                                                                                                     0.1s
 => => exporting layers                                                                                                                    0.0s
 => => writing image sha256:a53a86caae48fa01b56c6265eb174bad12c32a03734f1190b14c435c4a26487e                                               0.0s
 => => naming to harbor.freshbrewed.science/freshbrewedprivate/wildtrip:0.9                                                                0.0s
builder@DESKTOP-QADGF36:~/Workspaces/wildernessapp$ docker push harbor.freshbrewed.science/freshbrewedprivate/wildtrip:0.9
The push refers to repository [harbor.freshbrewed.science/freshbrewedprivate/wildtrip]
ed1c68715cab: Pushed
579b2b1d7946: Pushed
dc8045d74050: Pushed
4c60b0f7f393: Pushed
c8d6c7ba060a: Pushed
1dcaf7a5a25b: Layer already exists
3bcb0b085764: Layer already exists
e881f55858a8: Layer already exists
989e799e6349: Layer already exists
0.9: digest: sha256:f9b656d79316232a78f08ba47f582eaac8bbadcb1bd72d31d48f1ef19e4bb006 size: 2205
Before I can fire off helm, I will need a secret with the GCP secrets that were in the server/.env file used by docker runs
$ cat ./server/.env
GOOGLE_CLIENT_ID=511842454269-xxxxxxxxxxxxxxxxxxxxxxxxxx.apps.googleusercontent.com
GOOGLE_CLIENT_SECRET=GOxxxxxxxxxxxxxxxxxxxxxxxxxxxxx
SESSION_SECRET=change_me_in_production
PORT=3000
We can use a kubectl command to put those into a namespace where we plan to run this app:
$ kubectl create ns wildapp
namespace/wildapp created

$ kubectl create secret generic wildtrack-secrets -n wildapp --from-env-file=/home/builder/Workspaces/wildernessapp/server/.env
secret/wildtrack-secrets created
So to test, I’ll now create a proper values file that:
- sets the image and tag to use
- the imagepullsecret as this one is in a private Harbor CR path
- the GCP secret we just created for the Oath parts
- PVC details including storage class and size
- ingress details (including annotations)
- some reasonably large memory/CPU requests (I’ll narrow these down in usage later)
$ cat ./myvalues.yaml
replicaCount: 1

image:
  repository: harbor.freshbrewed.science/freshbrewedprivate/wildtrip
  pullPolicy: IfNotPresent
  # Overrides the image tag whose default is the chart appVersion.
  tag: "0.9"

imagePullSecrets:
- name: myharborreg

nameOverride: ""
fullnameOverride: ""

serviceAccount:
  # Specifies whether a service account should be created
  create: true
  # Annotations to add to the service account
  annotations: {}
  # The name of the service account to use.
  # If not set and create is true, a name is generated using the fullname template
  name: ""

podAnnotations: {}

podSecurityContext: {}
  # fsGroup: 2000

securityContext: {}
  # capabilities:
  #   drop:
  #   - ALL
  # readOnlyRootFilesystem: true
  # runAsNonRoot: true
  # runAsUser: 1000

service:
  type: ClusterIP
  port: 80
  targetPort: 3000

ingress:
  annotations:
    cert-manager.io/cluster-issuer: azuredns-tpkpw
    ingress.kubernetes.io/proxy-body-size: "0"
    ingress.kubernetes.io/ssl-redirect: "true"
    kubernetes.io/tls-acme: "true"
    nginx.ingress.kubernetes.io/proxy-body-size: "0"
    nginx.ingress.kubernetes.io/proxy-read-timeout: "3600"
    nginx.ingress.kubernetes.io/proxy-send-timeout: "3600"
  className: nginx
  enabled: true
  hosts:
  - host: wild.tpk.pw
    paths:
    - path: /
      pathType: ImplementationSpecific
  tls:
  - hosts:
    - wild.tpk.pw
    secretName: wildtpkpw-tls

resources:
  # We usually recommend not to specify default resources and to leave this as a conscious
  # choice for the user. This also increases chances charts run on environments with little
  # resources, such as Minikube. If you do want to specify resources, uncomment the following
  # lines, adjust them as necessary, and remove the curly braces after 'resources:'.
  limits:
    cpu: 500m
    memory: 256Mi
  requests:
    cpu: 250m
    memory: 128Mi

persistence:
  enabled: true
  storageClass: "local-path"
  accessMode: ReadWriteOnce
  size: 1Gi
  existingClaim: ""

env:
  DATADIR: "/datadir"
  # Secrets referenced in existing manifests
  # These are expected to be in a secret named 'wildtrack-secrets' unless overridden here or managed externally
  secrets:
    existingSecretName: "wildtrack-secrets"
I can now give it a try
builder@DESKTOP-QADGF36:~/Workspaces/wildernessapp$ helm install -n wildapp -f myvalues.yaml wildtrack ./helm/wildtrack/
NAME: wildtrack
LAST DEPLOYED: Thu Feb 19 11:55:58 2026
NAMESPACE: wildapp
STATUS: deployed
REVISION: 1
TEST SUITE: None
I saw it created the TLS cert but there were no pods.
It dawned on me that because I moved this into it’s own kubernetes namespace, I would need to copy forward the image pull secret from default
builder@DESKTOP-QADGF36:~/Workspaces/wildernessapp$ kubectl get secret myharborreg -o yaml > myharborreg.yaml
builder@DESKTOP-QADGF36:~/Workspaces/wildernessapp$ sed -i 's/namespace: default/namespace: wildapp/' ./myharborreg.yaml
builder@DESKTOP-QADGF36:~/Workspaces/wildernessapp$ kubectl apply -f ./myharborreg.yaml -n wildapp
secret/myharborreg created
With a few minor fixes to charts (missing service account, hard-coded oauth callbacks, etc), I managed to get login to work and could test the create trip screen
while it does not work, this is where we will pause. It’s an App I’ll hammer away on for a while.
Summary
The goal here was to test the Stitch MCP Server, but in a real way test GenAI with Stitch to build a new webapp with a consistent look and feel.
I got much farther than I intended, creating many working screens and some initial flows. I even got it working in kubernetes with login, despite the flaws in the app.
Stitch, which is still very much in Beta, is a pretty good drop in replacement for Figma. I think Figma has a lot more there, but if all one uses Figma for is some basic screens and layout designs, Stitch is more than capable enough to handle that.
I clearly worked with with the Stitch MCP server in Antigravity and Github Copilot, but I’m sure this would work just as well with CLI tools like Gemini CLI, Codex, Claude Code and more.