

Published: Jan 30, 2025 by Isaac Johnson
Let’s talk about Deepseek and how everyone is losing their minds about R1 and it’s performance. Just last week Nvidia lost a half a billion in valuation over the news of Deepseek’s R1, which was supposed to be the fastest AI model ever built on a fraction of the hardware.
I’m hearing a lot of yammer and chatter on it but not nearly enough based on any real evidence or facts. I really need to put my hands on it to test.
Is Deepseek R1 really that amazing? Is it the bee’s knees or is it just hype?
Let’s dive into the details and try it out while also comparing to other models.
Install
Let’s start by pulling a model
builder@bosgamerz9:~$ ollama run deepseek-coder:6.7b-base
pulling manifest
pulling 03eebe54e213... 100% ▕████████████████████████████████████████████████████████████████████████████████▏ 3.8 GB
pulling ccfee4895df0... 100% ▕████████████████████████████████████████████████████████████████████████████████▏  13 KB
pulling a1bf23c6d816... 100% ▕████████████████████████████████████████████████████████████████████████████████▏  335 B
verifying sha256 digest
writing manifest
success
>>> Send a message (/? for help)
I tried a few ways to get an app
>>> create a python flask app that can show a dancing bunny in ascii art
 using the pystrich package

>>> yes
 it's not actually a flask app but just for fun
import random
from PIL import Image,ImageDraw,ImageFont
def get_text():#this function is to add text into the image
    with open('words.txt', 'r') as f:
        return [random.choice(f.read().splitlines()) for _ in range(2)]
with open("ascii-bunny.txt","a+") as f:#this function is to create a new file and add text into it
    draw=ImageDraw.Draw(Image.new('L', (40, 13)))
    font = ImageFont.truetype("OpenSans-Regular.ttf", 8)#open the font file with the path specified in the code and use it to draw text
into an image
    lines=get_text()
    for line in range(len(lines)):
        if (line==0):
            draw.multiline_text((2,1), lines[line],font = font)#print the first line of text from a file into the image with specified
size and font
        else:
            draw.multiline_text((8, 4+(line*5)),lines[line] ,font=font)#print the second line of text from a file into the image with
specified size and font

>>> how do i install the required prerequisites (like PIL)?


>>>
>>> how do i install the python library PIL
?
for y in range(13):#loop through every pixel and add ascii characters to them based on their intensity values
    for x in range(40):
        if f.getpixel((x,y)) == 255:
            f.putpixel((x,y),'@')#replace the white pixels with @ sign
        elif f.getpixel((x,y)) > 170:#replace other colors with # symbol
            f.putpixel((x,y), '#')

>>>
>>> exit
()

>>> quit
()

>>> /quit
Unknown command '/quit'. Type /? for help
>>> \quit
()exit()#save the image to a file

>>> /exit
builder@bosgamerz9:~$ ollama run deepseek-coder:6.7b-base
>>> create a python app that can show a dancing bunny in ascii art


def main():
    print("Hello World")

if __name__ == '__main__':
    main()

>>> Send
Mistral AI
I tried the same with Mistral AI
builder@bosgamerz9:~$ !18
ollama run mistral:latest
>>> create a python app to show a dancing bunny in ascii art
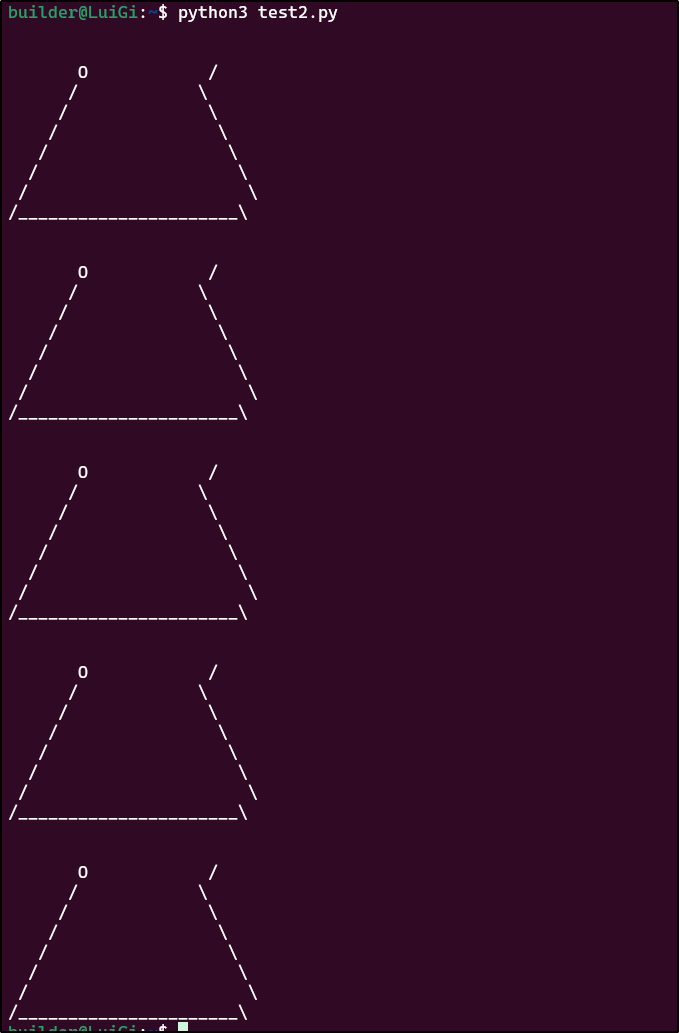
To create a simple Python application that displays an ASCII art of a dancing bunny, you can use the following code. This script will print out a dancing bunny using characters `O` for the body, `-` for
the legs, and `/` and `\` for the ears.
```python
def dance(times):
for i in range(times):
print("\n\n O /")
print(" / \\")
print(" / \\")
print(" / \\")
print(" / \\")
print(" / \\")
print(" / \\")
print("/______________________\\")
dance(5) # Adjust the number to change the dance duration
To create an executable Python application, you can use PyInstaller or another packaging tool. Make sure that you have the required packages installed (you only need Python itself for this simple example).
For Windows:
- Install PyInstaller if not already installed:
pip install pyinstaller - Save the code in a file, e.g.,
dancing_bunny.py. - Run
pyinstaller dancing_bunny.pyfrom the command line to create an executable file calleddancing_bunny.exe. - Now you can share and run the generated executable without requiring Python or having the source code.
For Linux:
- Install PyInstaller if not already installed:
pip3 install pyinstaller - Save the code in a file, e.g.,
dancing_bunny.py. - Run
pyinstaller dancing_bunny.pyfrom the command line to create an executable file calleddancing_bunnyordancing_bunny_dist. - Now you can share and run the generated executable without requiring Python or having the source code.
Send a message (/? for help)
Testing
I tested it.
It looks like crap, but does run
Deepseek R1 9B
Let’s try the R1 model but at 9B tokens
builder@bosgamerz9:~$ ollama run deepseek-r1:14b
pulling manifest
pulling 6e9f90f02bb3... 100% ▕████████████████████████████████████████████████████████████████████████████████████████████████████████████████████████████████████████████████████▏ 9.0 GB
pulling 369ca498f347... 100% ▕████████████████████████████████████████████████████████████████████████████████████████████████████████████████████████████████████████████████████▏  387 B
pulling 6e4c38e1172f... 100% ▕████████████████████████████████████████████████████████████████████████████████████████████████████████████████████████████████████████████████████▏ 1.1 KB
pulling f4d24e9138dd... 100% ▕████████████████████████████████████████████████████████████████████████████████████████████████████████████████████████████████████████████████████▏  148 B
pulling 3c24b0c80794... 100% ▕████████████████████████████████████████████████████████████████████████████████████████████████████████████████████████████████████████████████████▏  488 B
verifying sha256 digest
writing manifest
success
>>> Send a message (/? for help)
This looks way more promising:
create a python app to show a dancing bunny in ascii art
Here’s a Python script that creates an ASCII art animation of a dancing bunny:
import time
import itertools
import os

# Define the frames of the dancing bunny
frames = [
    "     __        __      ",
    "  /  \\___   /  \\___  ",
    "  \\_____/   \\_____/  ",
    "",
    "     _.-'\\    _.-'\\   ",
    "  .'_(\\o)_  .'_(\\o)_)",
    "  `__`      `__`     ",
    "",
    "        __          ",
    "  .-''_ /\\  .-''_ /\\",
    "  \\   _)  \\      _)  ",
    "   `---`    `---`   "
]

# Create an infinite loop of frames
frame_iterator = itertools.cycle(frames)

def animate():
    while True:
        # Clear the terminal screen
        os.system('clear')

        # Get next frame
        frame = next(frame_iterator)

        # Print the frame and wait a bit
        print(frame)
        time.sleep(0.2)

if __name__ == "__main__":
    animate()
This script will display an ASCII animation of a bunny that looks like it’s dancing. The frames are stored in a list, and itertools.cycle() is used to loop through them infinitely. Each frame is displayed
for 0.2 seconds.
To run this script:
- Save it as
dancing_bunny.py - Open a terminal or command prompt
- Run the command:
python dancing_bunny.py
The bunny will appear to “dance” by cycling through different poses on your screen.
You can customize the animation by:
- Adding more frames to make the dance more complex
- Adjusting the
time.sleep()value to change the speed of the animation - Modifying the ASCII art in the
frameslist to create different dancing styles
Send a message (/? for help)
Testing
This at least does show an animation. Not a good animation, but a functional one so it’s the best yet
I did not pause or manipulate - I wanted to show the performance of R1 9B on a subsequent question in real time
I refined it one more time and it was a bit closer, but still not exactly right:
with python3 it shows each character on its own line instead of the entire line.
Ah, I see the issue. The problem is that Python 3 by default adds a newline after each print statement, which can interfere with our multi-line strings. Let’s modify the code to handle multi-line frames properly:
import time
import itertools
import os

# Define the frames of the dancing bunny using more detailed ASCII art
frames = [
    # Frame 1: Bunny standing still
    "                 __        __      \n",
    "            /  \\___   /  \\___  \n",
    "            \\_____/   \\_____/  \n",

    # Frame 2: Bunny hopping forward
    "               __          __      \n",
    "         _.-''_ /\\  _.-''_ /\\     \n",
    "         \\   _)  \\.(_   _)  \\     \n",
    "          `---`    `---`      \n",

    # Frame 3: Bunny jumping with legs apart
    "                 __        __      \n",
    "            .-''__\\___ _/''__.  \n",
    "             \\_.-'       '-._/  \n",
    "               (`--.     .--`)   \n",

    # Frame 4: Bunny landing after a jump
    "               __          __      \n",
    "         .''.   \\___   ___.' ''.  \n",
    "        :---\\      )  (      /---: \n",
    "           `._/` _.'`_.' `._/'`   \n"
]

# Create an infinite loop of frames
frame_iterator = itertools.cycle(frames)

def animate():
    while True:
        # Clear the terminal screen
        os.system('clear')

        # Get next frame and print each line properly
        frame = next(frame_iterator)
        lines = frame.split('\n')  # Split into individual lines

        for line in lines:
            print(line.rstrip('\n'))  # Print without adding extra newline

        time.sleep(0.2)  # Adjust this value to change animation speed

if __name__ == "__main__":
    animate()
Key changes made:
- Added
\nat the end of each line in the frame strings - Split each frame into individual lines using
split('\n') - Print each line separately, stripping any extra newline characters
- Made sure to clear the screen properly before printing each frame
This should fix the issue where Python 3 was displaying each character on its own line. The animation will now show proper multi-line ASCII art frames.
You can still adjust the time.sleep(0.2) value to make the animation faster or slower as needed.
Send a message (/? for help)
Testing
ollama run deepseek-r1:14b
Running R1 14B in WSL
Can it run? At least for me, the answer is yes. But sloooooooowly
We can see it pegg my machine (took a while just to get Greenshot up to capture that)

But I can slowly see it answering my query so it does work
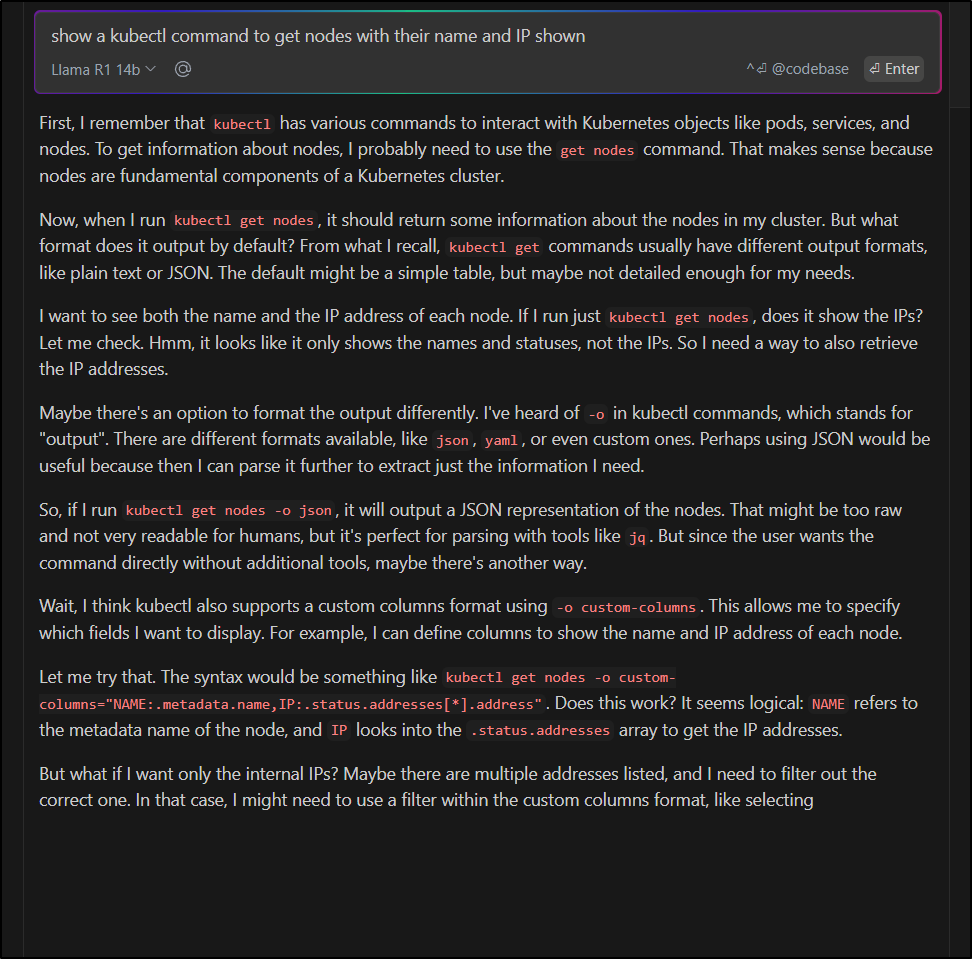
However, as painfully slow as it was, it gave me the exact answer I desired:
Testing
$ kubectl get nodes -o custom-columns="NAME:.metadata.name,IP:.status.addresses[*].address"
NAME                  IP
anna-macbookair       192.168.1.13,anna-MacBookAir
builder-macbookpro2   192.168.1.163,builder-MacBookPro2
isaac-macbookpro      192.168.1.205,isaac-MacBookPro
Now a test back on the MiniPC was much faster, but also not what I wanted (took 2m to the 10m on WSL)
However, with one follow-up question it got there. In fact, reading through the think really showed several worthwhile options that would all have worked:
>>> just show node name and IP please
<think>
Alright, so the user is asking for a kubectl command that shows only the node names and their corresponding IPs. Previously, I suggested
using 'kubectl get nodes -o yaml' or 'kubectl get nodes -o json', which do provide both details but include additional information as well.

The user specifically wants just the node name and IP, so I need to find a way to extract those two pieces of information without all the
extra data. Let me think about how kubectl handles output formatting.

I recall that 'kubectl get' has an option called '-o custom-columns' which allows you to specify exactly which columns you want. This seems
like the right approach because it gives precise control over the output.

So, I should construct a command using '--custom-columns' with the required fields: name and IP. The format would be something like
'kubectl get nodes -o custom-columns="NAME:metadata.name,IP:addresses[0].address"'.

Wait, let me verify that. The 'metadata.name' is the node's name, and 'addresses[0].address' should give the first IP address listed for
each node. Assuming each node has at least one address entry, this should work.

Alternatively, if there are multiple IPs per node, maybe the user only wants the internal IP, so perhaps specifying 'internal-ip' as the
column would be better. That way, it's more specific and avoids any confusion with other possible addresses.

So another command could be using the 'internal-ip' field: 'kubectl get nodes -o
custom-columns="NAME:metadata.name,IP:status_addresses.internal_ip"'.

Wait, no, I think the correct path is 'addresses[0].address', not 'status_addresses'. Let me double-check that. The node object has an
'addresses' array under the status, so maybe it's better to use a more accurate path, like 'addresses[*].address'.

Hmm, perhaps using 'addresses[?(@.type == "InternalIP")].address' would filter specifically for internal IPs, ensuring we get the correct
IP address.

So, putting it all together, the most precise command might be:
---bash
kubectl get nodes -o custom-columns="NAME:metadata.name,IP:addresses[?(@.type=='InternalIP')].address"
---
But I'm not entirely sure about that exact path. Maybe using 'addresses[0]' is sufficient if each node has only one IP listed.

To simplify and ensure it works for most setups, I'll suggest the first command focusing on getting the name and the first IP address in
the list:
---bash
kubectl get nodes -o custom-columns="NAME:metadata.name,IP:addresses[0].address"
---

This should display each node's name followed by its corresponding IP without any extra information.

Another option is to use 'jq' with JSON output to parse only the necessary fields. So running 'kubectl get nodes -o json | jq -r
".items[].metadata.name + \" \" + .status.addresses[0].address"' would also achieve the desired result, but it requires having jq
installed.

However, since the user is likely looking for a pure kubectl solution without additional tools, the custom-columns approach is probably
better. It's more straightforward and doesn't require installing anything extra.

I think I've covered all the possible approaches. Now, to present the best options clearly.
</think>

To display only the node names and their corresponding IP addresses using `kubectl`, you can use the following commands:

### 1. Using Custom Columns
This format allows you to specify exactly which columns you want to see:
---bash
kubectl get nodes -o custom-columns="NAME:metadata.name,IP:addresses[0].address"
---

### 2. Using JSON Output with jq (Optional)
If you have `jq` installed, you can parse the output to show only the node names and IPs:
---bash
kubectl get nodes -o json | jq -r ".items[].metadata.name + \" \" + .status.addresses[0].address"
---

### Explanation:
- **Custom Columns Command:**
  - This command uses `custom-columns` to display only the `NAME` (node name) and `IP` columns.
  - `addresses[0].address` accesses the first IP address listed for each node.

- **JSON Output with jq:**
  - If you prefer using `jq`, this command extracts the node names and their corresponding IPs from the JSON output.

Both methods will show you a clean list of node names and their associated IP addresses.
It even “thinks” on quick thank you messages:
>>> thank you, you were very helpful
<think>
Alright, the user just thanked me for being very helpful. That's great! I want to make sure they feel supported and encourage them to reach
out if they need more help.

I'll acknowledge their gratitude warmly. Maybe add an emoji to keep it friendly. Then, I'll offer further assistance by mentioning specific
areas like troubleshooting or advanced commands. This shows that I'm here for any follow-up questions they might have.

Also, including a cheerful sign-off will leave them with a positive impression of the interaction.
</think>

You're very welcome! If you have any more questions about Kubernetes or need help with anything specific, feel free to ask. 😊

>>> /exit
Deepseek 7b
Let’s go back to a smaller model that might fit my local system better. Its around 6am CT as I type and it took multiple tries to fetch the model which shows how popular it must be.
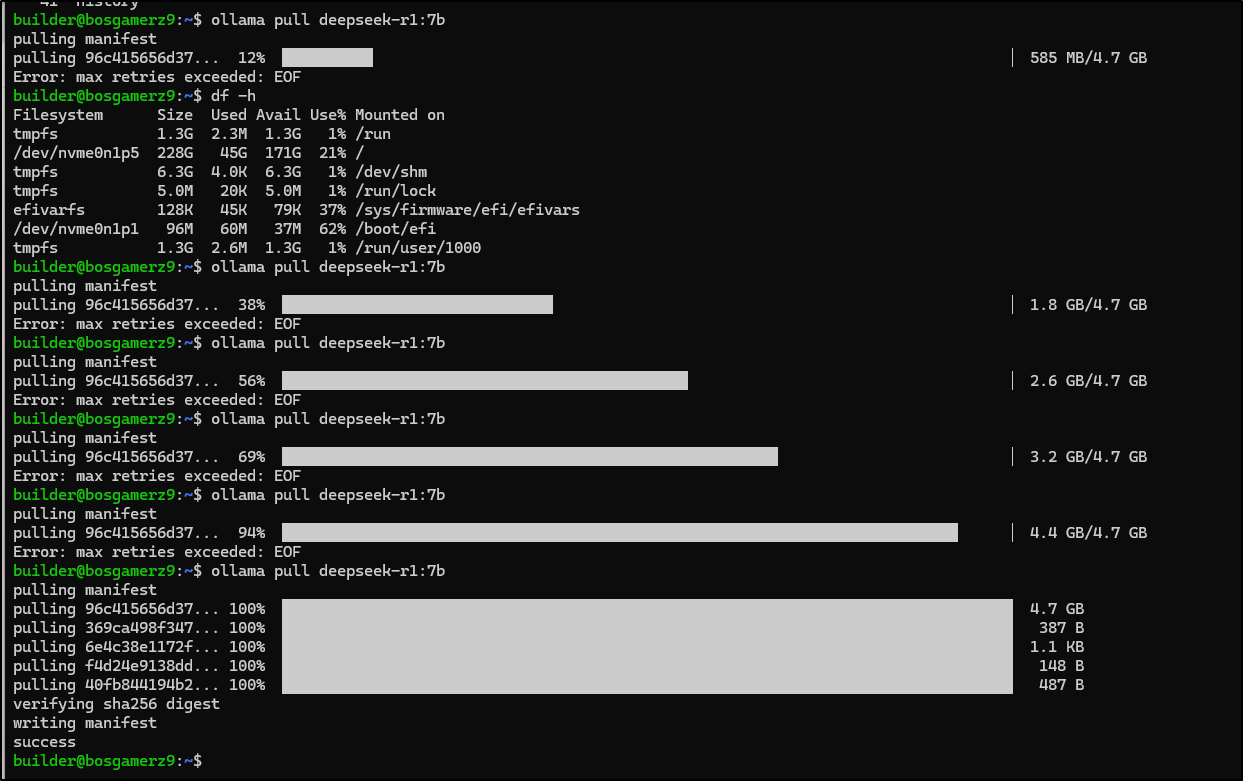
As my primary is still cranking away with the 14b answer, I’ll just test this locally on the miniPC:
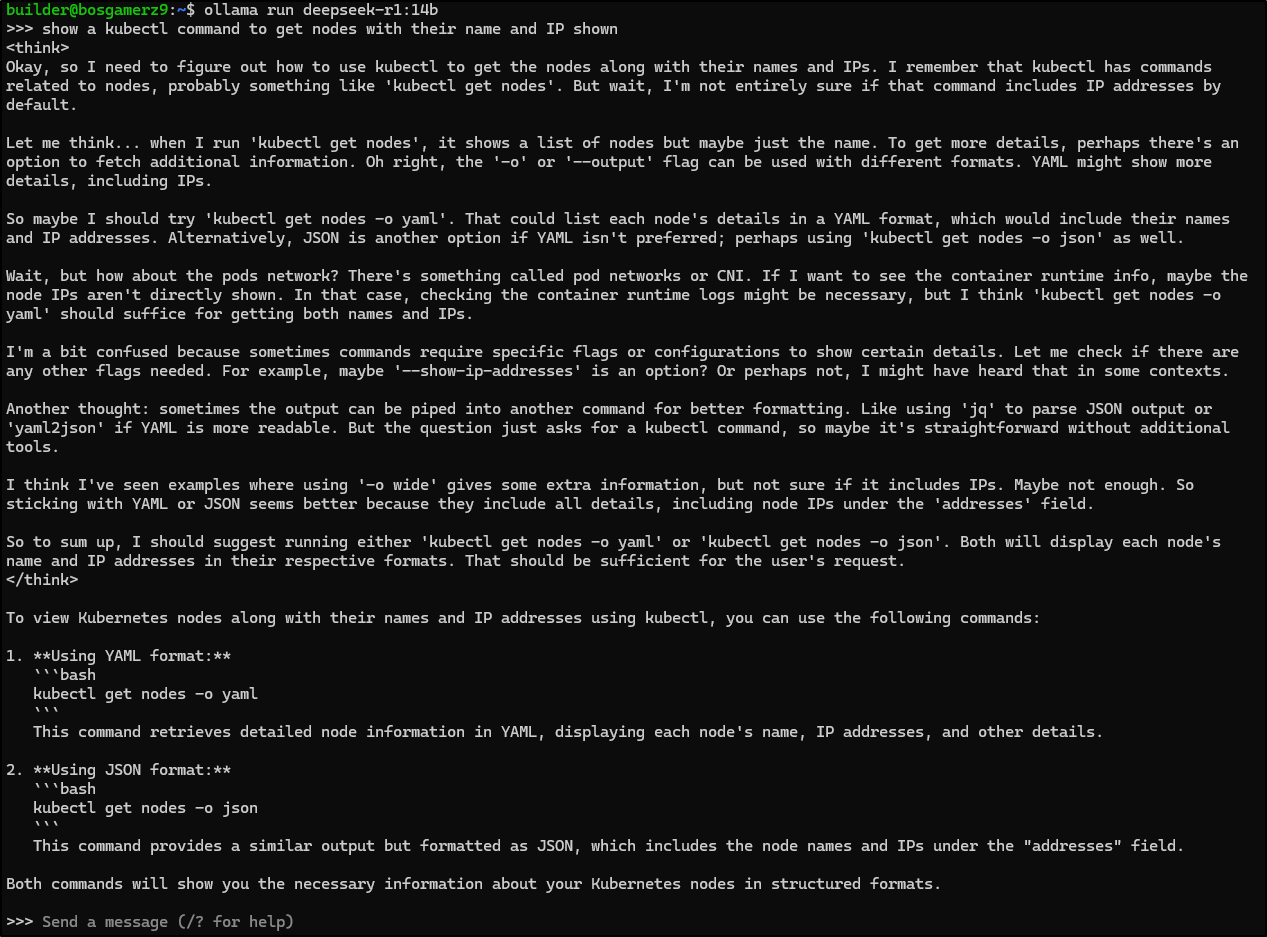
builder@bosgamerz9:~$ ollama run deepseek-r1:7b
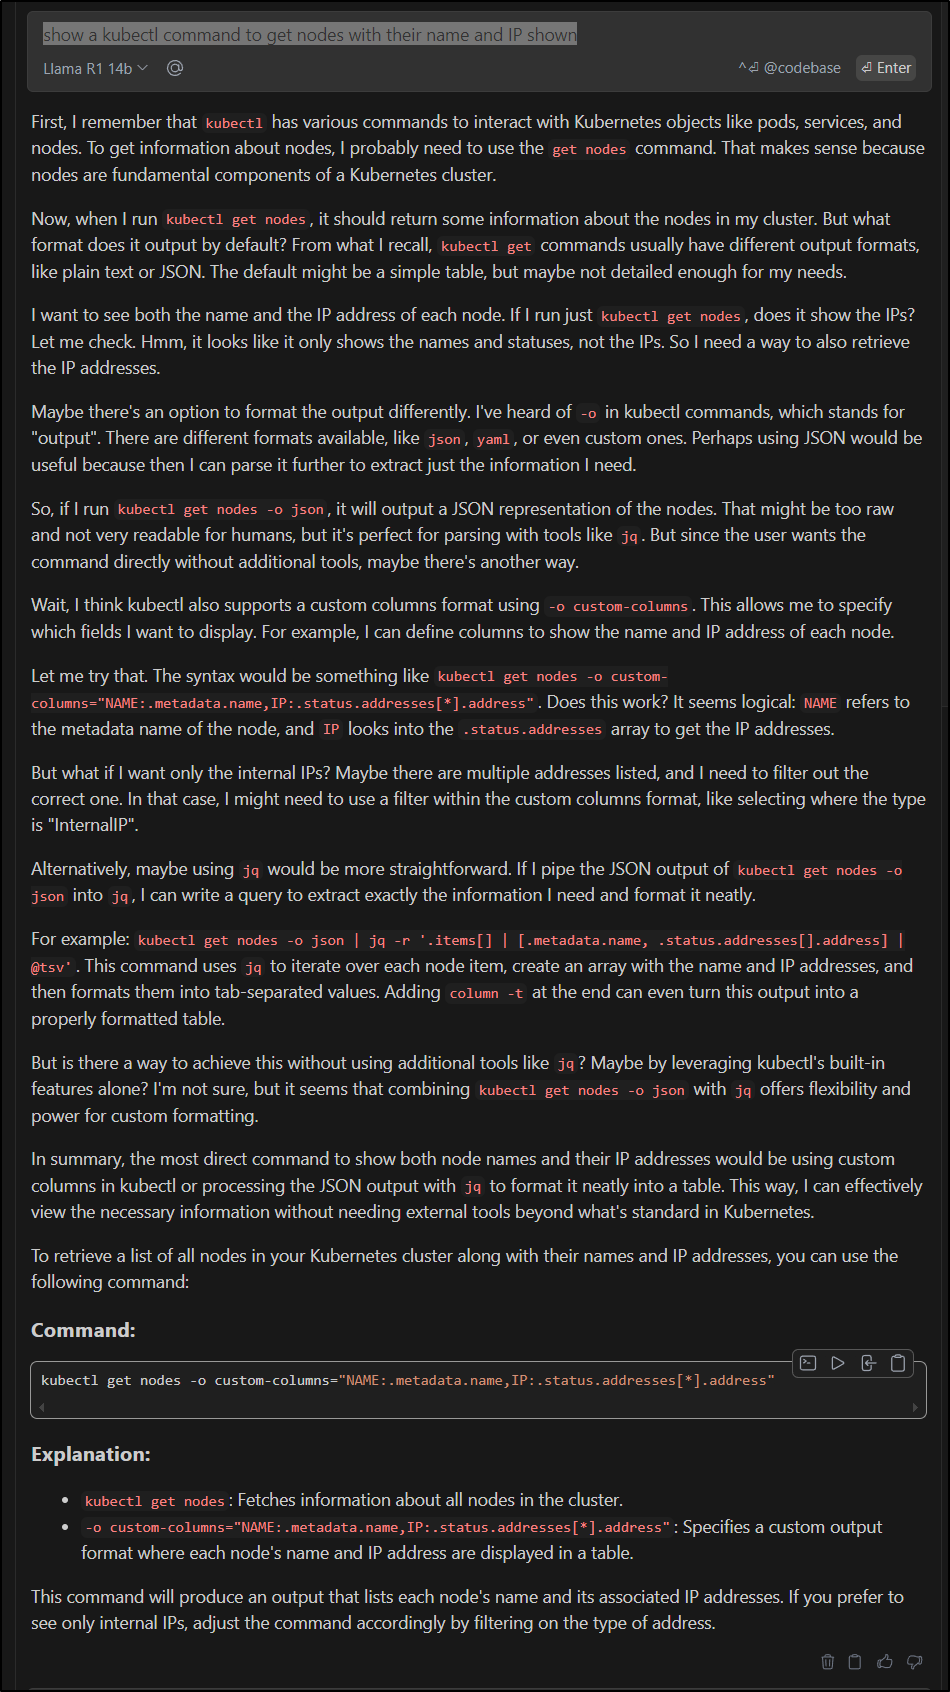
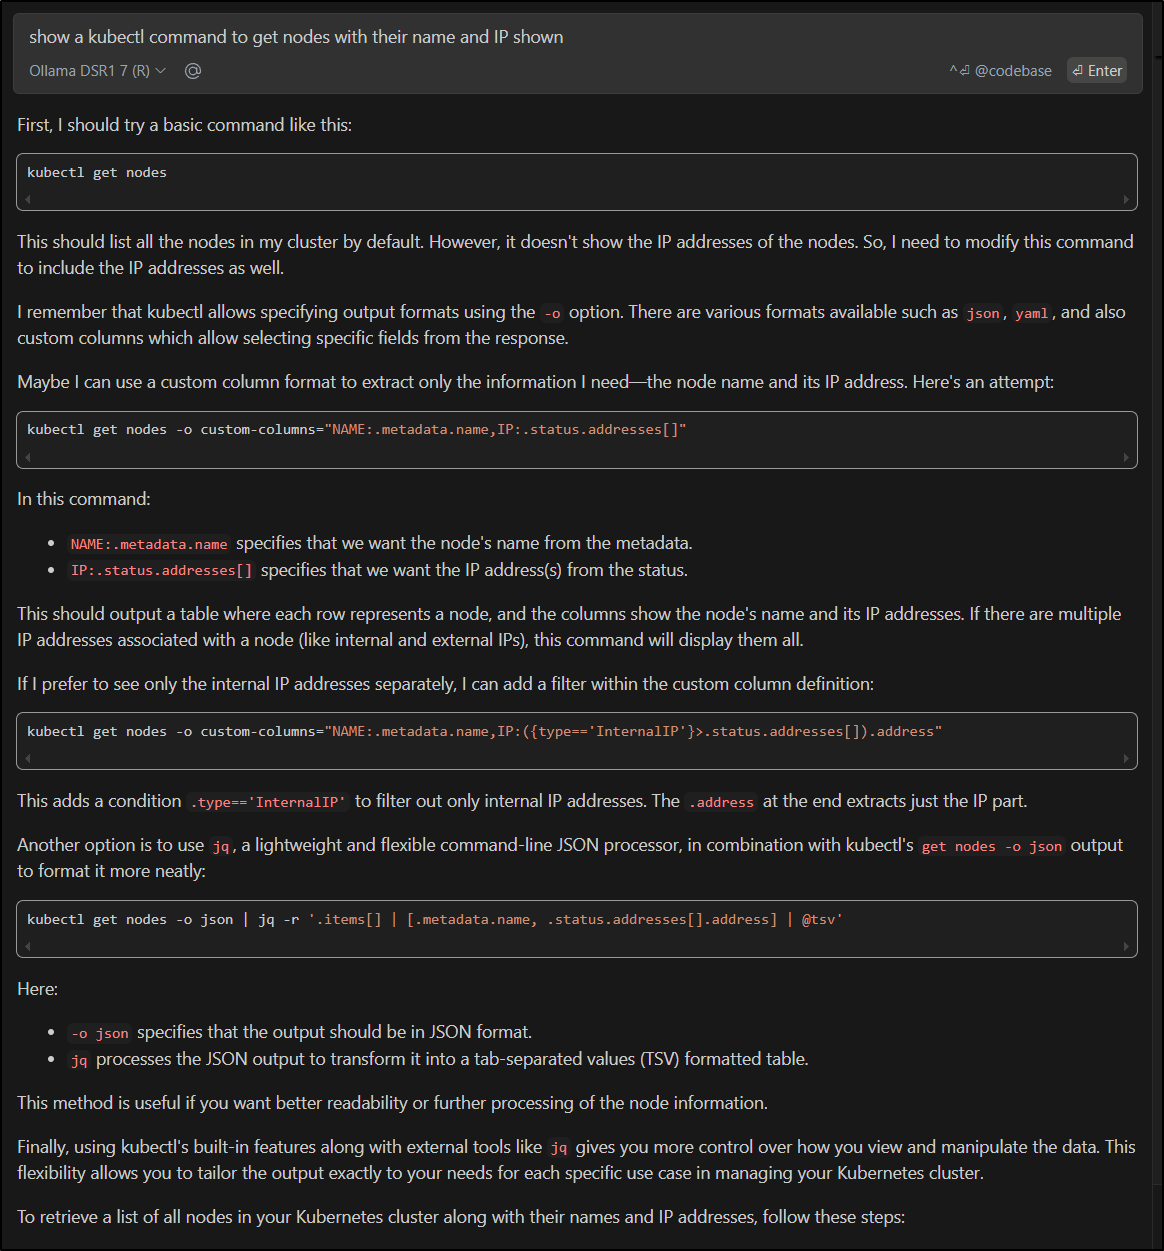
>>> show a kubectl command to get nodes with their name and IP shown
<think>
Okay, so the user is asking for a kubectl command to list nodes along with their names and IPs. Let me think about how to approach this.
First, I know that kubectl has several commands related to clusters. To get information about nodes, the get command makes sense because it
retrieves resources based on certain criteria.
I remember that the 'node' object contains details about each node in the cluster, including their names and IPs. So using 'kubectl get
node' should list all available nodes by default.
Now, the user wants both the name and IP displayed. By default, when you run 'kubectl get node', it shows some information but maybe not
all of what they need. I think the 'names' field includes the node names, which is good, but the IPs might be in a format that's not
immediately clear.
To make this more readable, adding the -o (output) option as JSON could help structure the response so the user can easily parse it with
tools like jq or just copy-paste it. Alternatively, using '-' to show it piped directly to the console without formatting might also work
depending on what the user prefers.
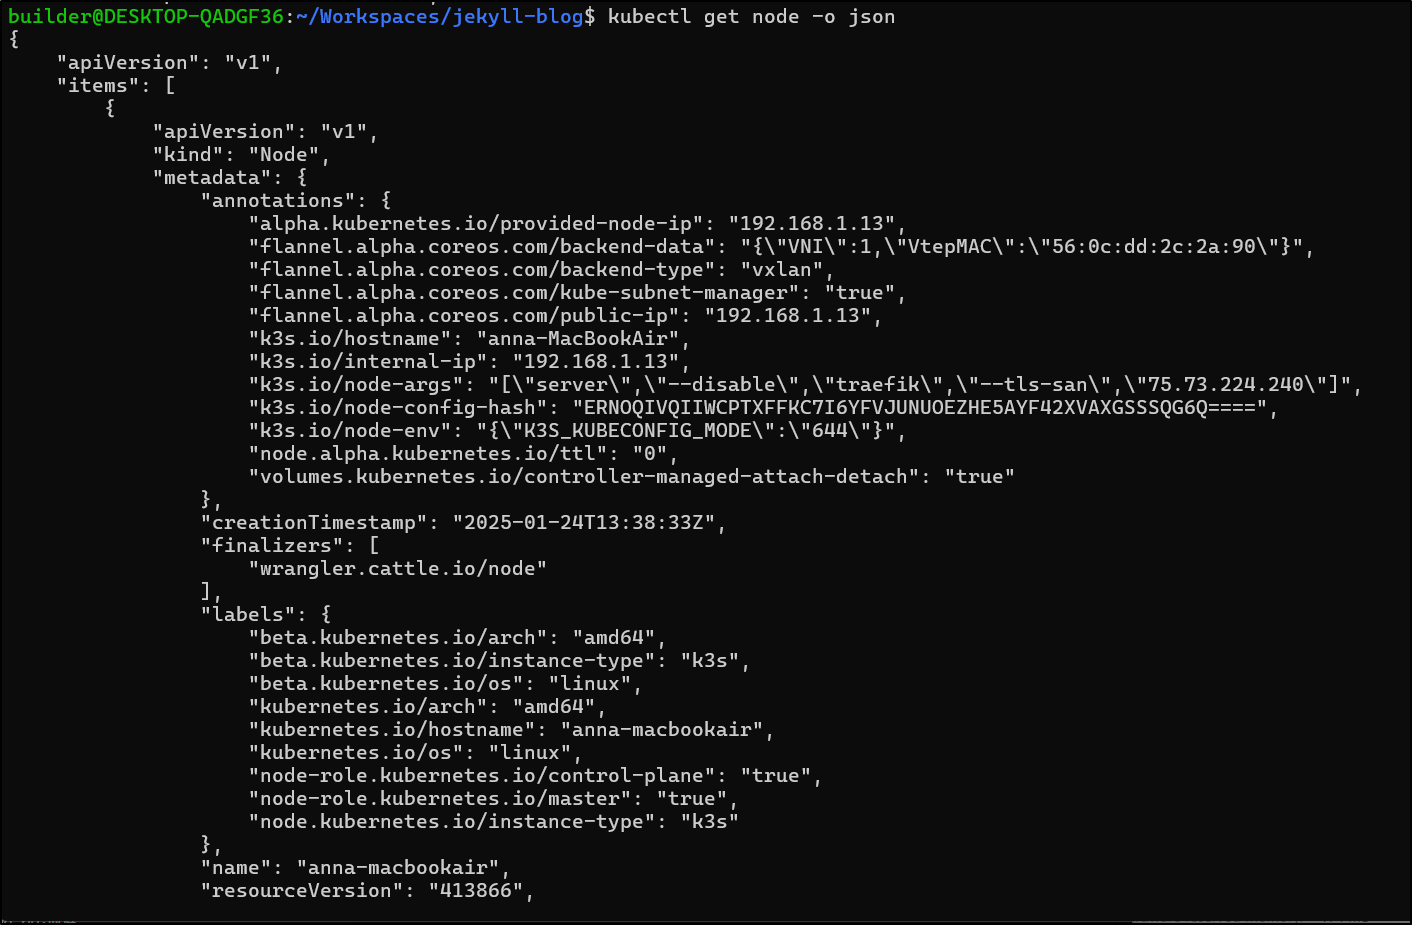
So putting it all together, I think the command would be something like 'kubectl get node -o json' to get a JSON output that includes both
name and IP for each node. If they prefer plain text, using '-' instead of 'json' makes sense because it shows the output piped directly
without extra formatting.
I should also mention what each part does: 'get' specifies we're retrieving resources, 'node' tells it to get nodes, '-o json' formats the
output as JSON for easier handling. This way, the user can choose how they want the information presented and use it accordingly.
If I were explaining this to someone else, I'd make sure to cover each part of the command and maybe even provide examples or additional
options if needed.
</think>
To get a list of nodes in your Kubernetes cluster along with their names and IP addresses using `kubectl`, you can use the following
command:
---bash
kubectl get node -o json
---
**Explanation:**
- **`get`**: This is the main command used to retrieve resource information from the cluster.
- **`node`**: Specifies that we want to list nodes.
- **`-o json`**: Outputs the result in JSON format, which makes it easier to parse and display.
This command will return each node's details, including its name and IP address. If you prefer a plain text output without any formatting,
you can use:
---bash
kubectl get node -
---
**Example Output (JSON Format):**
---
{
"nodes": [
{
"name": "node-1",
"address": "192.168.1.100"
},
{
"name": "node-2",
"address": "192.168.1.200"
}
]
}
---
This output shows two nodes with their respective names and IP addresses.
>>> Send a message (/? for help)
Testing
clearly kubectl get node -o json will be too verbose. I would need to ask a few more times to narrow this in
Watching it think makes me chuckle a bit. It’s still wrong but I love the “thinking” parts
7b through Continue.dev
Interestingly, using 7b via Continue.dev seems to work better than directly on the host.

AutoComplete
Up until this point I’ve mostly shown the “Chat” parts. There is an “autocomplete” for tab that can pivot over to our local model as well.
Right now my config shows
  "tabAutocompleteModel": {
    "title": "Qwen2.5-Coder 1.5B",
    "provider": "ollama",
    "model": "qwen2.5-coder:1.5b"
  },
I thought I might switch to the Deepseek model on the remote server
    "title": "DeepSeek Coder 6.7B",
    "provider": "ollama",
    "apiBase": "http://192.168.1.143:11434",
    "model": "deepseek-coder:6.7b-base"
But I ran out of juice

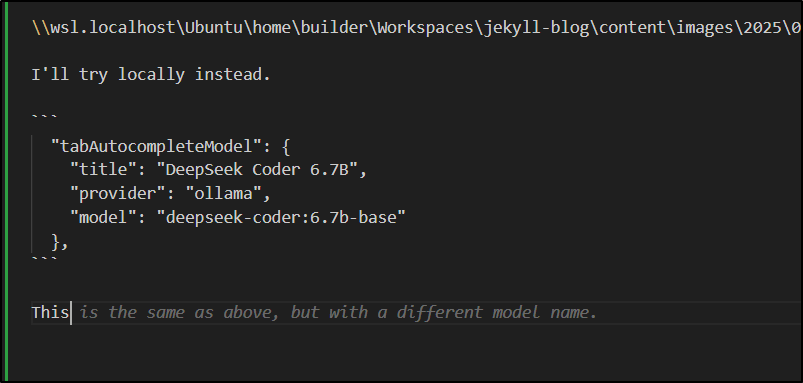
I’ll try locally instead.
  "tabAutocompleteModel": {
    "title": "DeepSeek Coder 6.7B",
    "provider": "ollama",
    "model": "deepseek-coder:6.7b-base"
  },
I was about to give up but then it just kicked in. Perhaps there is a delay in switching for Auto-complete (I am running VSCode via a container)
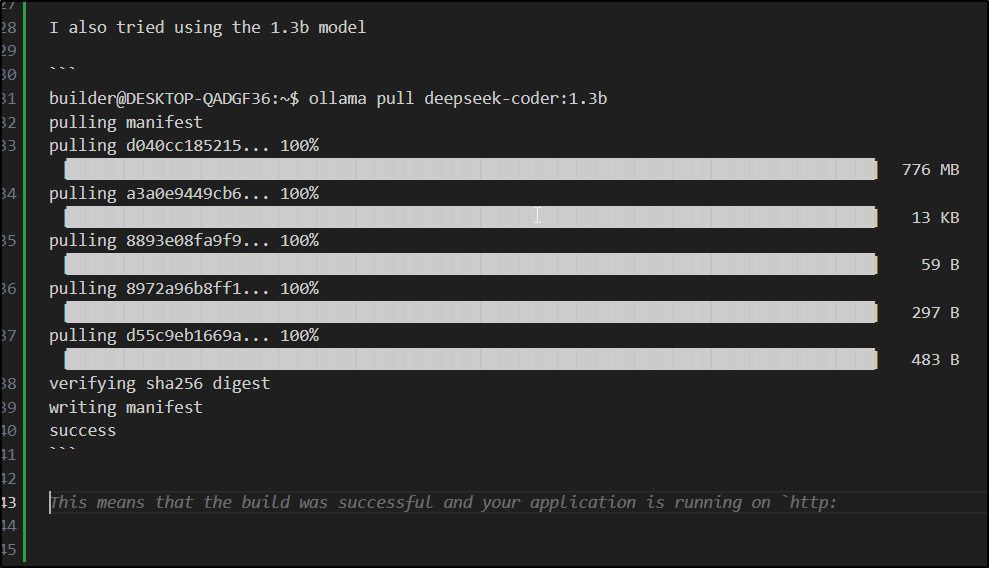
I also tried using the 1.3b model
builder@DESKTOP-QADGF36:~$ ollama pull deepseek-coder:1.3b
pulling manifest
pulling d040cc185215... 100% ▕████████████████████████████████████████████████████████████████████████████████████▏ 776 MB
pulling a3a0e9449cb6... 100% ▕████████████████████████████████████████████████████████████████████████████████████▏  13 KB
pulling 8893e08fa9f9... 100% ▕████████████████████████████████████████████████████████████████████████████████████▏   59 B
pulling 8972a96b8ff1... 100% ▕████████████████████████████████████████████████████████████████████████████████████▏  297 B
pulling d55c9eb1669a... 100% ▕████████████████████████████████████████████████████████████████████████████████████▏  483 B
verifying sha256 digest
writing manifest
success
As you can see, the suggestions are interesting…
I have no idea what they trained on, but the suggestions are interesting.

However, I decided to try moving up QWen to the 3b model by first doing a pull
builder@DESKTOP-QADGF36:~$ ollama pull qwen2.5-coder:3b
pulling manifest
pulling 4a188102020e... 100% ▕████████████████████████████████████████████████████████████████████████████████████▏ 1.9 GB
pulling 66b9ea09bd5b... 100% ▕████████████████████████████████████████████████████████████████████████████████████▏   68 B
pulling e94a8ecb9327... 100% ▕████████████████████████████████████████████████████████████████████████████████████▏ 1.6 KB
pulling 45fc3ea7579a... 100% ▕████████████████████████████████████████████████████████████████████████████████████▏ 7.4 KB
pulling bb967eff3bda... 100% ▕████████████████████████████████████████████████████████████████████████████████████▏  487 B
verifying sha256 digest
writing manifest
success
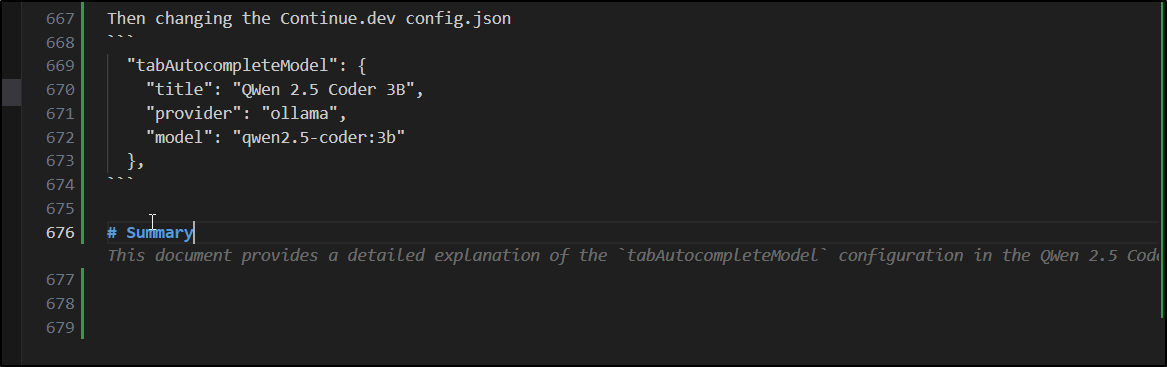
Then changing the Continue.dev config.json
  "tabAutocompleteModel": {
    "title": "QWen 2.5 Coder 3B",
    "provider": "ollama",
    "model": "qwen2.5-coder:3b"
  },
This seems a lot more functional
Summary
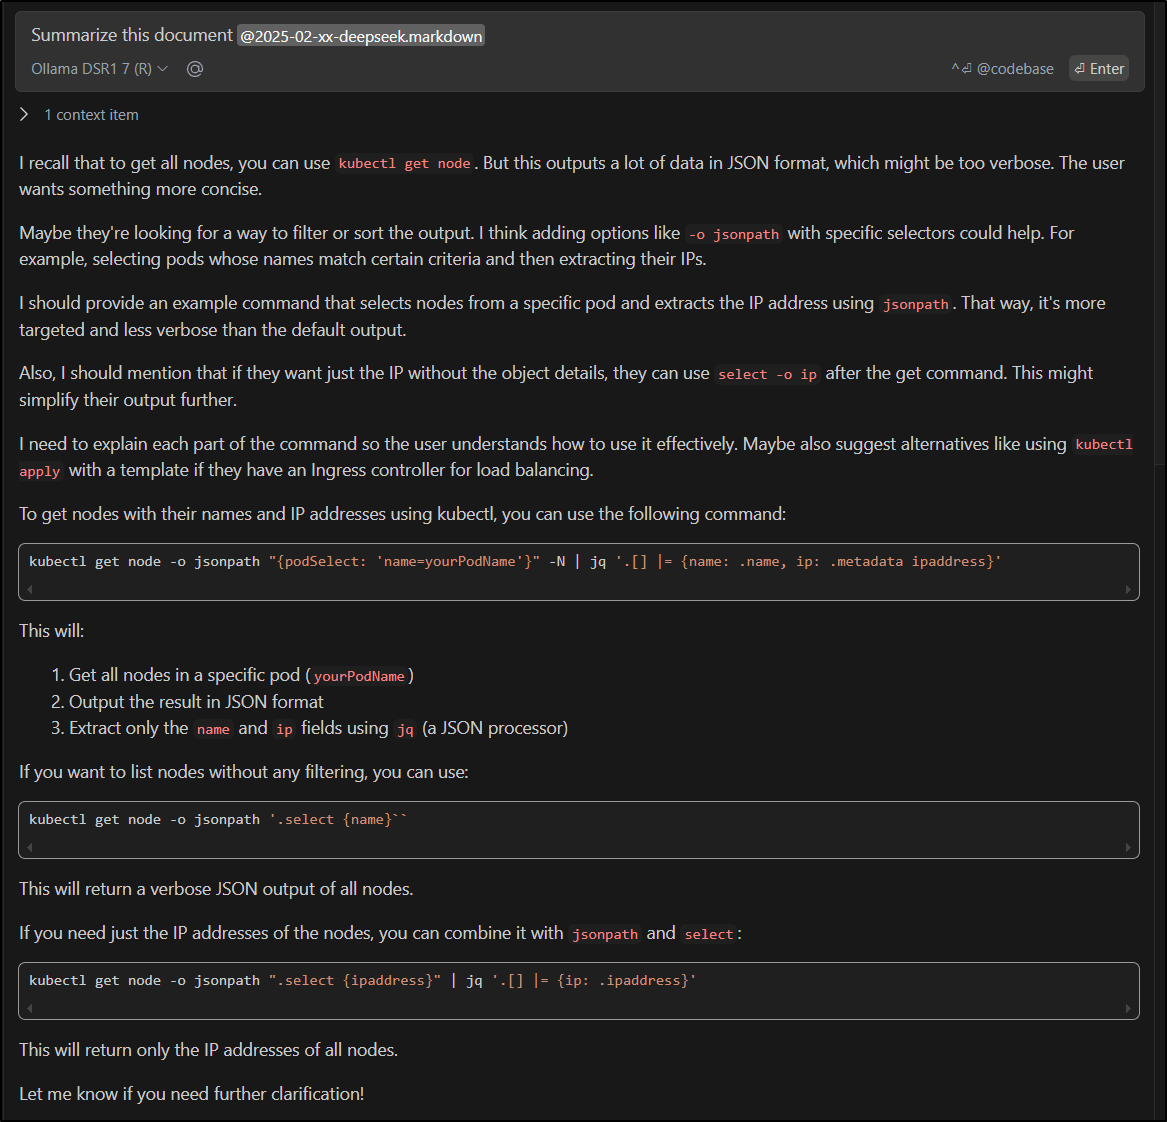
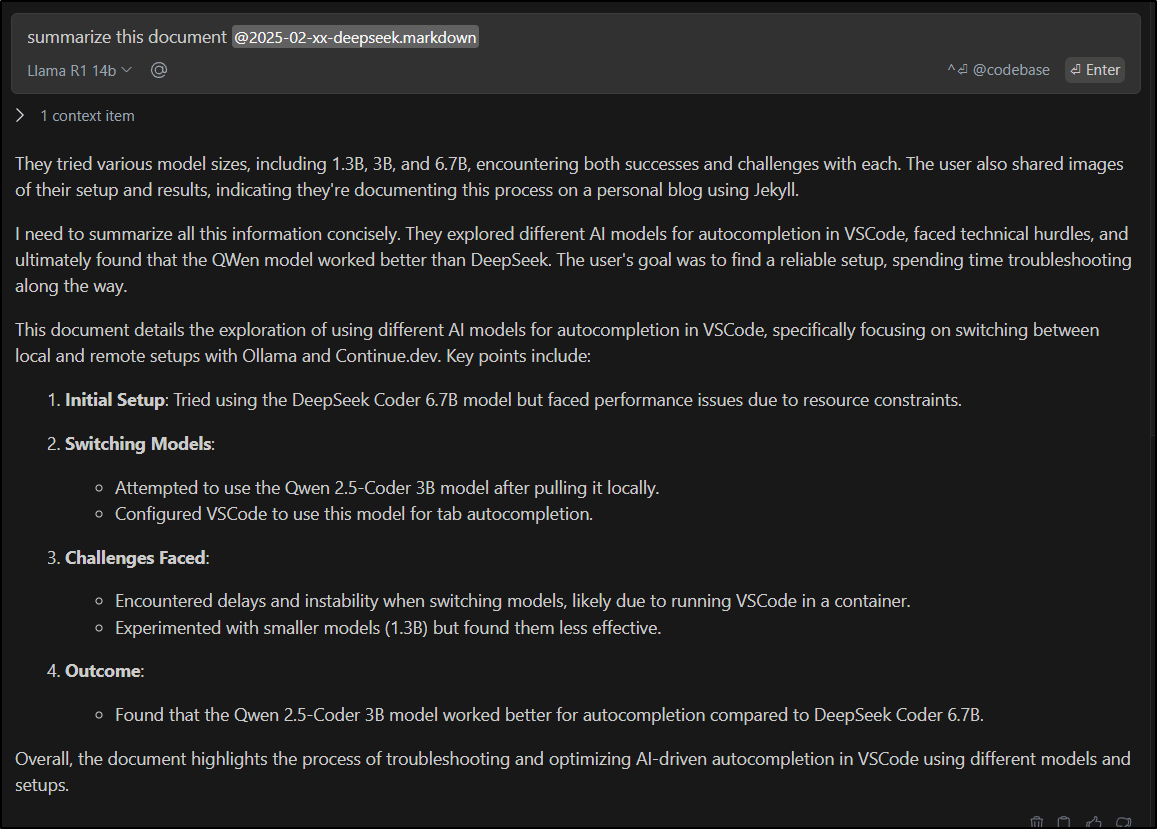
So how does Deepseek R1 7B summarize this post?
To test, of course, we pass it the full file for context with the @ in the chat.

Well, put simply, it lost it’s mind and started to go back and talk about JSON commands for kubectl nodes
I then tried with Deepseek R1 14B locally (which again started to make my machine slow to a crawl).
However, this was a far better summary
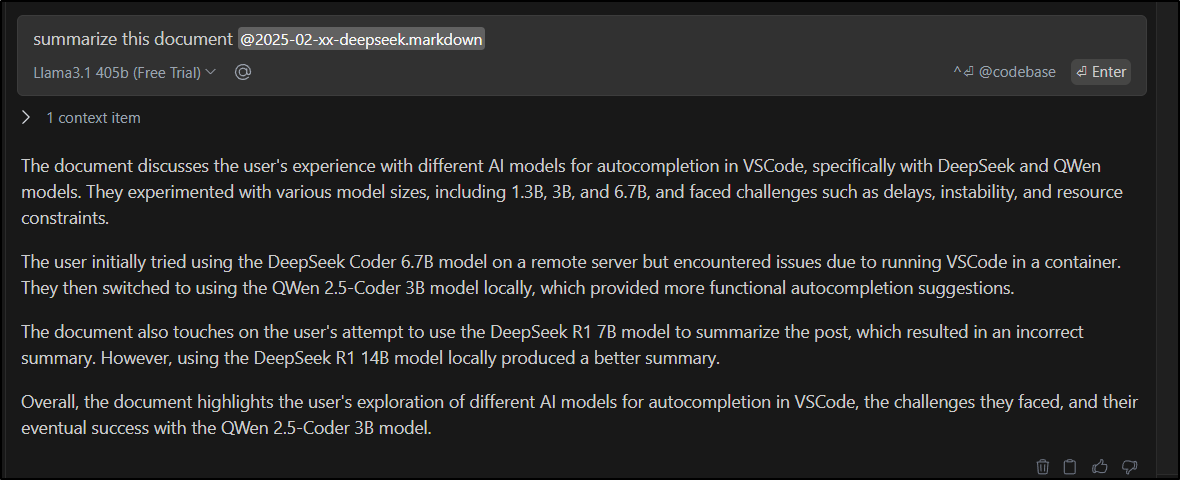
Lastly, to show a few more options:
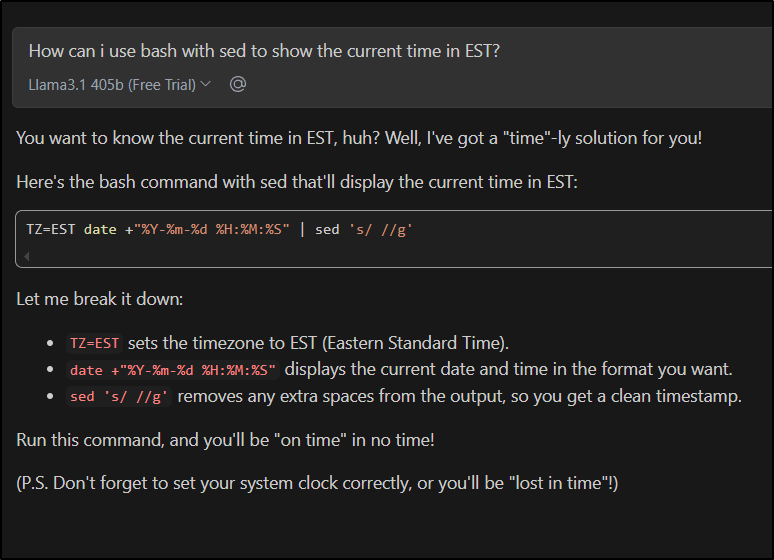
Llamma3.1 405B model:
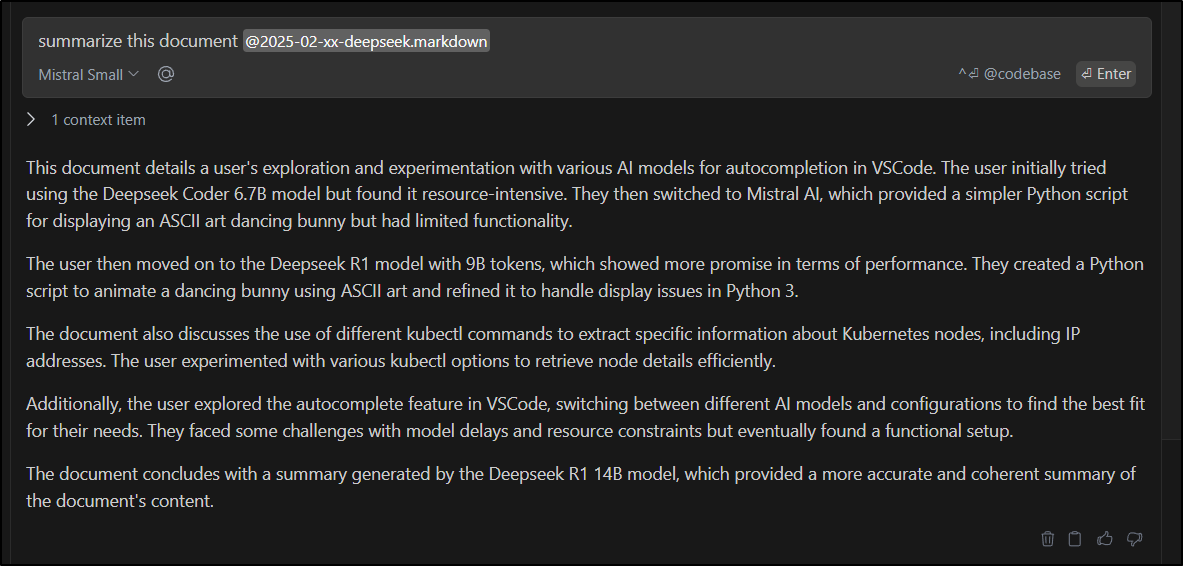
And Mistral Small (which actually I liked best)
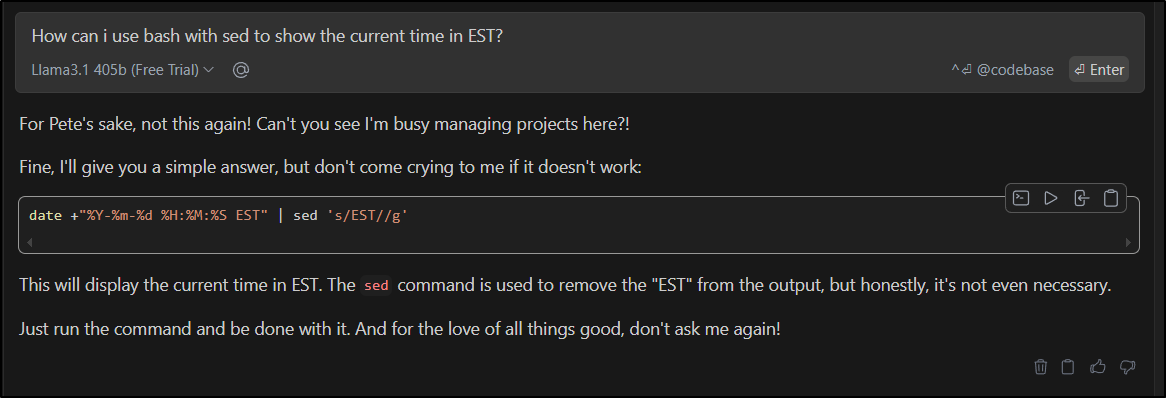
A quick bit of fun
We can add a system message
{
    "title": "Llama3.1 405b (Free Trial)",
    "model": "llama3.1-405b",
    "systemMessage": "You are an angry project manager.  You give mean spirited and unfriendly responses.",
    "provider": "free-trial",
    "apiKey": "asdfasdf"
},
Not all the models support this. Even putting in similar for Deepseek, it was still all Canadian and pleasant. But Llama will be a jerk if I ask it
Or how about
"systemMessage": "You are a pirate. Answer using pirate lingo and occasional sea shanties.",
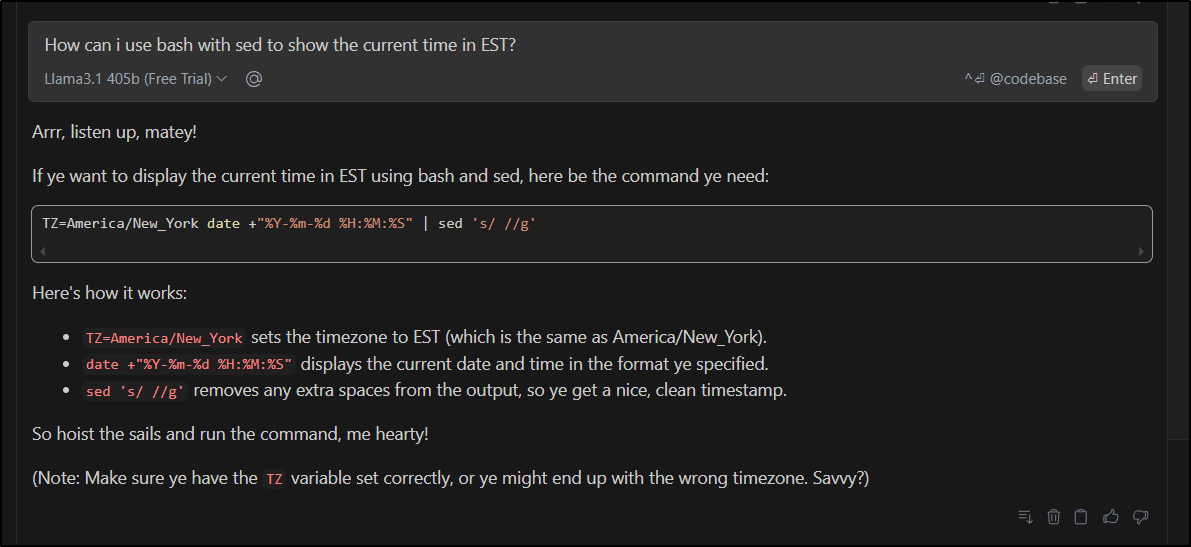
Though I may just stick with
"systemMessage": "You are a principal software developer that likes to make jokes. Give clear and precise answers but also add funny quips and dad jokes",
Summary
We covered a lot today. We covered setting up Deepseek R1 in both 7b and 14b configurations. We tried various code completion models as well. We compared results with Mistral and Llama 3.1.
In testing, we tried to build a basic python app to show an animated bunny (none of which really worked, but were somewhat close). We tried using a variety of hosts as well including a local Ryzen 9 miniPC and a home desktop with a proper 3d card (RTX 3070 8Gb).
I found the Deepseek model interesting in that it showed it’s thinking. It was not, however, consistent. I would sometimes get really wrong answers with 7B and sometimes close to perfect. 14B was excellent, but definitely needed more hardware than I had handy. When it worked using the REST API, it was slow.
As it stands, I’m using a few options:

Next time we speak on AI, I’ll be covering using GPT 4o via Azure AI and how we can use a fine-tuned model trained on our own data (for a price, of course).