

Published: Jun 20, 2023 by Isaac Johnson
I know a lot of people started blogging with Wordpress. Honestly, I started with a modified version of a BBS Perl script. But I know for a long time Wordpress was king of blogging.
It dawned on me recently with the potential death of reddit (or at least severe hobbling) that people might go back to blogging. I jumped to Lemmy and Mastodon, personally.
But how hard could it be to fire up a functional Wordpress in Kubernetes? Last time I tried it was years ago using a VSE Azure sub to get it done on a very small cluster.
Let’s give it a try now on more modern k8s.
Helm install
We can fire it one of two ways; AKS specific and non-AKS specific.
I’ll start with my on-prem cluster (because I’m cheap and like free, as in beer).
$ helm install my-wordpress-release oci://registry-1.docker.io/bitnami
charts/wordpress
WARNING: Kubernetes configuration file is group-readable. This is insecure. Location: /home/builder/.kube/config
WARNING: Kubernetes configuration file is world-readable. This is insecure. Location: /home/builder/.kube/config
Pulled: registry-1.docker.io/bitnamicharts/wordpress:16.1.15
Digest: sha256:d04f29096f588ee2effe10f95ff31f20db0830a423cb81c04c675df9b1028520
NAME: my-wordpress-release
LAST DEPLOYED: Sat Jun 17 07:47:41 2023
NAMESPACE: default
STATUS: deployed
REVISION: 1
TEST SUITE: None
NOTES:
CHART NAME: wordpress
CHART VERSION: 16.1.15
APP VERSION: 6.2.2

** Please be patient while the chart is being deployed **

Your WordPress site can be accessed through the following DNS name from within your cluster:

    my-wordpress-release.default.svc.cluster.local (port 80)

To access your WordPress site from outside the cluster follow the steps below:

1. Get the WordPress URL by running these commands:

  NOTE: It may take a few minutes for the LoadBalancer IP to be available.
        Watch the status with: 'kubectl get svc --namespace default -w my-wordpress-release'

   export SERVICE_IP=$(kubectl get svc --namespace default my-wordpress-release --template "{{ range (index .status.loadBalancer.ingress 0) }}{{ . }}{{ end }}")
   echo "WordPress URL: http://$SERVICE_IP/"
   echo "WordPress Admin URL: http://$SERVICE_IP/admin"

2. Open a browser and access WordPress using the obtained URL.

3. Login with the following credentials below to see your blog:

  echo Username: user
  echo Password: $(kubectl get secret --namespace default my-wordpress-release -o jsonpath="{.data.wordpress-password}" | base64 -d)
Let’s get some of those values.
The first was a big fail
$ kubectl get svc --namespace default my-wordpress-release --template "{{ range (index .status.loadBalancer.ingress 0) }}{{ . }}{{ end }}"
Error executing template: template: output:1:10: executing "output" at <index .status.loadBalancer.ingress 0>: error calling index: index of untyped nil. Printing more information for debugging the template:
        template was:
                {{ range (index .status.loadBalancer.ingress 0) }}{{ . }}{{ end }}
        raw data was:
                {"apiVersion":"v1","kind":"Service","metadata":{"annotations":{"meta.helm.sh/release-name":"my-wordpress-release","meta.helm.sh/release-nam
                ....
I can see that it seeks a LoadBalancer object
$ kubectl get svc my-wordpress-release
NAME                   TYPE           CLUSTER-IP     EXTERNAL-IP   PORT(S)                      AGE
my-wordpress-release   LoadBalancer   10.43.248.52   <pending>     80:30009/TCP,443:30344/TCP   3m16s
Which would work if I could satisfy that, but I cannot in m internetal test cluster.
Let’s fetch the password:
$ kubectl get secret --namespace default my-wordpress-release -o jsonpath="{.data.wordpress-password}" | base64 -d
svJZkTHTxi
I know I can’t hand off an external IP, but perhaps a port-forward will get the job done
$ kubectl port-forward svc/my-wordpress-release 8888:80
Forwarding from 127.0.0.1:8888 -> 8080
Forwarding from [::1]:8888 -> 8080
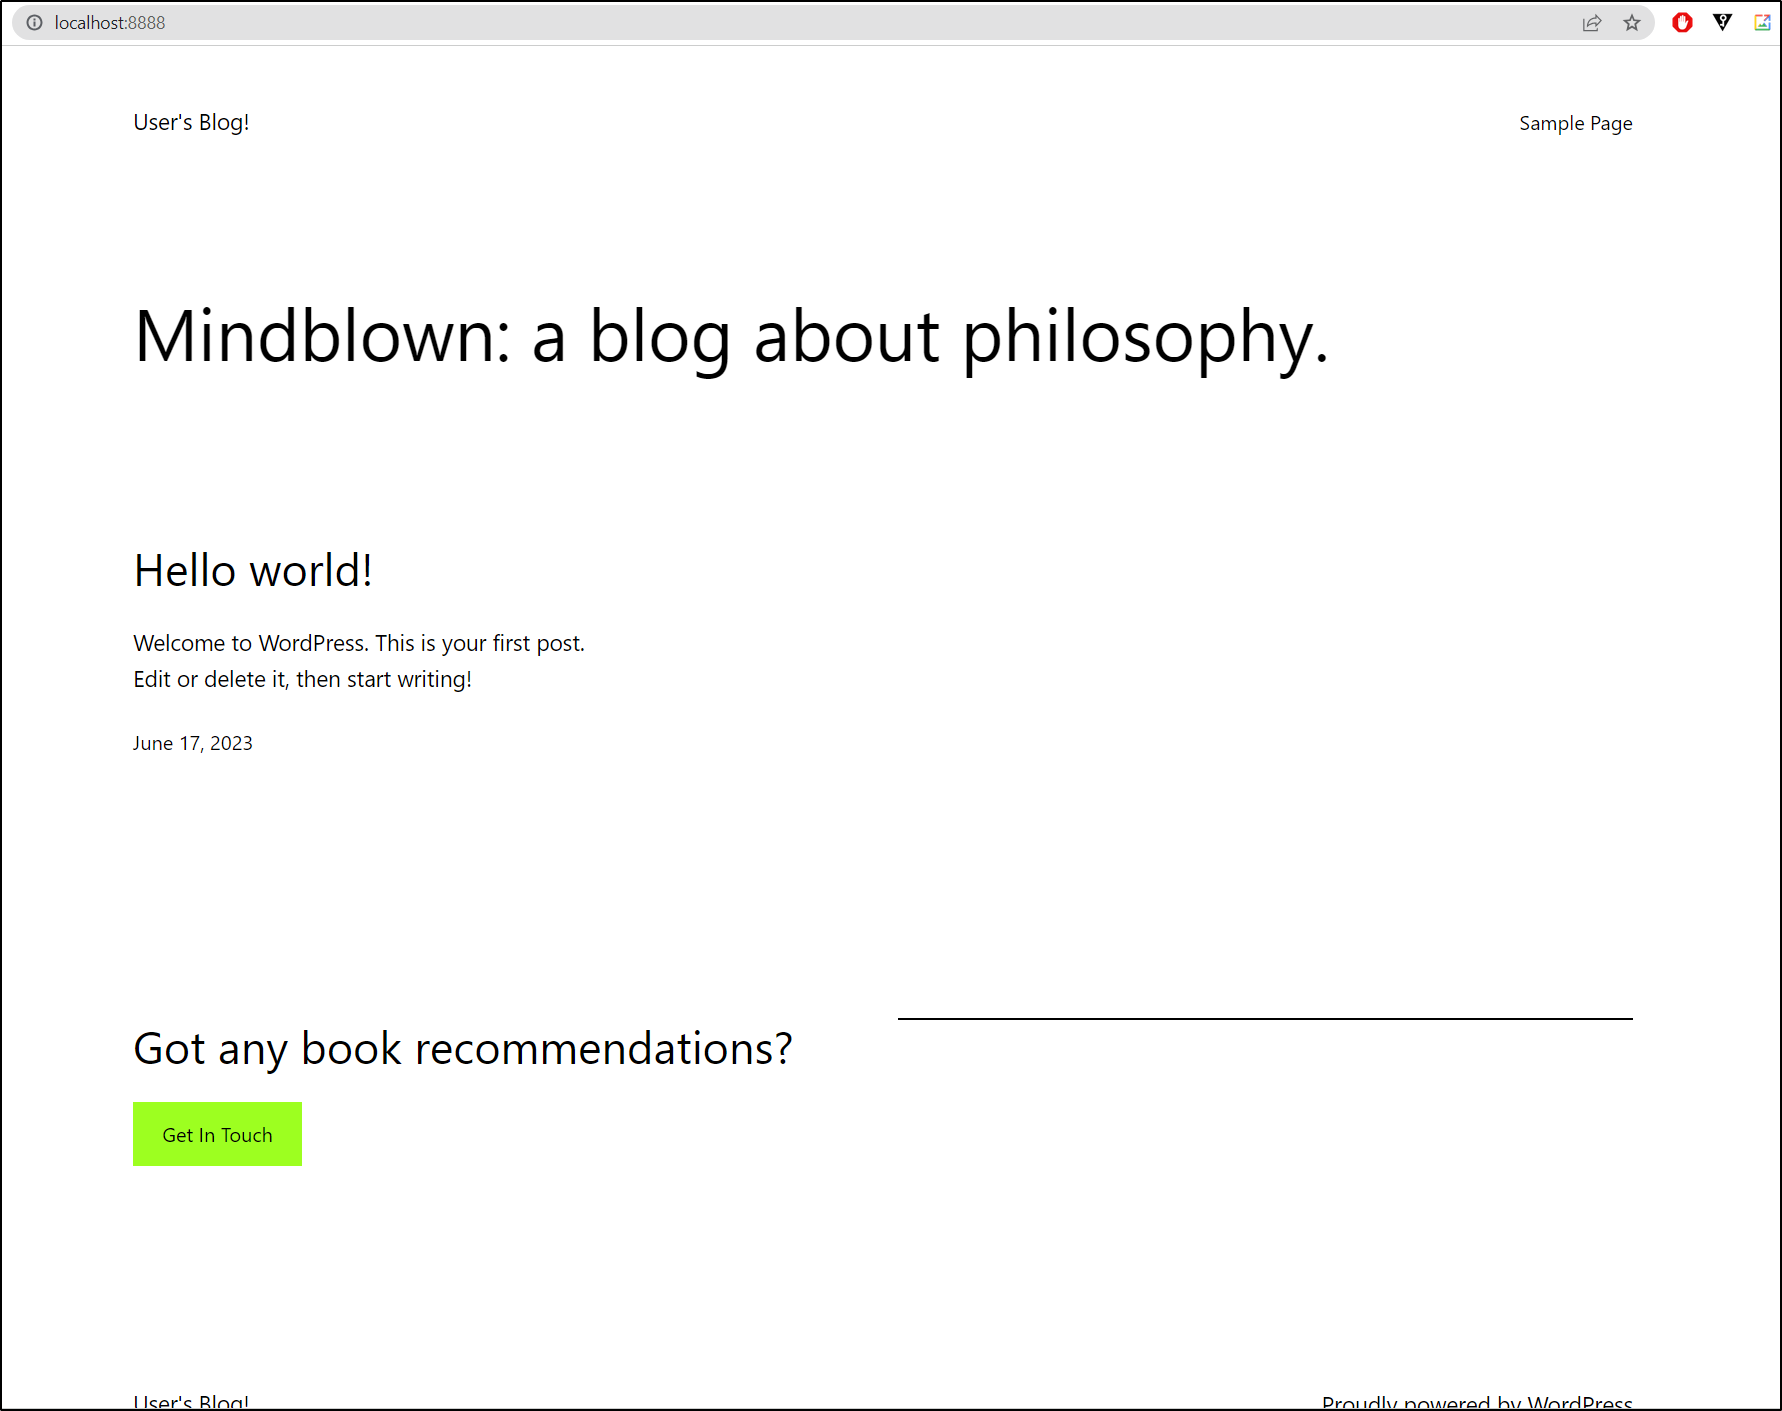
Port 80 works just dandy
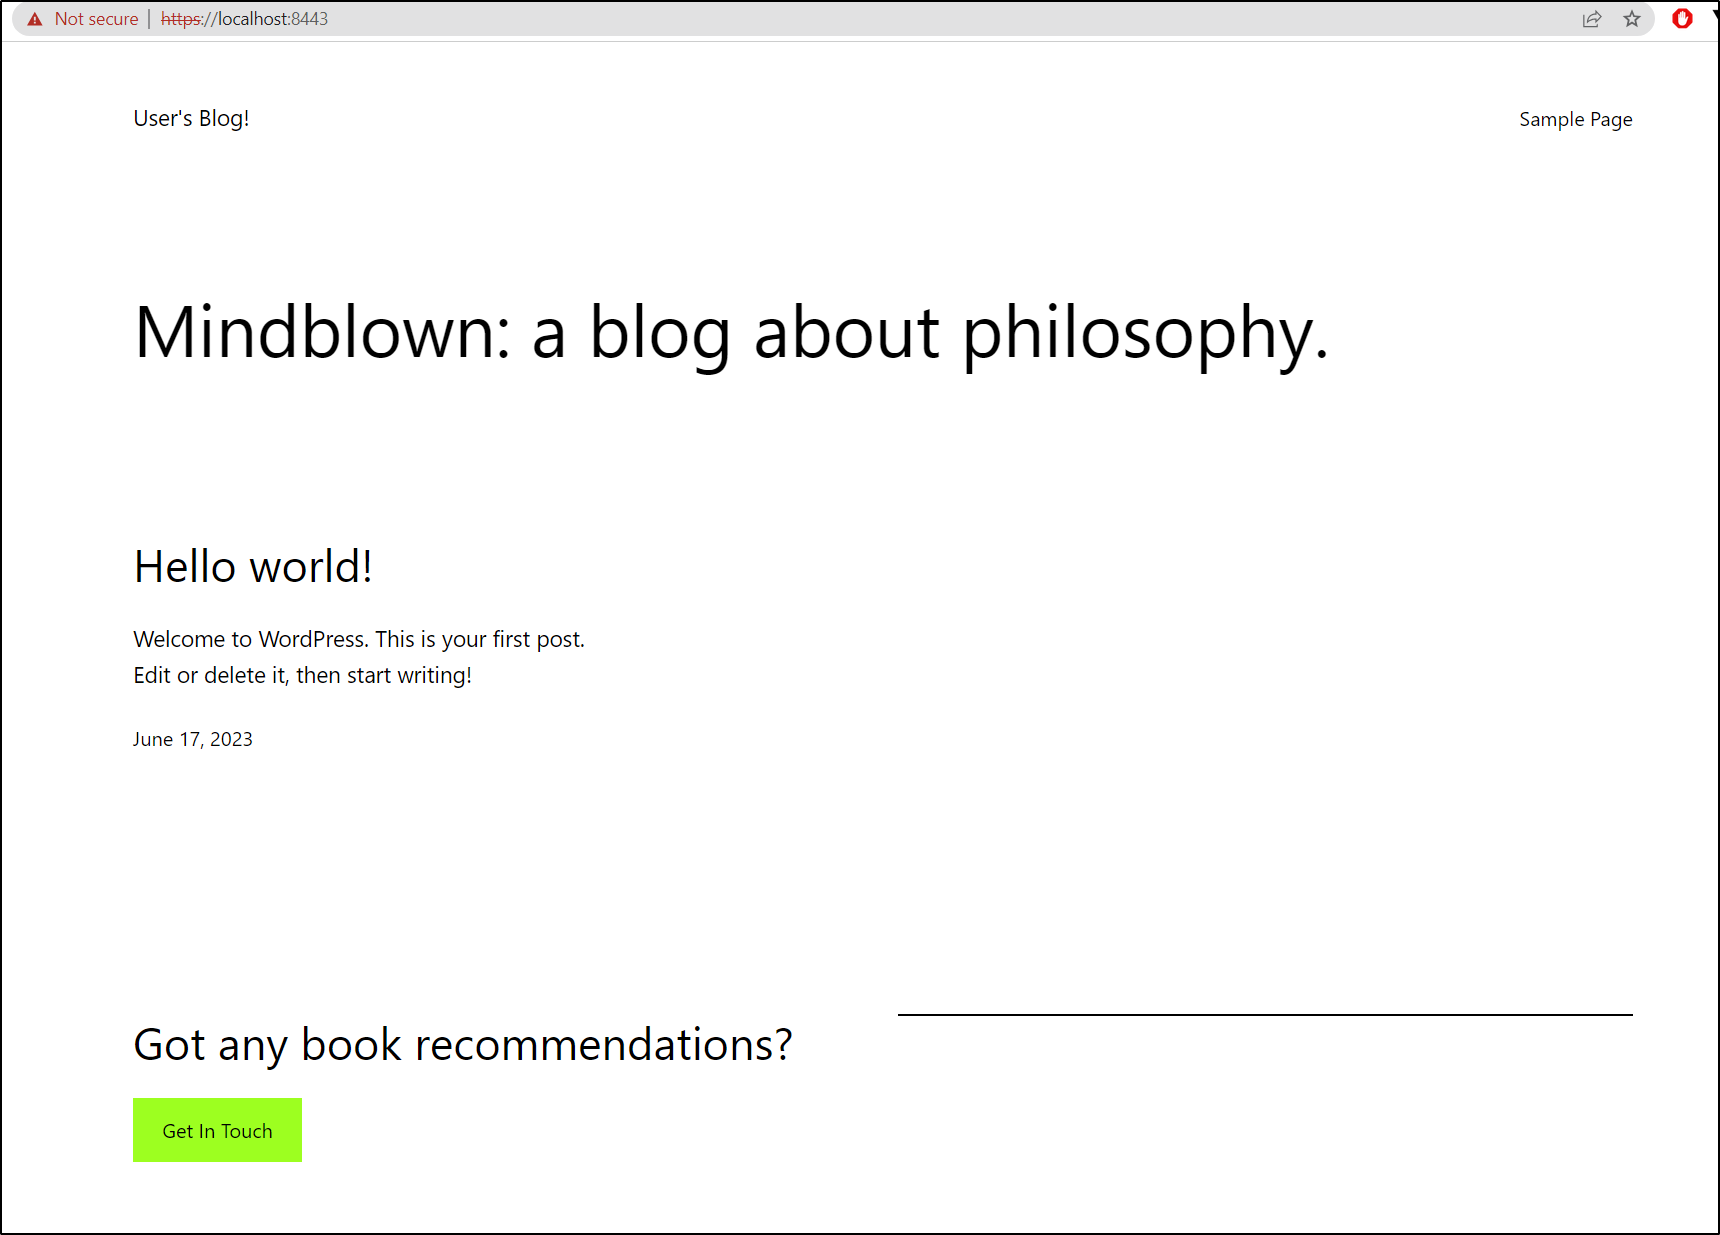
I’m guessing 443 is SSL with self-signed certs. I’ll try that next
$ kubectl port-forward svc/my-wordpress-release 8443:443
Forwarding from 127.0.0.1:8443 -> 8443
Forwarding from [::1]:8443 -> 8443
Indeed
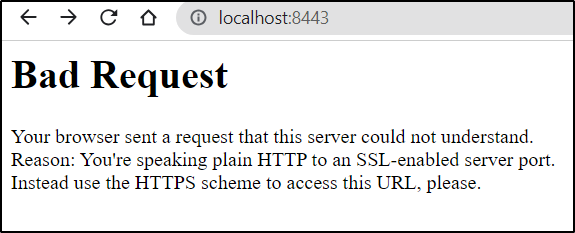
And it did not forward or refresh HTTP when I tried HTTP on that port, rather vomited about wrong protocol
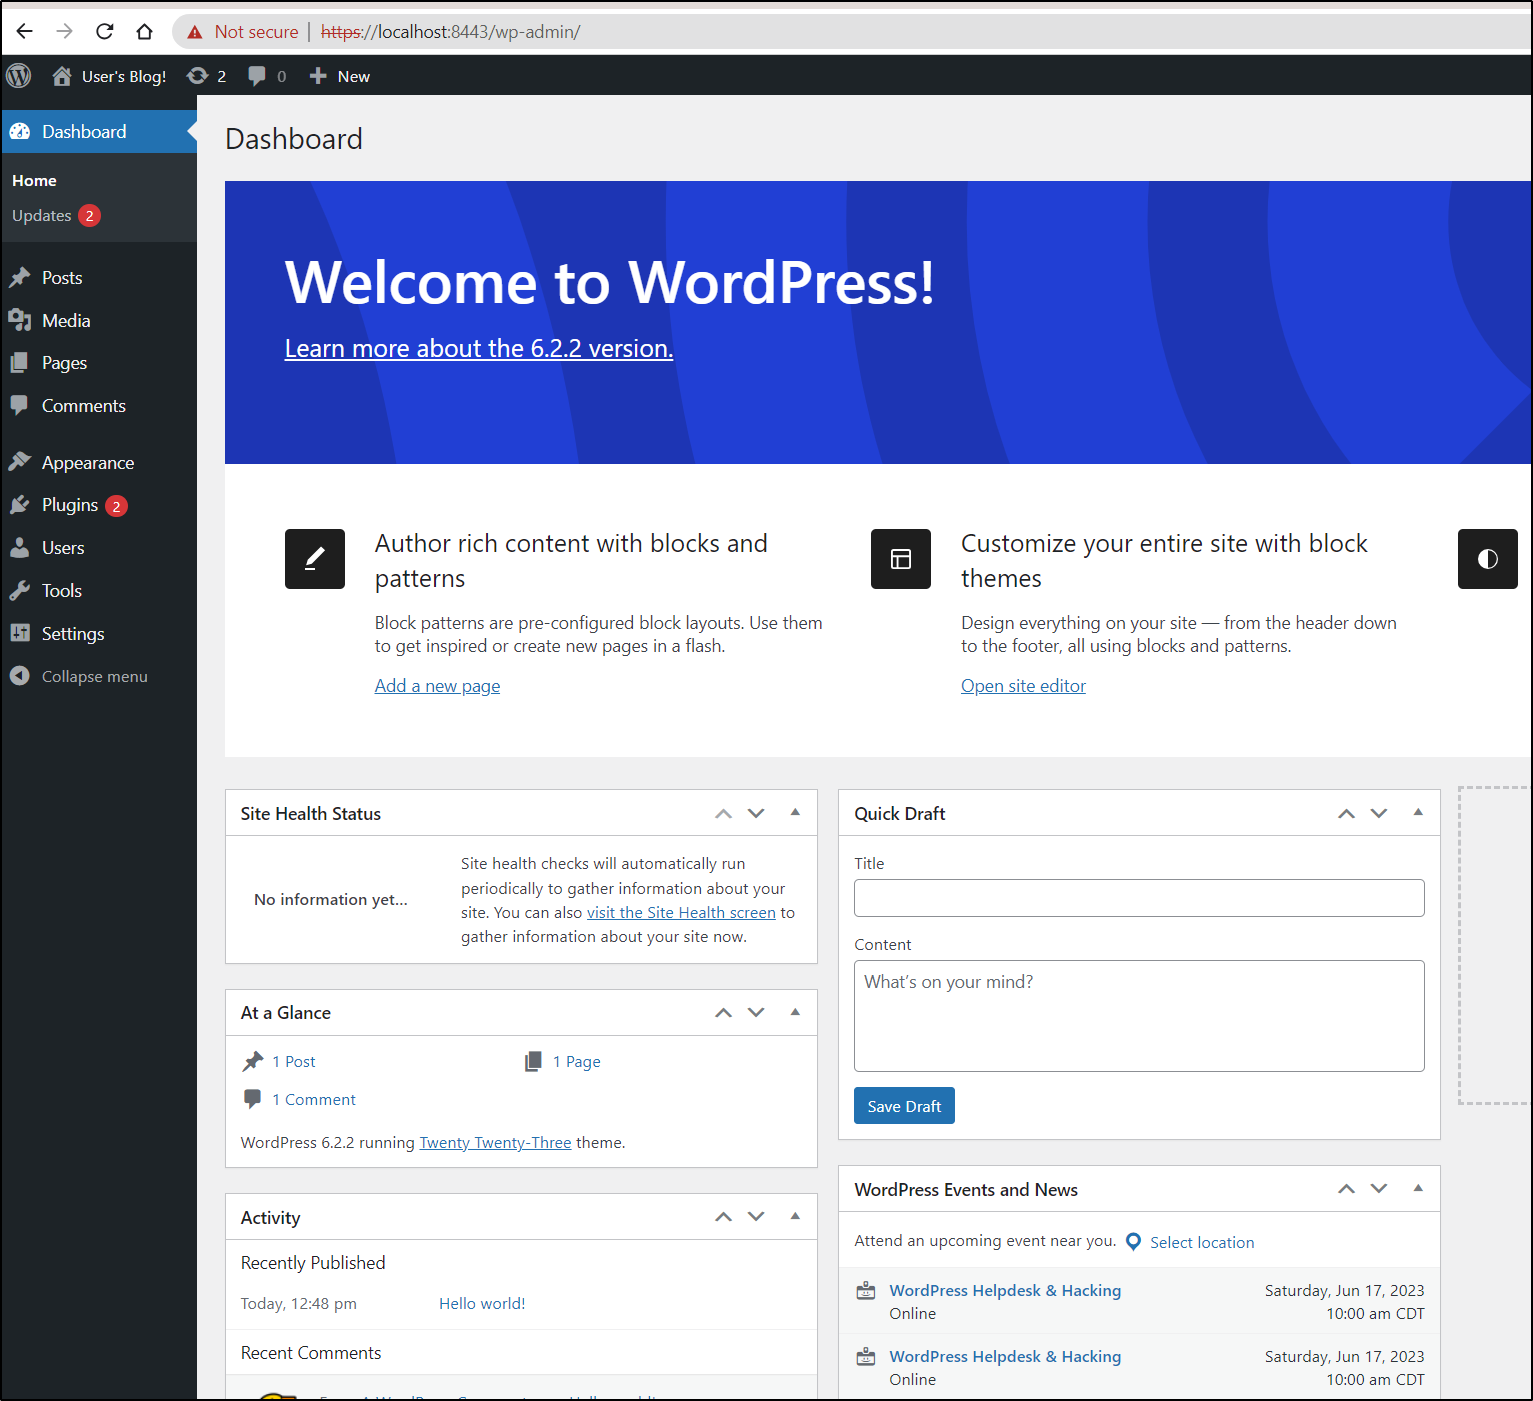
If I go to https://localhost:443/admin I get redirected to where I can login with that user credential
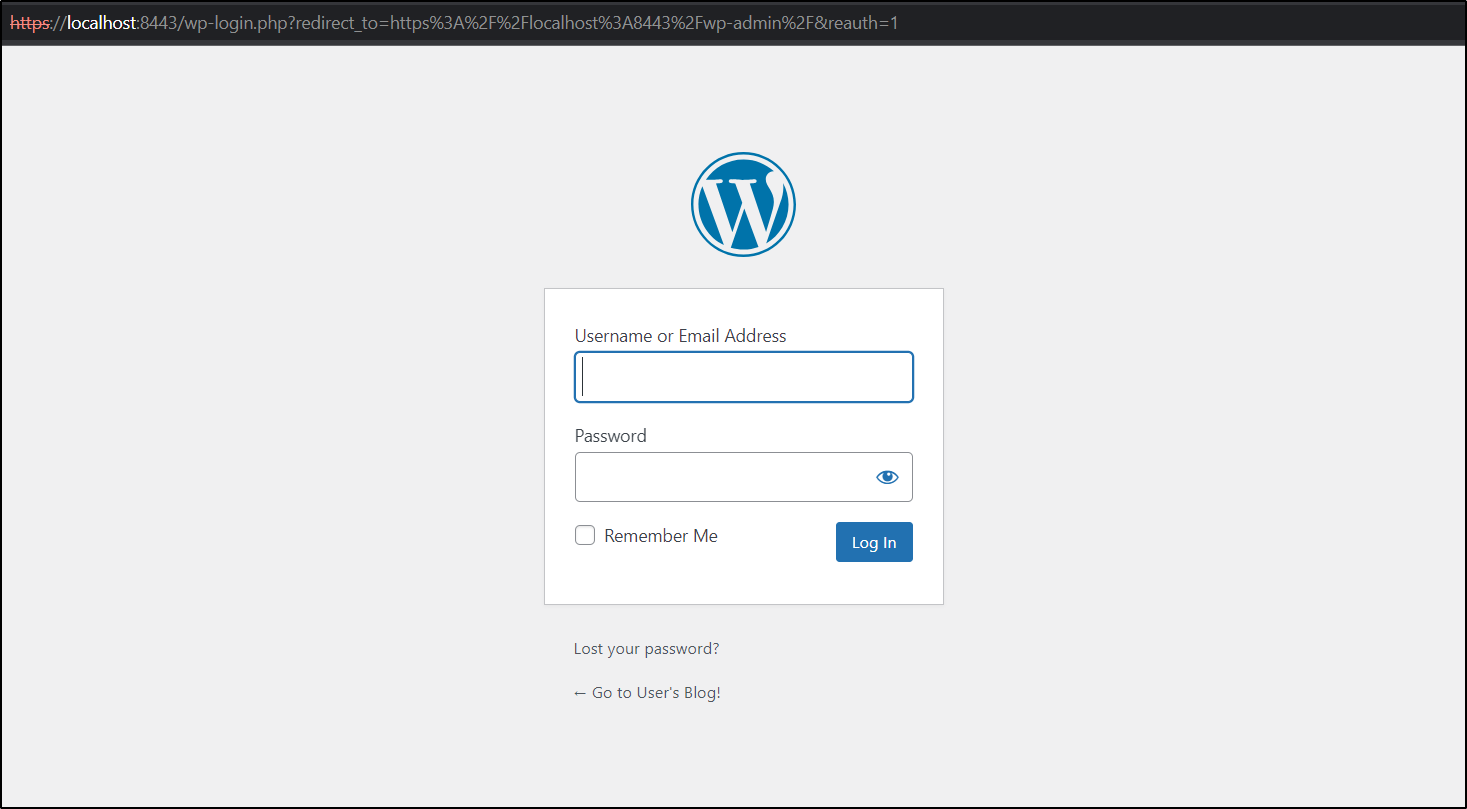
I can then see the WP Admin page
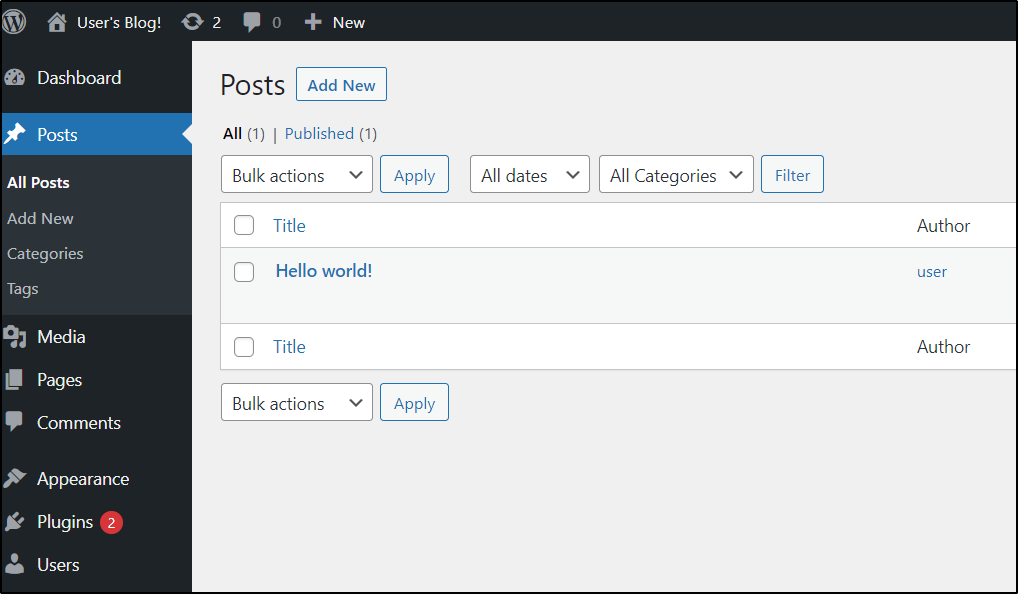
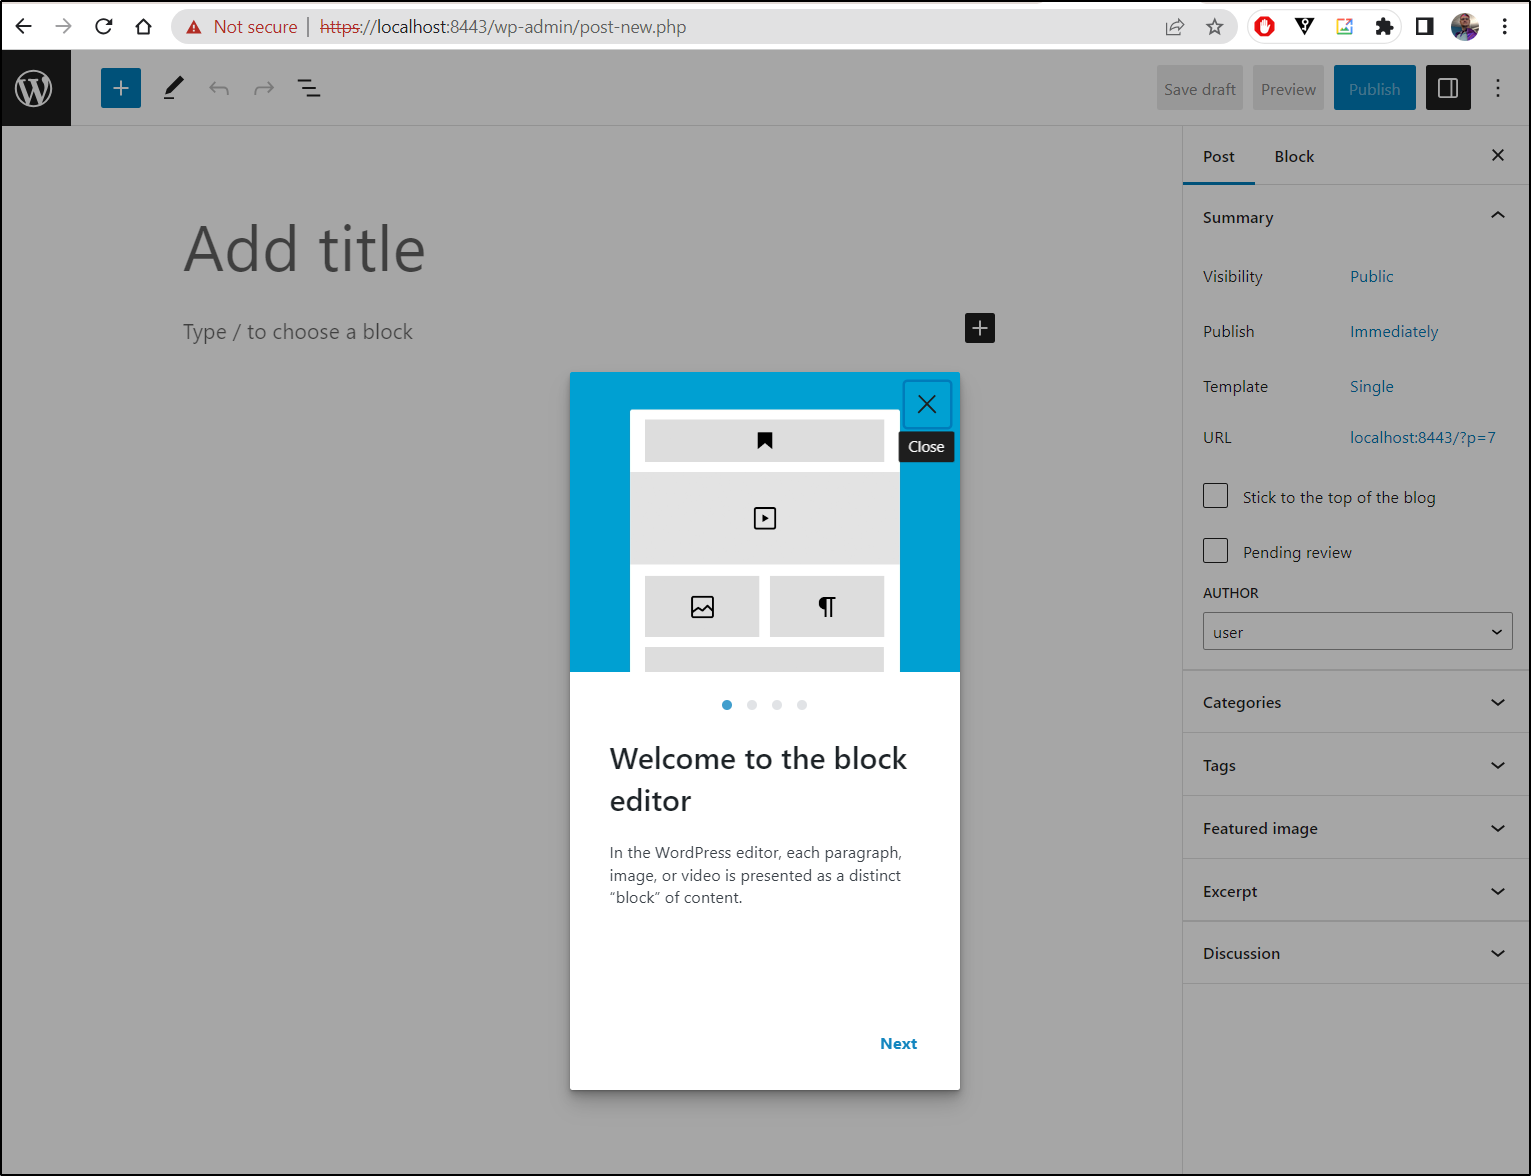
Let’s try adding a post. I’ll go to Posts and choose “Add New”
This brings up a pretty nice WYSIWYG editor
Writing was fine, but the image uploads seemed to get a bit stuck
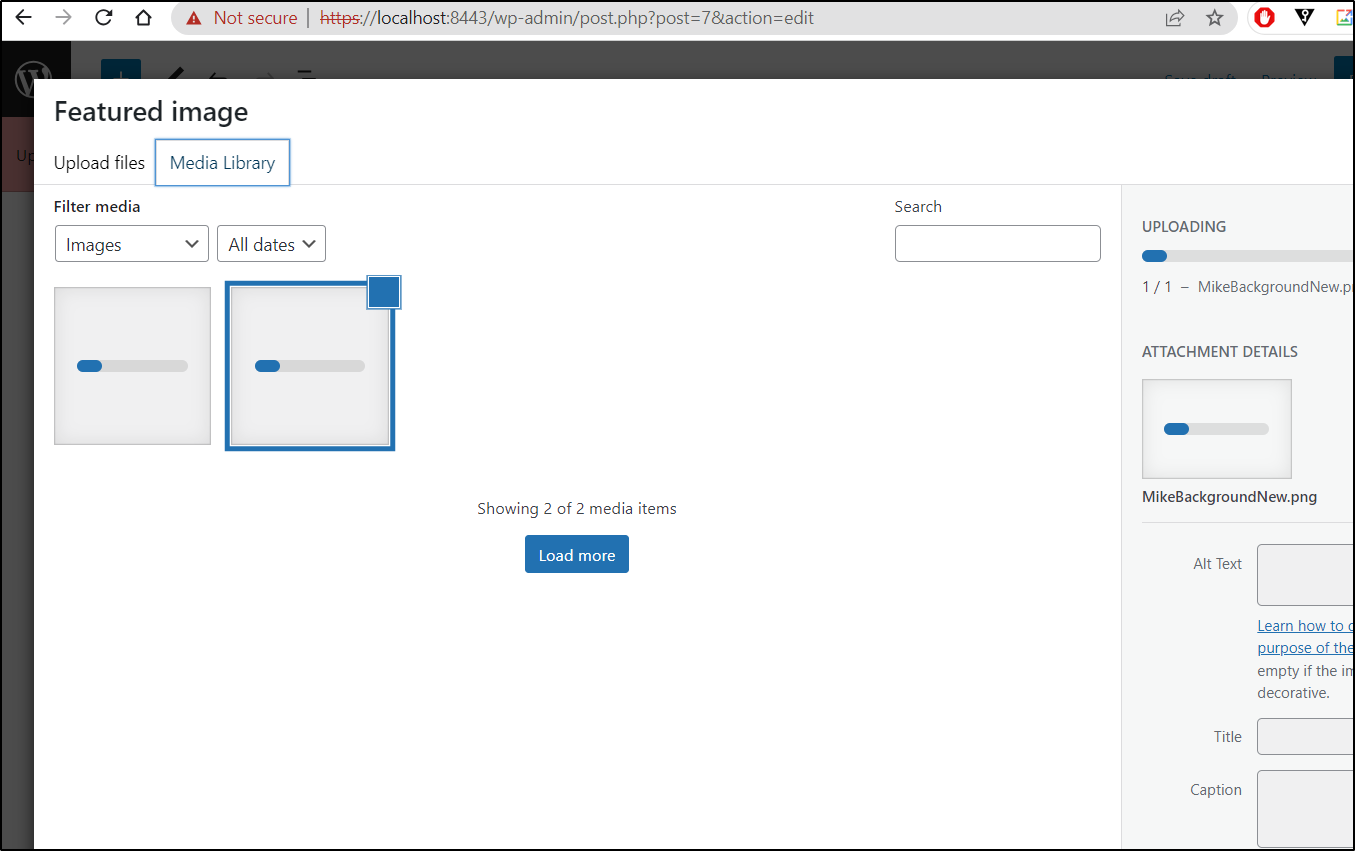
E0617 08:05:29.863094   31985 portforward.go:381] error copying from remote stream to local connection: readfrom tcp6 [::1]:8443->[::1]:46942: write tcp6 [::1]:8443->[::1]:46942: write: broken pipe
Handling connection for 8443
E0617 08:05:59.833869   31985 portforward.go:347] error creating error stream for port 8443 -> 8443: Timeout occurred
E0617 08:05:59.835186   31985 portforward.go:347] error creating error stream for port 8443 -> 8443: Timeout occurred
Handling connection for 8443
Handling connection for 8443
Handling connection for 8443
Handling connection for 8443
E0617 08:06:22.011595   31985 portforward.go:370] error creating forwarding stream for port 8443 -> 8443: Timeout occurred
E0617 08:06:29.841606   31985 portforward.go:347] error creating error stream for port 8443 -> 8443: Timeout occurred
Handling connection for 8443
E0617 08:06:35.120436   31985 portforward.go:347] error creating error stream for port 8443 -> 8443: Timeout occurred
Handling connection for 8443
E0617 08:06:35.227344   31985 portforward.go:370] error creating forwarding stream for port 8443 -> 8443: Timeout occurred
E0617 08:06:35.239749   31985 portforward.go:370] error creating forwarding stream for port 8443 -> 8443: Timeout occurred
Handling connection for 8443
Handling connection for 8443
E0617 08:07:04.353784   31985 portforward.go:347] error creating error stream for port 8443 -> 8443: Timeout occurred
Handling connection for 8443
E0617 08:07:12.416087   31985 portforward.go:347] error creating error stream for port 8443 -> 8443: Timeout occurred
Handling connection for 8443
Handling connection for 8443
E0617 08:07:12.695391   31985 portforward.go:347] error creating error stream for port 8443 -> 8443: Timeout occurred
Handling connection for 8443
E0617 08:07:34.359707   31985 portforward.go:347] error creating error stream for port 8443 -> 8443: Timeout occurred
Handling connection for 8443
E0617 08:07:42.690099   31985 portforward.go:347] error creating error stream for port 8443 -> 8443: Timeout occurred
E0617 08:07:42.699291   31985 portforward.go:347] error creating error stream for port 8443 -> 8443: Timeout occurred
E0617 08:08:04.363736   31985 portforward.go:347] error creating error stream for port 8443 -> 8443: Timeout occurred
Handling connection for 8443
Handling connection for 8443
E0617 08:09:04.796116   31985 portforward.go:347] error creating error stream for port 8443 -> 8443: Timeout occurred
Handling connection for 8443
Now in fairness, I’m writing from an enclosed natatorium with my cellphone hotspot so it might be just be caused by my spotting signal.
The good news is that I killed the connection and re-established and was still able to save and publish the post. I was worried the draft would have been dumped
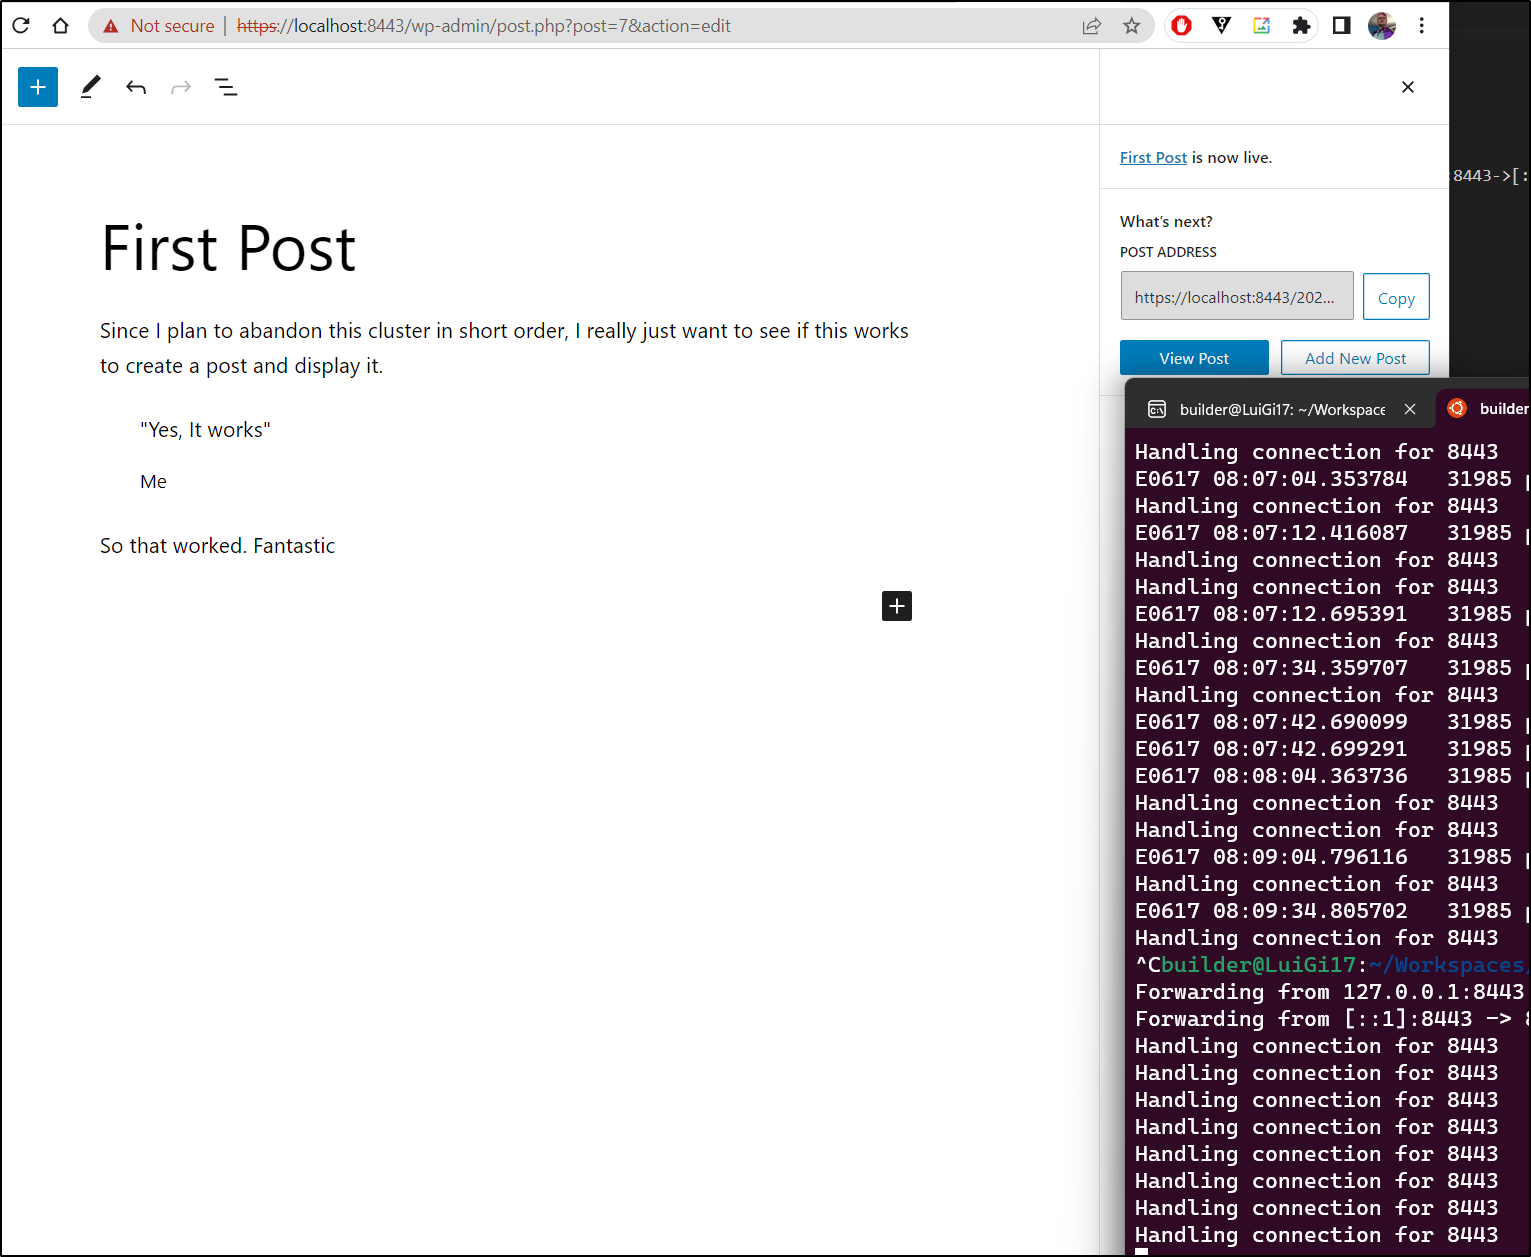
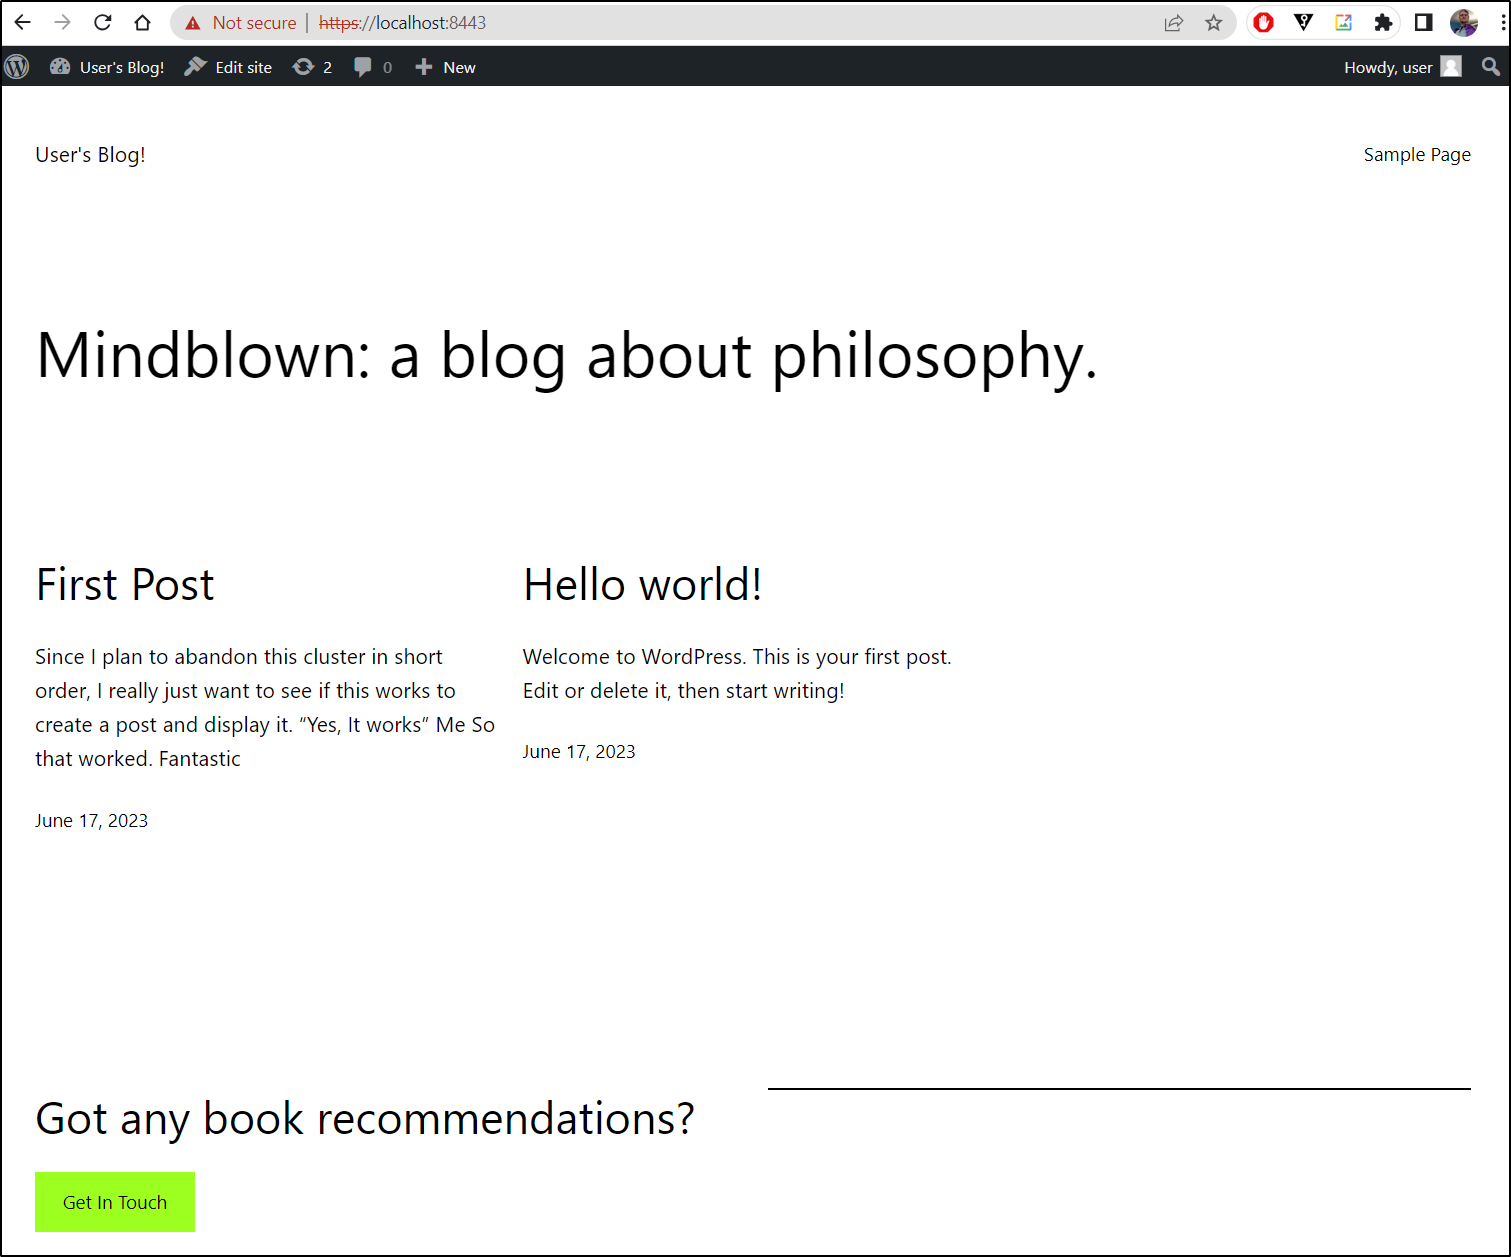
We can now see the first post is live
Kubernetes Objects
I was curious what all was created for WP…
I can see some PVCs - one for the pod and one for the database
$ kubectl get pvc
NAME                                  STATUS   VOLUME                                     CAPACITY   ACCESS MODES   STORAGECLASS   AGE
data-backstage-postgresql-0           Bound    pvc-fe8b7fa3-a3a5-4b56-bde0-a2396686c69f   8Gi        RWO            local-path     13d
data-loki-write-0                     Bound    pvc-cb82315d-d3fd-4d2d-978b-b3b89d9ec6d8   10Gi       RWO            local-path     13d
data-loki-write-2                     Bound    pvc-d5e51f3e-9282-48a8-9cc3-9e2ec3662bb2   10Gi       RWO            local-path     13d
data-loki-write-1                     Bound    pvc-daf8405a-3303-4390-9b2a-753816e0ca2a   10Gi       RWO            local-path     13d
data-loki-backend-1                   Bound    pvc-aad6dc45-2446-468f-9a67-27bbcec439b6   10Gi       RWO            local-path     13d
data-loki-backend-2                   Bound    pvc-becf1805-9674-43a7-80f2-56a45da6b769   10Gi       RWO            local-path     13d
data-loki-backend-0                   Bound    pvc-cc3aba07-ece7-4123-85c4-3a22e5ca6f50   10Gi       RWO            local-path     13d
data-my-wordpress-release-mariadb-0   Bound    pvc-5666212e-85bd-4ee3-9b7a-7db7d6f7e10d   8Gi        RWO            local-path     25m
my-wordpress-release                  Bound    pvc-f0b5d3eb-f4e5-4eb2-b08b-c0f1e1f17173   10Gi       RWO            local-path     25m
I can see the ‘wordpress’ app created a rs, pod, pvc and service
$ kubectl get all -l app.kubernetes.io/name=wordpress
NAME                                        READY   STATUS    RESTARTS   AGE
pod/my-wordpress-release-599d8845bd-s6vqj   1/1     Running   0          27m

NAME                           TYPE           CLUSTER-IP     EXTERNAL-IP   PORT(S)                      AGE
service/my-wordpress-release   LoadBalancer   10.43.248.52   <pending>     80:30009/TCP,443:30344/TCP   27m

NAME                                   READY   UP-TO-DATE   AVAILABLE   AGE
deployment.apps/my-wordpress-release   1/1     1            1           27m

NAME                                              DESIRED   CURRENT   READY   AGE
replicaset.apps/my-wordpress-release-599d8845bd   1         1         1       27m
If we change the label to the release, we can see the MariaDB statefulset and PVC as well
$ kubectl get all -l app.kubernetes.io/instance=my-wordpress-release
NAME                                        READY   STATUS    RESTARTS   AGE
pod/my-wordpress-release-mariadb-0          1/1     Running   0          28m
pod/my-wordpress-release-599d8845bd-s6vqj   1/1     Running   0          28m

NAME                                   TYPE           CLUSTER-IP     EXTERNAL-IP   PORT(S)                      AGE
service/my-wordpress-release-mariadb   ClusterIP      10.43.29.165   <none>        3306/TCP                     28m
service/my-wordpress-release           LoadBalancer   10.43.248.52   <pending>     80:30009/TCP,443:30344/TCP   28m

NAME                                   READY   UP-TO-DATE   AVAILABLE   AGE
deployment.apps/my-wordpress-release   1/1     1            1           28m

NAME                                              DESIRED   CURRENT   READY   AGE
replicaset.apps/my-wordpress-release-599d8845bd   1         1         1       28m

NAME                                            READY   AGE
statefulset.apps/my-wordpress-release-mariadb   1/1     28m
Real installation
Let’s pivot to the real cluster and install there.
$ helm install my-wordpress-release oci://registry-1.docker.io/bitnamicharts/wordpress
WARNING: Kubernetes configuration file is group-readable. This is insecure. Location: /home/builder/.kube/config
WARNING: Kubernetes configuration file is world-readable. This is insecure. Location: /home/builder/.kube/config
Pulled: registry-1.docker.io/bitnamicharts/wordpress:16.1.15
Digest: sha256:d04f29096f588ee2effe10f95ff31f20db0830a423cb81c04c675df9b1028520
Error: INSTALLATION FAILED: 1 error occurred:
        * persistentvolumeclaims "my-wordpress-release" is forbidden: Internal error occurred: 2 default StorageClasses were found
That is my bad. I got to fix that…
$ kubectl get sc
NAME                            PROVISIONER                                       RECLAIMPOLICY   VOLUMEBINDINGMODE      ALLOWVOLUMEEXPANSION   AGE
nfs                             cluster.local/nfs-server-provisioner-1658802767   Delete          Immediate              true                   326d
managed-nfs-storage (default)   fuseim.pri/ifs                                    Delete          Immediate              true                   325d
local-path (default)            rancher.io/local-path                             Delete          WaitForFirstConsumer   false                  326d
I decided after, a bit of a think, that local should be default. I should be explicit on using NFS.
$ kubectl get sc
NAME                            PROVISIONER                                       RECLAIMPOLICY   VOLUMEBINDINGMODE      ALLOWVOLUMEEXPANSION   AGE
nfs                             cluster.local/nfs-server-provisioner-1658802767   Delete          Immediate              true                   326d
managed-nfs-storage (default)   fuseim.pri/ifs                                    Delete          Immediate              true                   325d
local-path (default)            rancher.io/local-path                             Delete          WaitForFirstConsumer   false                  326d
$ kubectl patch storageclass managed-nfs-storage -p '{"metadata": {"annotations":{"storageclass.kubernetes.io/is-default-class":"false"}}}'
storageclass.storage.k8s.io/managed-nfs-storage patched
$ kubectl get sc
NAME                   PROVISIONER                                       RECLAIMPOLICY   VOLUMEBINDINGMODE      ALLOWVOLUMEEXPANSION   AGE
nfs                    cluster.local/nfs-server-provisioner-1658802767   Delete          Immediate              true                   326d
local-path (default)   rancher.io/local-path                             Delete          WaitForFirstConsumer   false                  326d
managed-nfs-storage    fuseim.pri/ifs                                    Delete          Immediate              true                   325d
I can now install without issue
$ helm install my-wordpress-release oci://registry-1.docker.io/bitnamicharts/wordpress
Pulled: registry-1.docker.io/bitnamicharts/wordpress:16.1.15
Digest: sha256:d04f29096f588ee2effe10f95ff31f20db0830a423cb81c04c675df9b1028520
NAME: my-wordpress-release
LAST DEPLOYED: Sat Jun 17 08:23:47 2023
NAMESPACE: erpnext
STATUS: deployed
REVISION: 1
TEST SUITE: None
NOTES:
CHART NAME: wordpress
CHART VERSION: 16.1.15
APP VERSION: 6.2.2

** Please be patient while the chart is being deployed **

Your WordPress site can be accessed through the following DNS name from within your cluster:

    my-wordpress-release.erpnext.svc.cluster.local (port 80)

To access your WordPress site from outside the cluster follow the steps below:

1. Get the WordPress URL by running these commands:

  NOTE: It may take a few minutes for the LoadBalancer IP to be available.
        Watch the status with: 'kubectl get svc --namespace erpnext -w my-wordpress-release'

   export SERVICE_IP=$(kubectl get svc --namespace erpnext my-wordpress-release --template "{{ range (index .status.loadBalancer.ingress 0) }}{{ . }}{{ end }}")
   echo "WordPress URL: http://$SERVICE_IP/"
   echo "WordPress Admin URL: http://$SERVICE_IP/admin"

2. Open a browser and access WordPress using the obtained URL.

3. Login with the following credentials below to see your blog:

  echo Username: user
  echo Password: $(kubectl get secret --namespace erpnext my-wordpress-release -o jsonpath="{.data.wordpress-password}" | base64 -d)
Funny enough, I need to create a new IAM key for this new laptop. AWS IAM now tries to dissuade me from long lived creds.

I’ll create an R53 record and apply it
$ cat r53-wordpress.json
{
  "Comment": "CREATE wpblog fb.s A record",
  "Changes": [
    {
      "Action": "CREATE",
      "ResourceRecordSet": {
        "Name": "wpblog.freshbrewed.science",
        "Type": "A",
        "TTL": 300,
        "ResourceRecords": [
          {
            "Value": "73.242.50.46"
          }
        ]
      }
    }
  ]
}

$ aws route53 change-resource-record-sets --hosted-zone-id Z39E8QFU0F9PZP --change-batch file://r53-wordpress.json
{
    "ChangeInfo": {
        "Id": "/change/C0434665GP9IJSC44CDD",
        "Status": "PENDING",
        "SubmittedAt": "2023-06-17T13:35:00.371Z",
        "Comment": "CREATE wpblog fb.s A record"
    }
}
I’ll now be able to create an Ingress to my WP instance.
To do so means I’ll need to get the selector from the non-functioning Ingress object
$ kubectl get svc my-wordpress-release -o yaml | tail -n 28
spec:
  allocateLoadBalancerNodePorts: true
  clusterIP: 10.43.62.130
  clusterIPs:
  - 10.43.62.130
  externalTrafficPolicy: Cluster
  internalTrafficPolicy: Cluster
  ipFamilies:
  - IPv4
  ipFamilyPolicy: SingleStack
  ports:
  - name: http
    nodePort: 30868
    port: 80
    protocol: TCP
    targetPort: http
  - name: https
    nodePort: 31063
    port: 443
    protocol: TCP
    targetPort: https
  selector:
    app.kubernetes.io/instance: my-wordpress-release
    app.kubernetes.io/name: wordpress
  sessionAffinity: None
  type: LoadBalancer
status:
  loadBalancer: {}
The first Ingress I’ll try is to route the Ingress to the LB Service. Perhaps I don’t need to create another service
$ cat ingress.wp.yaml
apiVersion: networking.k8s.io/v1
kind: Ingress
metadata:
  annotations:
    cert-manager.io/cluster-issuer: letsencrypt-prod
    ingress.kubernetes.io/proxy-body-size: "0"
    ingress.kubernetes.io/ssl-redirect: "true"
    kubernetes.io/ingress.class: nginx
    nginx.ingress.kubernetes.io/proxy-body-size: "0"
    nginx.ingress.kubernetes.io/proxy-read-timeout: "600"
    nginx.ingress.kubernetes.io/proxy-send-timeout: "600"
    nginx.ingress.kubernetes.io/ssl-redirect: "true"
    nginx.org/client-max-body-size: "0"
    nginx.org/proxy-connect-timeout: "600"
    nginx.org/proxy-read-timeout: "600"
  labels:
    app.kubernetes.io/name: wordpress
  name: wordpress
spec:
  rules:
  - host: wpblog.freshbrewed.science
    http:
      paths:
      - backend:
          service:
            name: my-wordpress-release
            port:
              number: 80
        path: /
        pathType: ImplementationSpecific
  tls:
  - hosts:
    - wpblog.freshbrewed.science
    secretName: wpblog-tls

$ kubectl apply -f ingress.wp.yaml
ingress.networking.k8s.io/wordpress created
It shows it created
$ kubectl get ingress
NAME        CLASS    HOSTS                        ADDRESS                                                PORTS     AGE
wordpress   <none>   wpblog.freshbrewed.science   192.168.1.215,192.168.1.36,192.168.1.57,192.168.1.78   80, 443   20s
After a couple minutes I saw the cert get sorted
$ kubectl get cert
NAME         READY   SECRET       AGE
wpblog-tls   False   wpblog-tls   48s

$ kubectl get cert
NAME         READY   SECRET       AGE
wpblog-tls   True    wpblog-tls   110s
No go, however
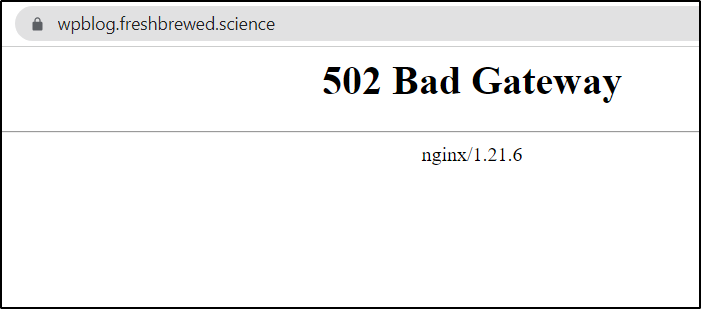
I tried the NodePort as well, to no effect
spec:
  rules:
  - host: wpblog.freshbrewed.science
    http:
      paths:
      - backend:
          service:
            name: my-wordpress-release
            port:
              number: 30868
Let’s try a simple service instead
$ cat wp.svc.yaml
apiVersion: v1
kind: Service
metadata:
  labels:
    app.kubernetes.io/name: wordpress-simple
  name: wordpress-simple-svc
  namespace: default
spec:
  internalTrafficPolicy: Cluster
  ipFamilies:
  - IPv4
  ipFamilyPolicy: SingleStack
  ports:
  - name: http
    port: 80
    protocol: TCP
    targetPort: http
  - name: https
    port: 443
    protocol: TCP
    targetPort: https
  selector:
    app.kubernetes.io/instance: my-wordpress-release
    app.kubernetes.io/name: wordpress
  sessionAffinity: None
  type: ClusterIP

$ kubectl apply -f wp.svc.yaml
service/wordpress-simple-svc created
Then I’ll update the ingress
      - backend:
          service:
            name: wordpress-simple-svc
            port:
              number: 80
        path: /
        pathType: ImplementationSpecific
When that was failing i got more confused until i realized my mistake. I had set the default context to ‘erpnext’ and forgot to change it back!
That was a quick fix
builder@LuiGi17:~/Workspaces/jekyll-blog$ kubectl config set-context --current --namespace=default
Context "ext77" modified.
builder@LuiGi17:~/Workspaces/jekyll-blog$ kubectl get ingress -n erpnext
NAME        CLASS    HOSTS                        ADDRESS                                                PORTS     AGE
wordpress   <none>   wpblog.freshbrewed.science   192.168.1.215,192.168.1.36,192.168.1.57,192.168.1.78   80, 443   14m
builder@LuiGi17:~/Workspaces/jekyll-blog$ kubectl delete ingress wordpress -n erpnext
ingress.networking.k8s.io "wordpress" deleted
When I had fixed the namespace, then the ingress worked (without having to relaunch it)
spec:
  rules:
  - host: wpblog.freshbrewed.science
    http:
      paths:
      - backend:
          service:
            name: my-wordpress-release
            port:
              number: 80
        path: /
        pathType: ImplementationSpecific
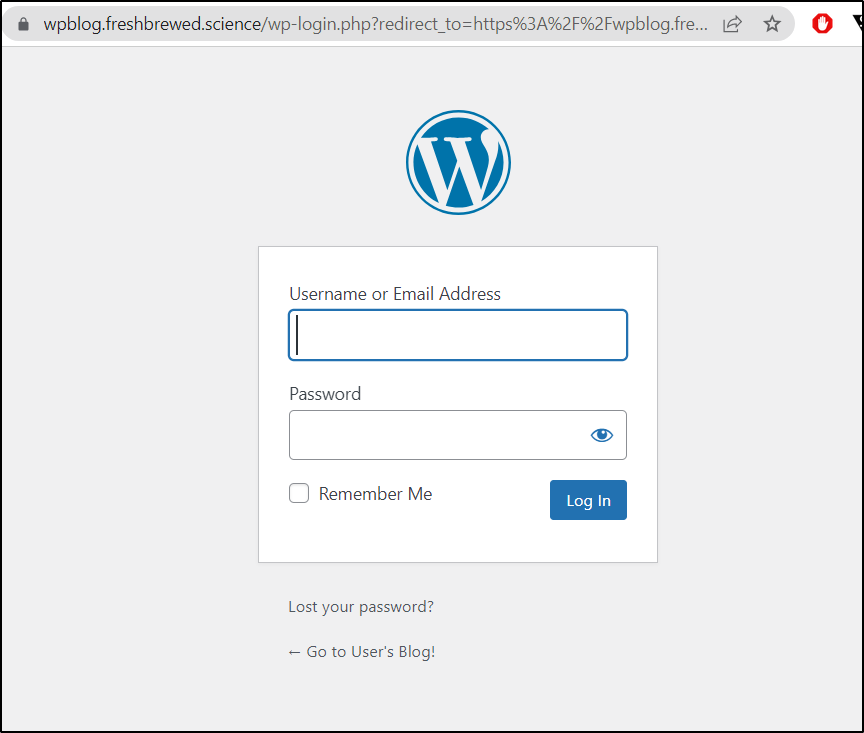
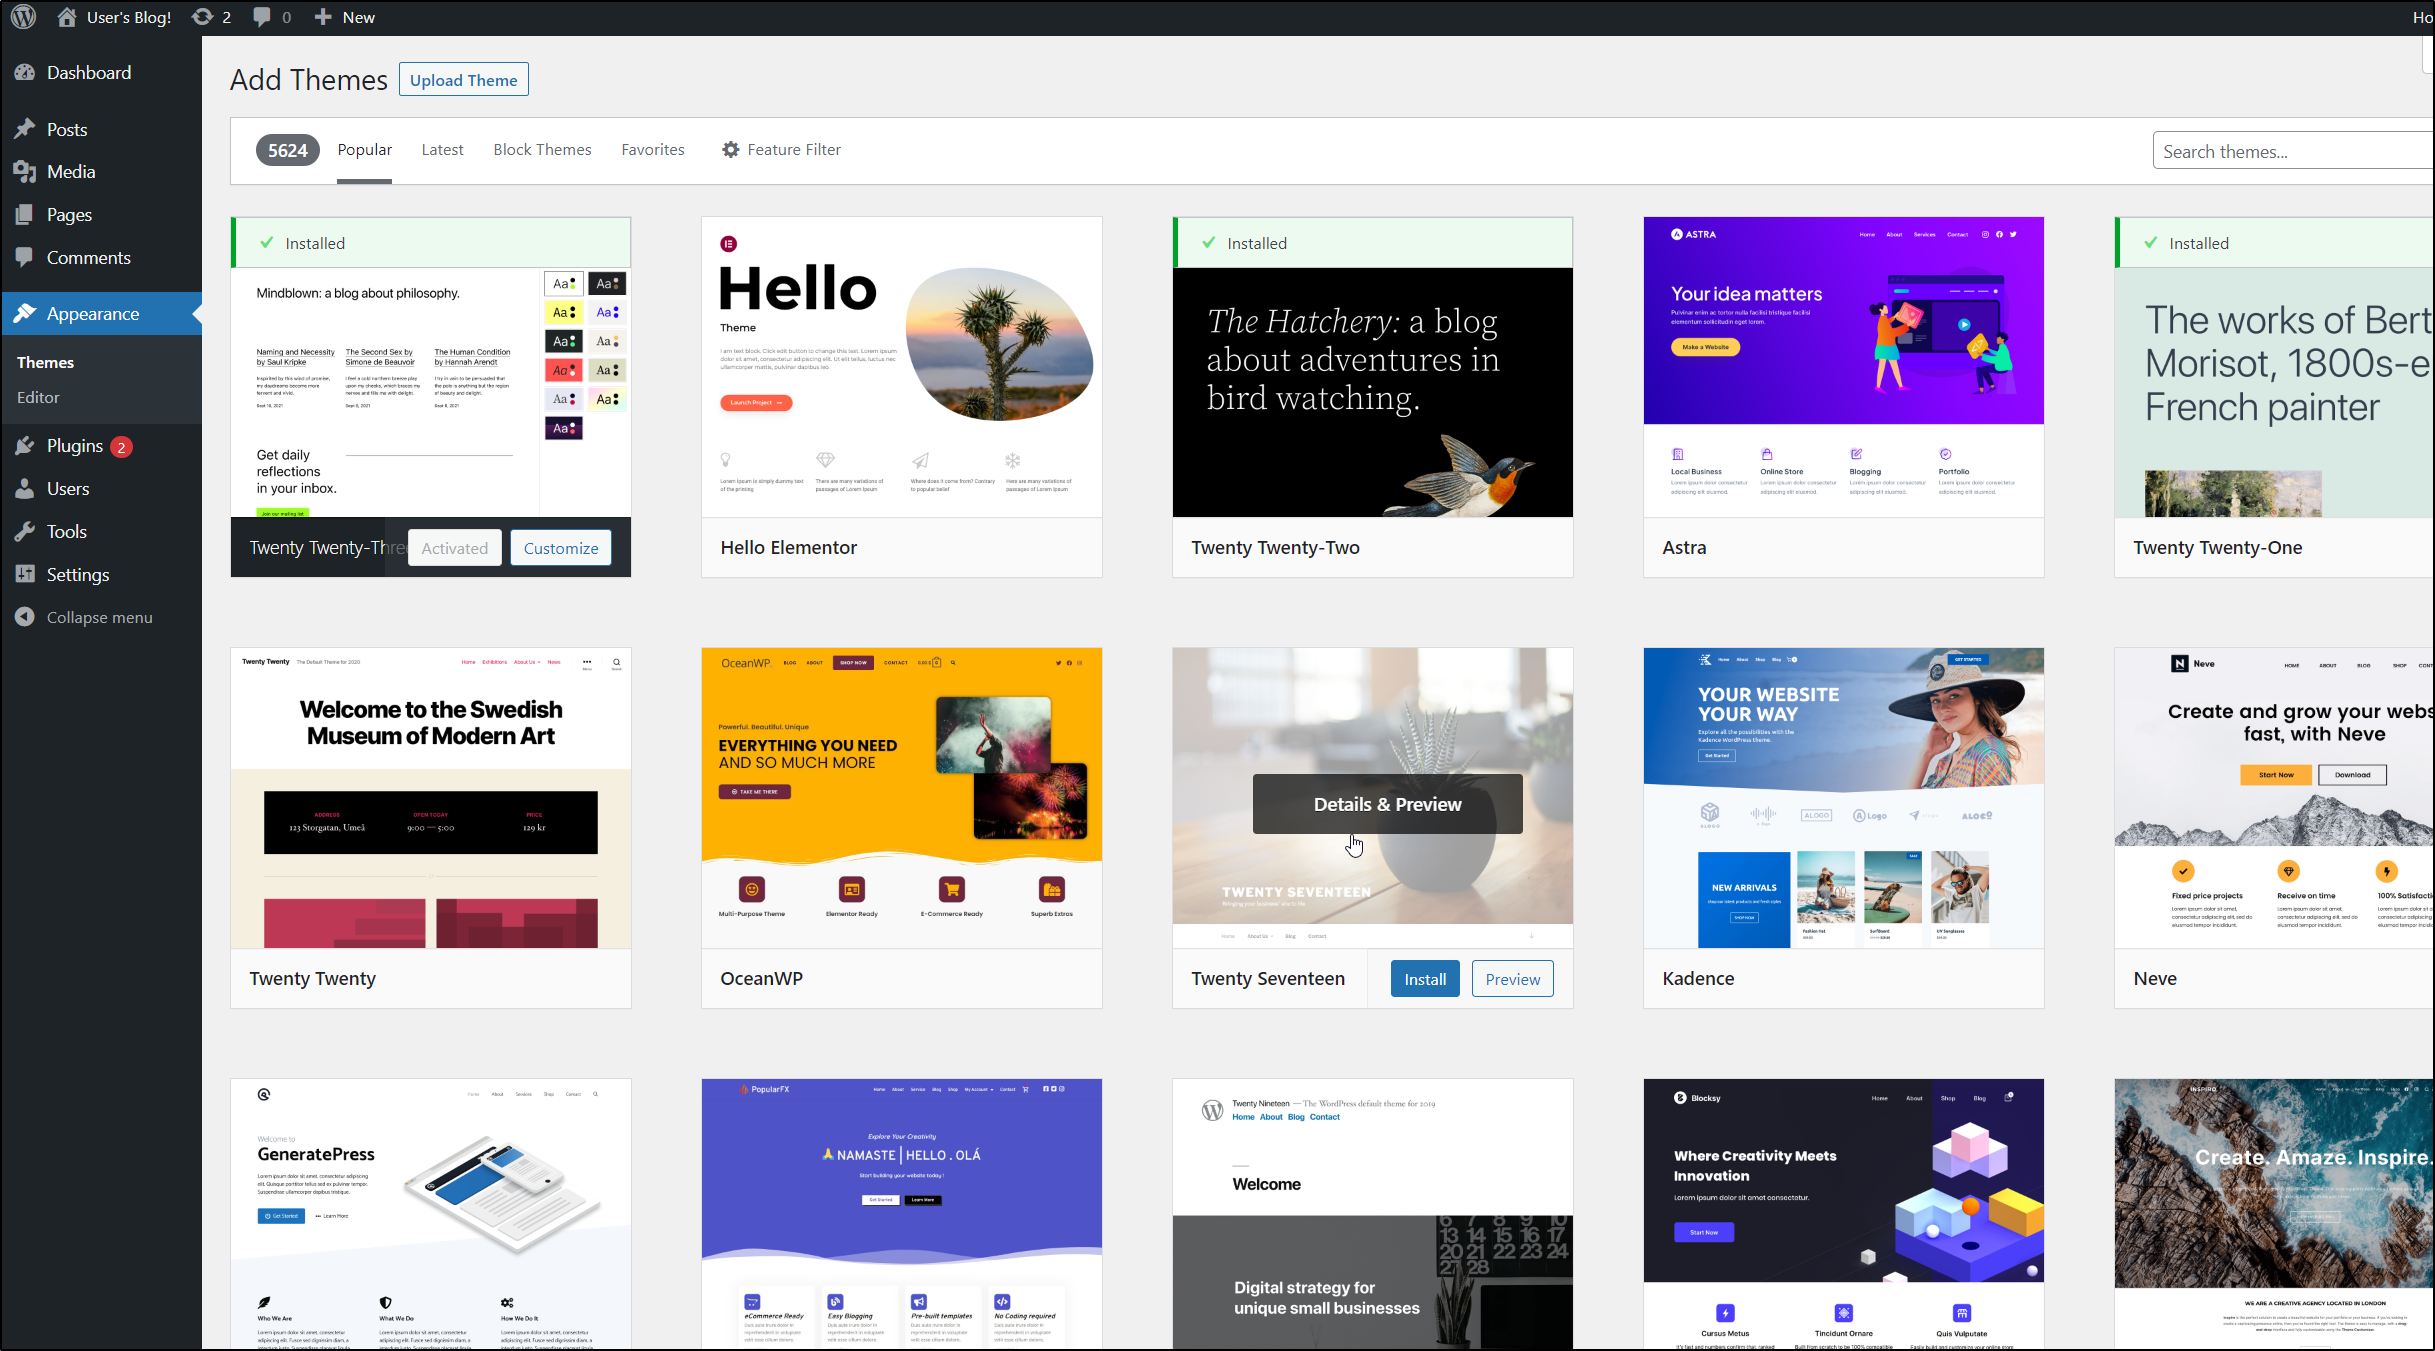
Let’s pick a different theme
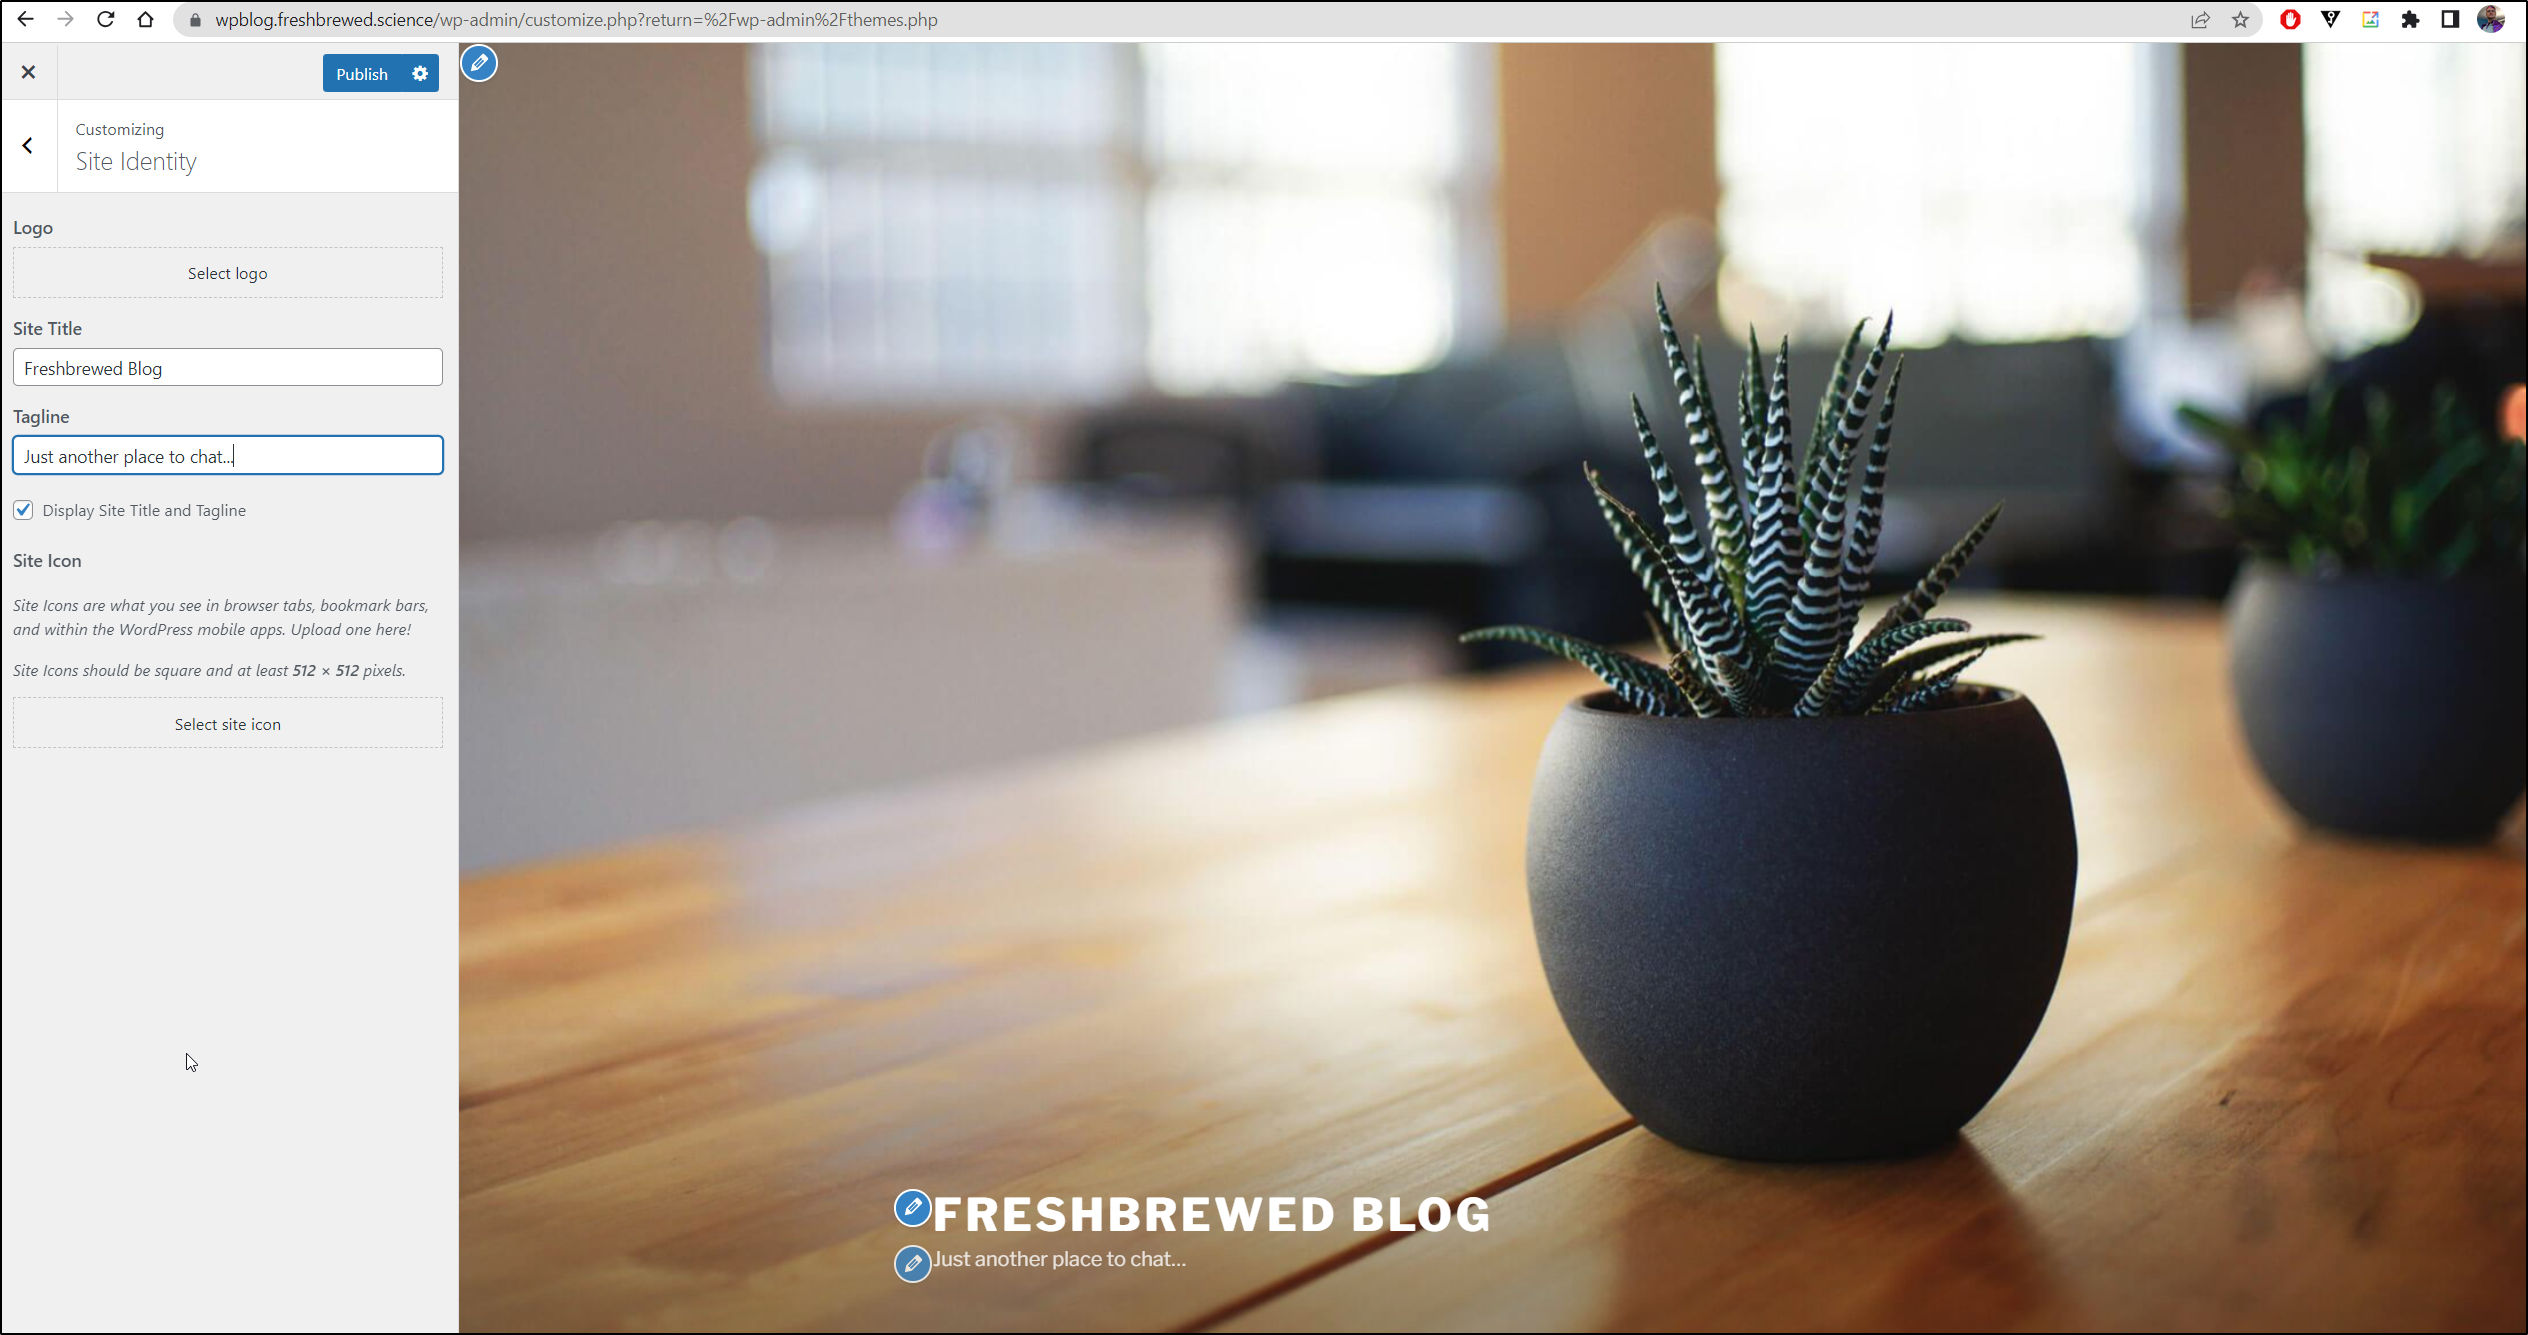
We can customize the layout in the editor
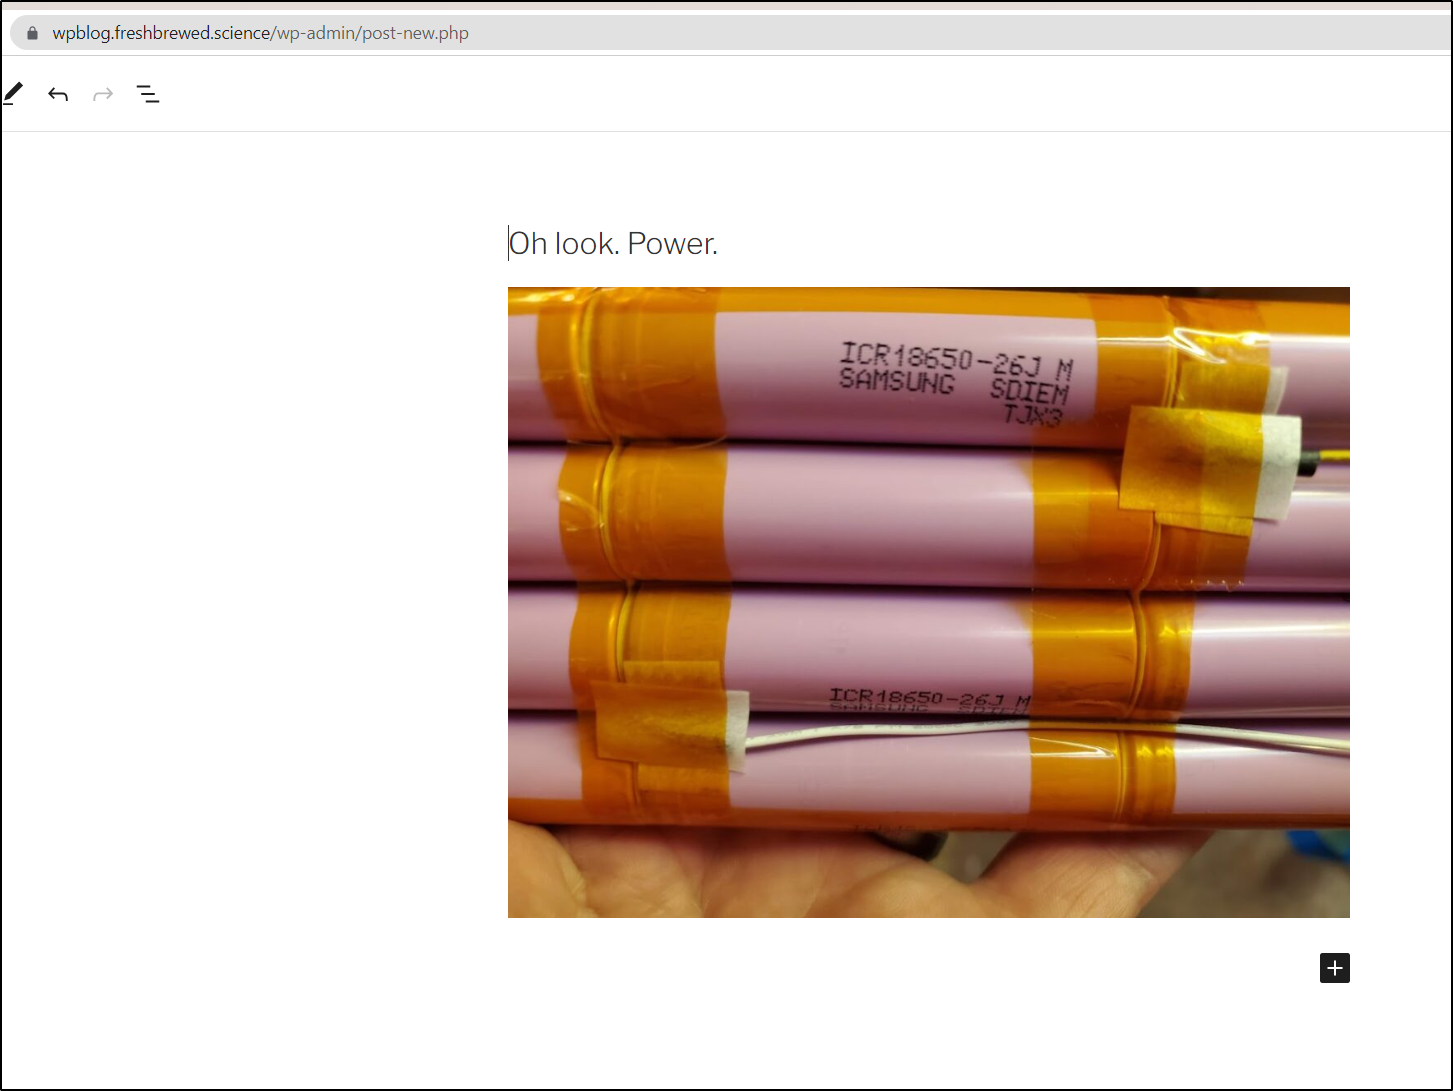
This time, images worked without issue (and I’m still on my hotspot)
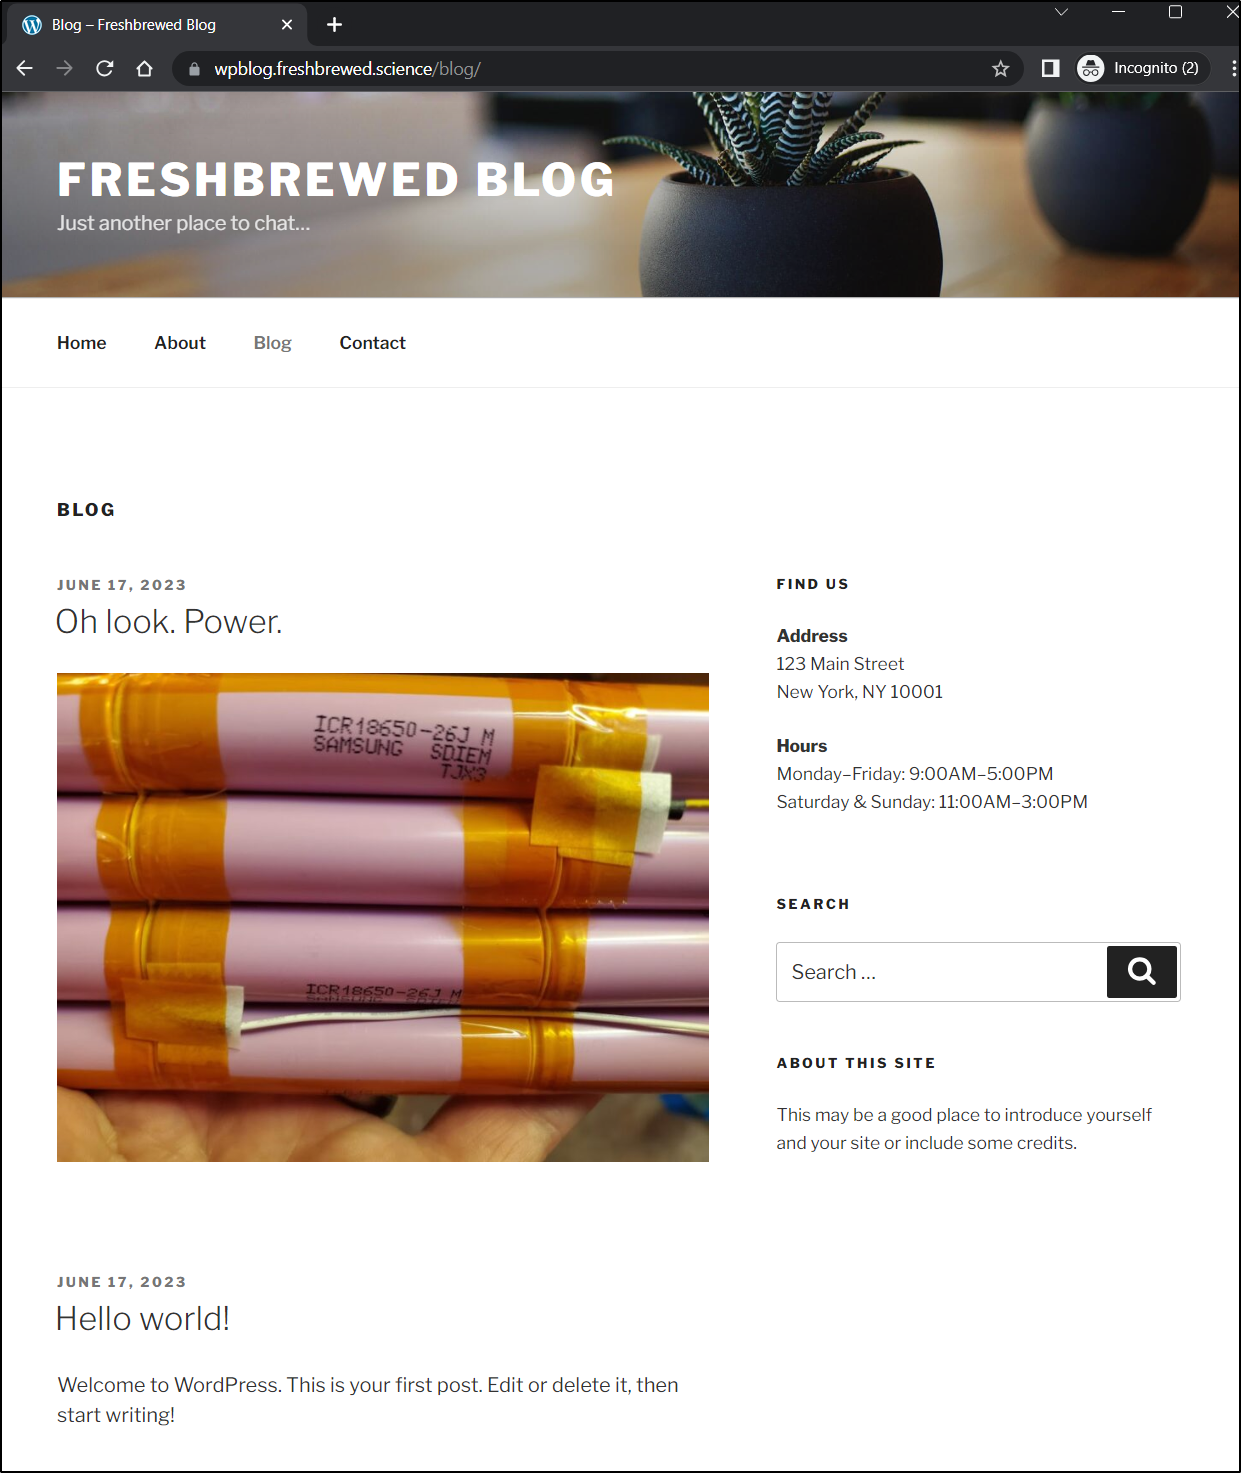
And we can see it working
Configure SMTP
I then created a fresh Sendgrid API key

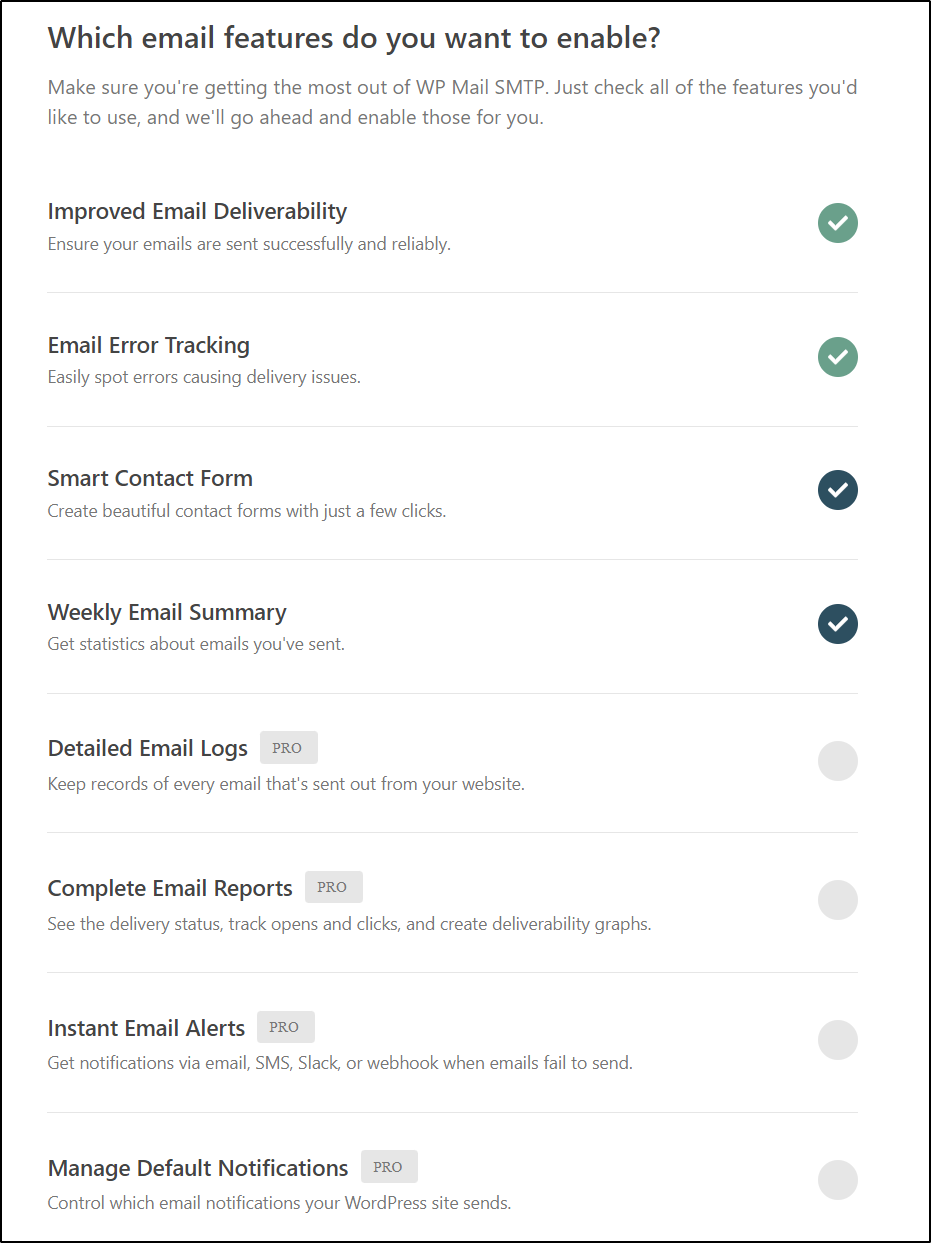
Seems they have a lot of up-sells to Pro…
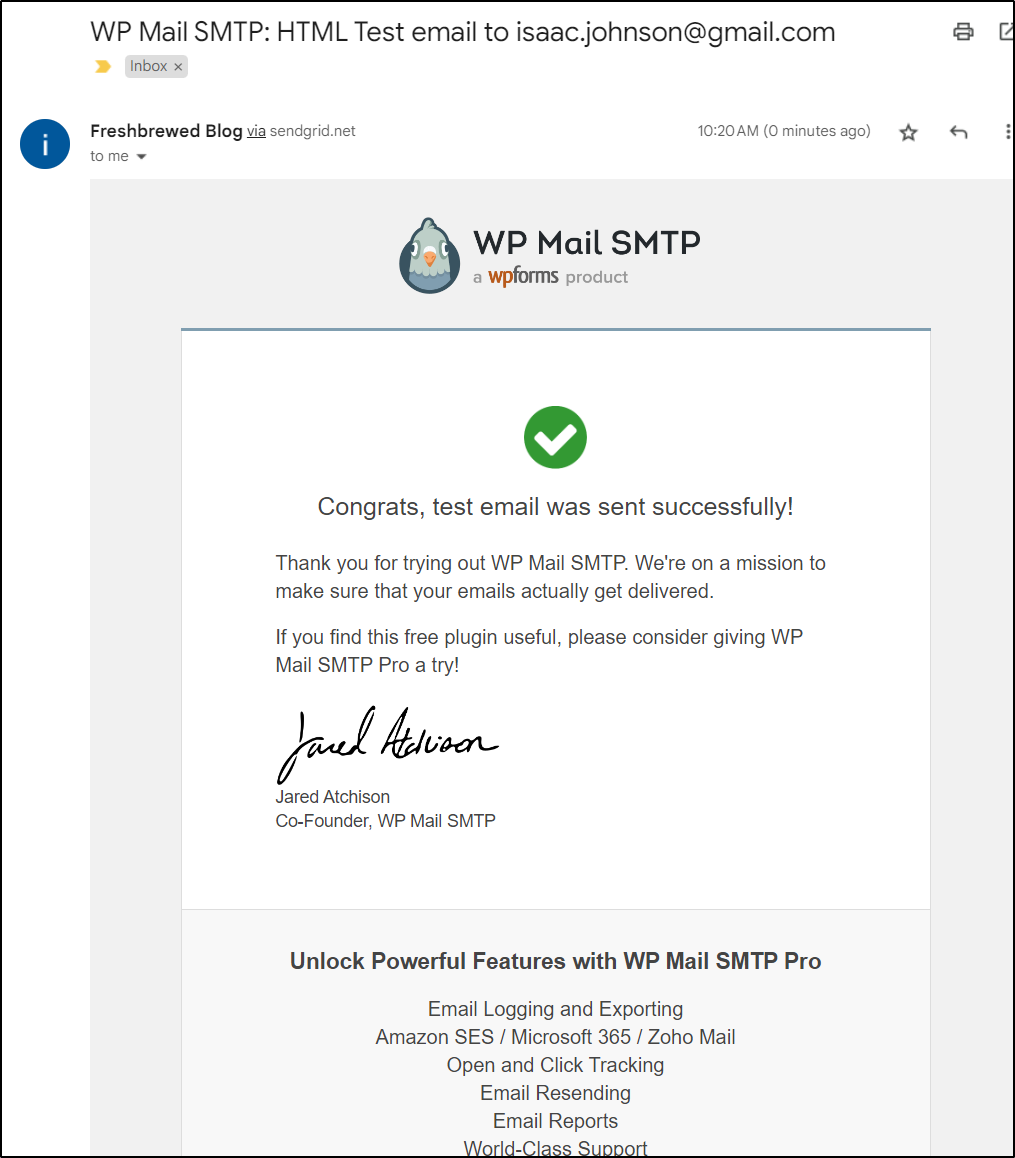
After some poking, I got it to send a test email
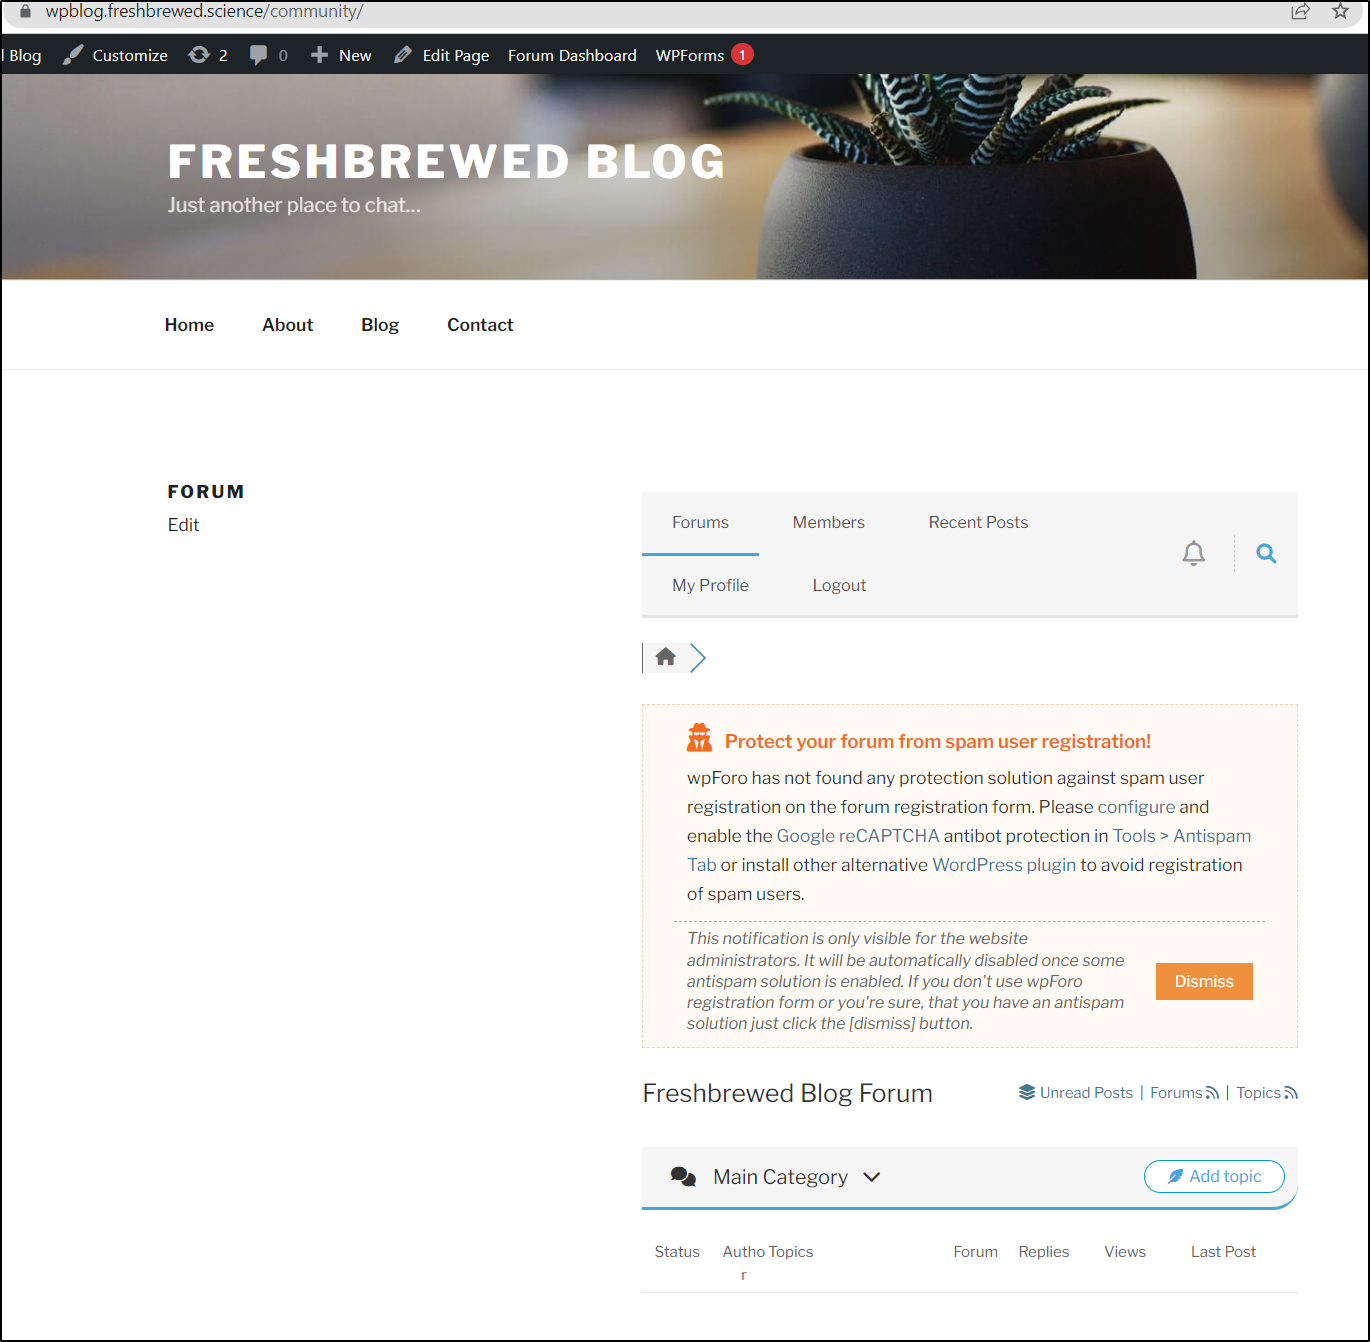
Forum
My next plan is to get a forum installed. Frankly, this is the one real missing feature of my AWS hosted Jekyll blog - if you read this and want to reply to me, you have to figure out my email or use the feedback form at the top.
It’s a lot more satisfying to have immediate feedback on a Forum
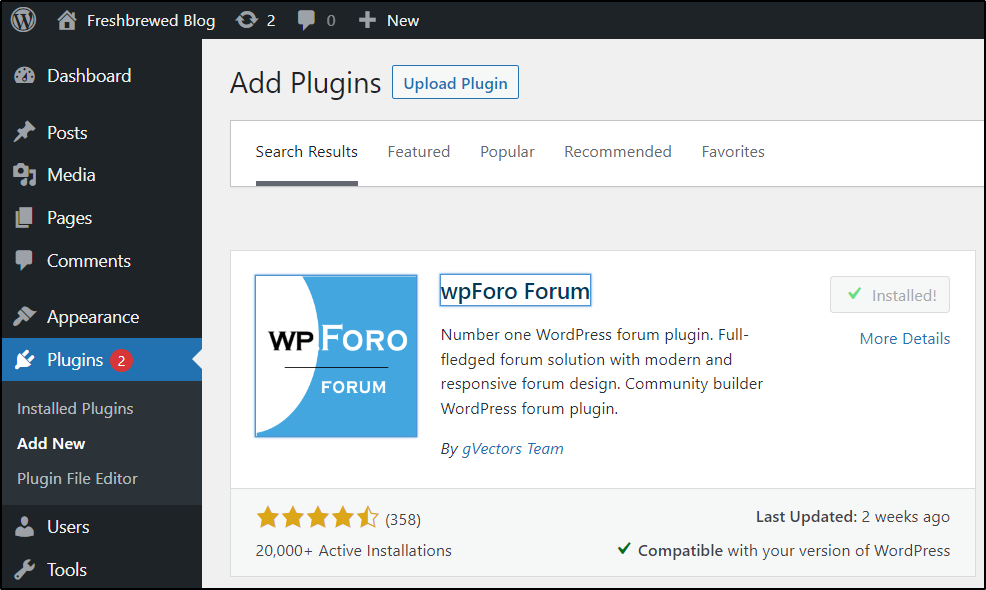
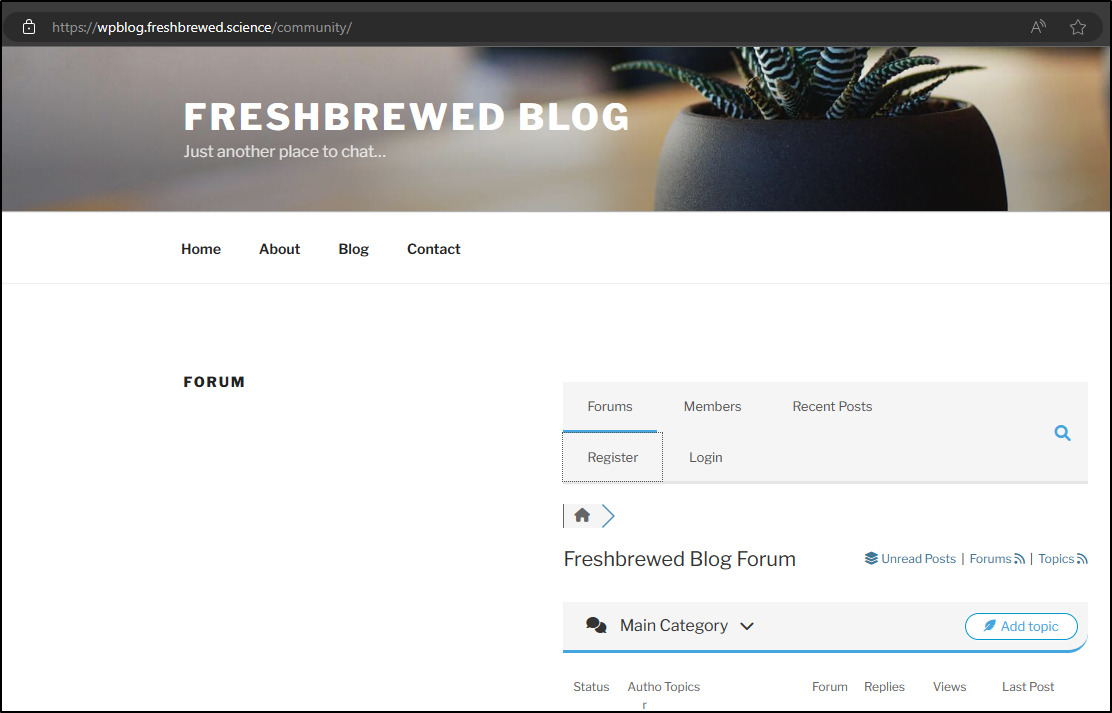
The forum is live, but I have to configure some spam protections first
I have a few choices (but all require signup)
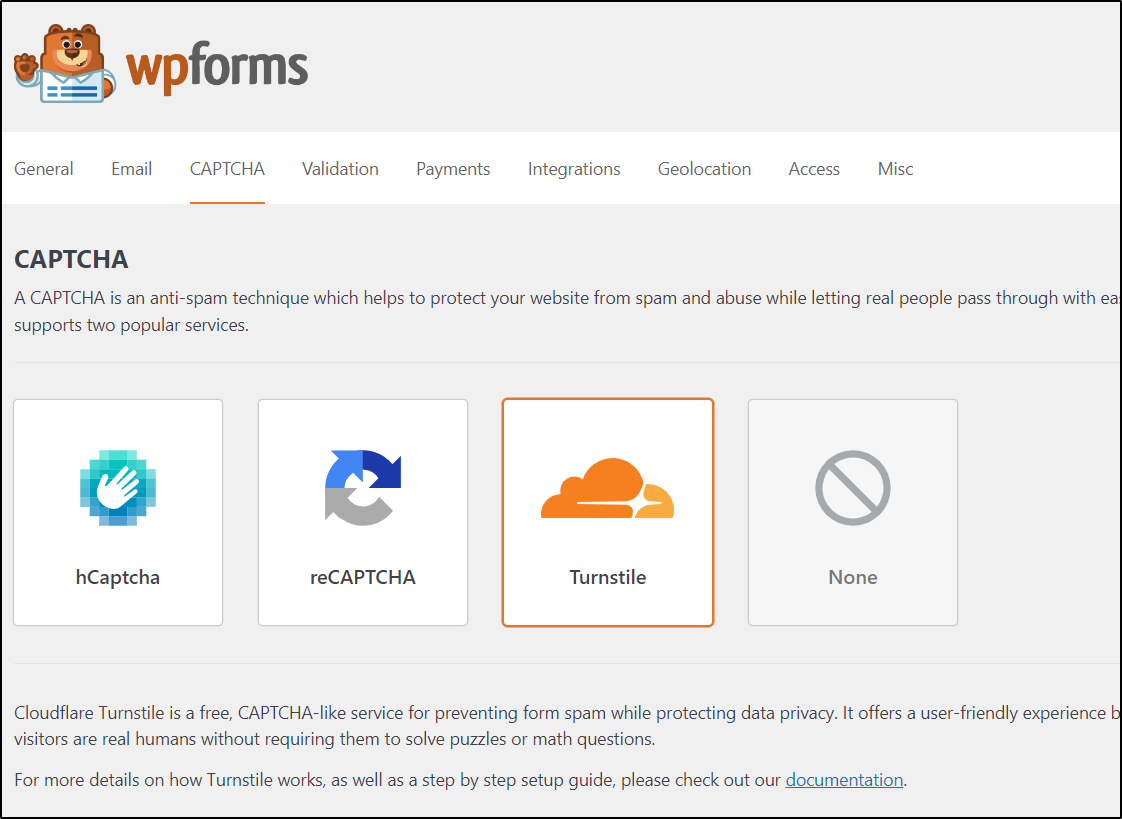
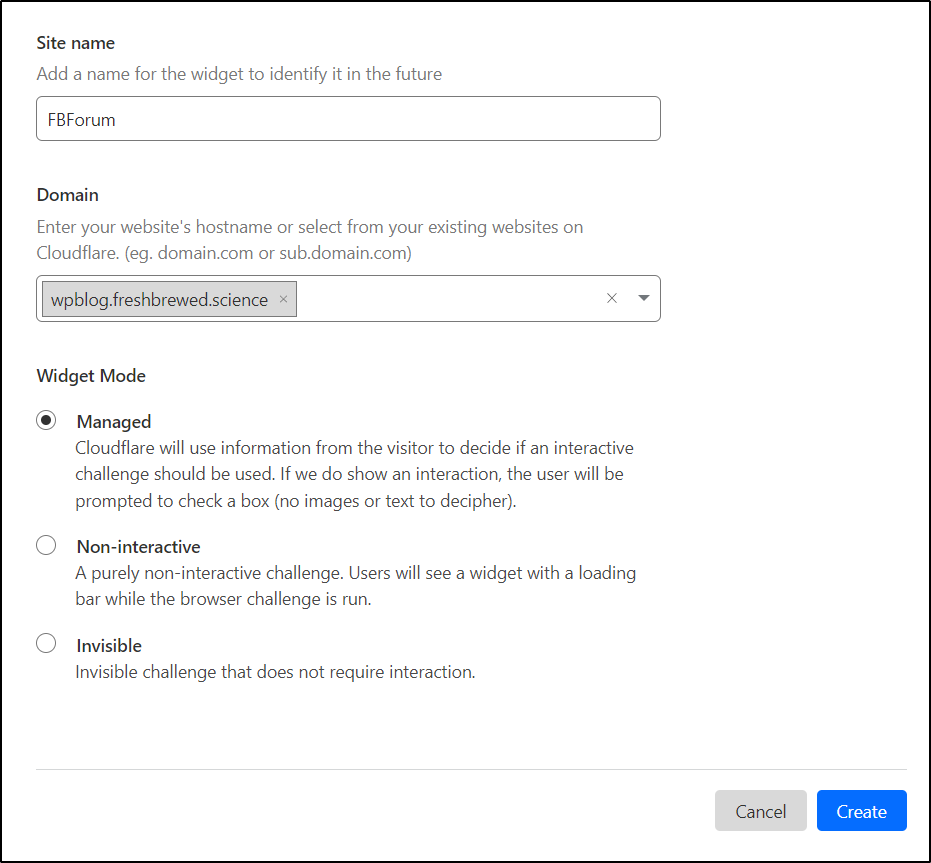
I’ll create a new Turnstile site on Cloudflare
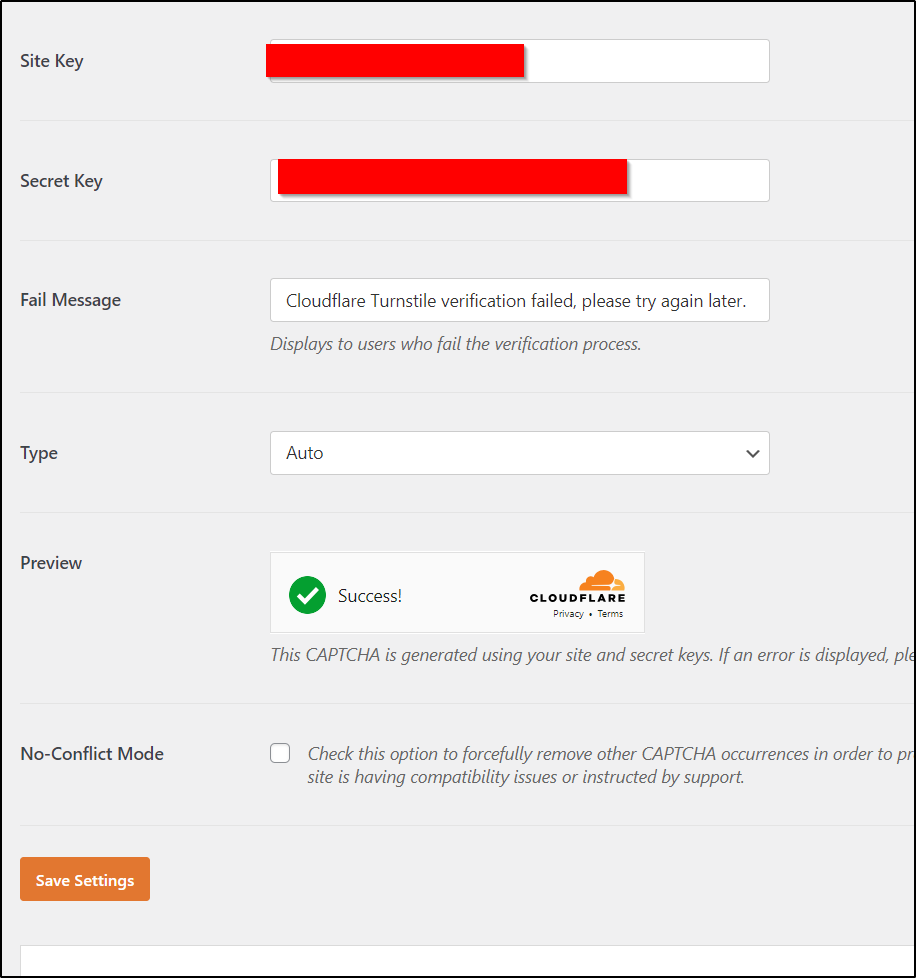
I can now see it working
On the topic of Captcha, I want to enable Google reCAPTCHA
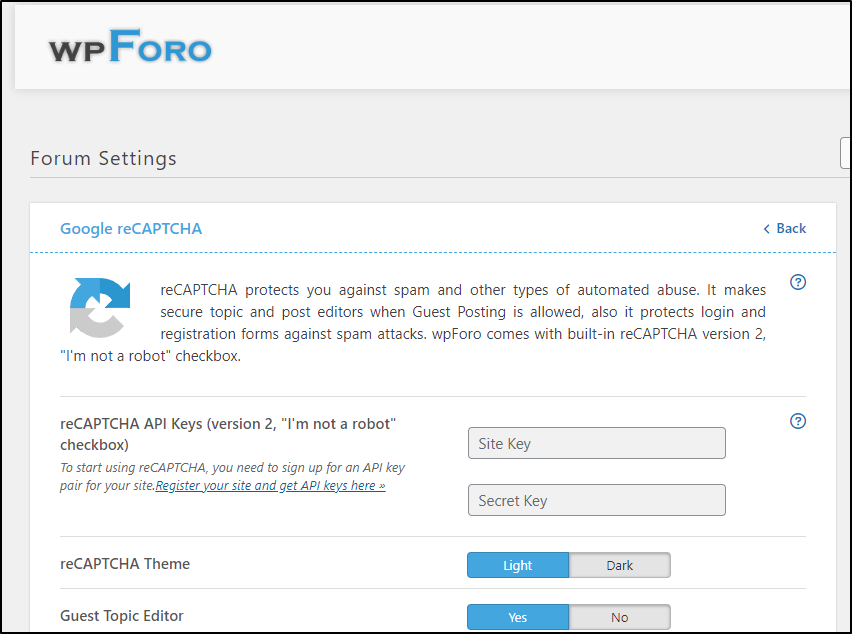
I followed the link and created a new entry for this site
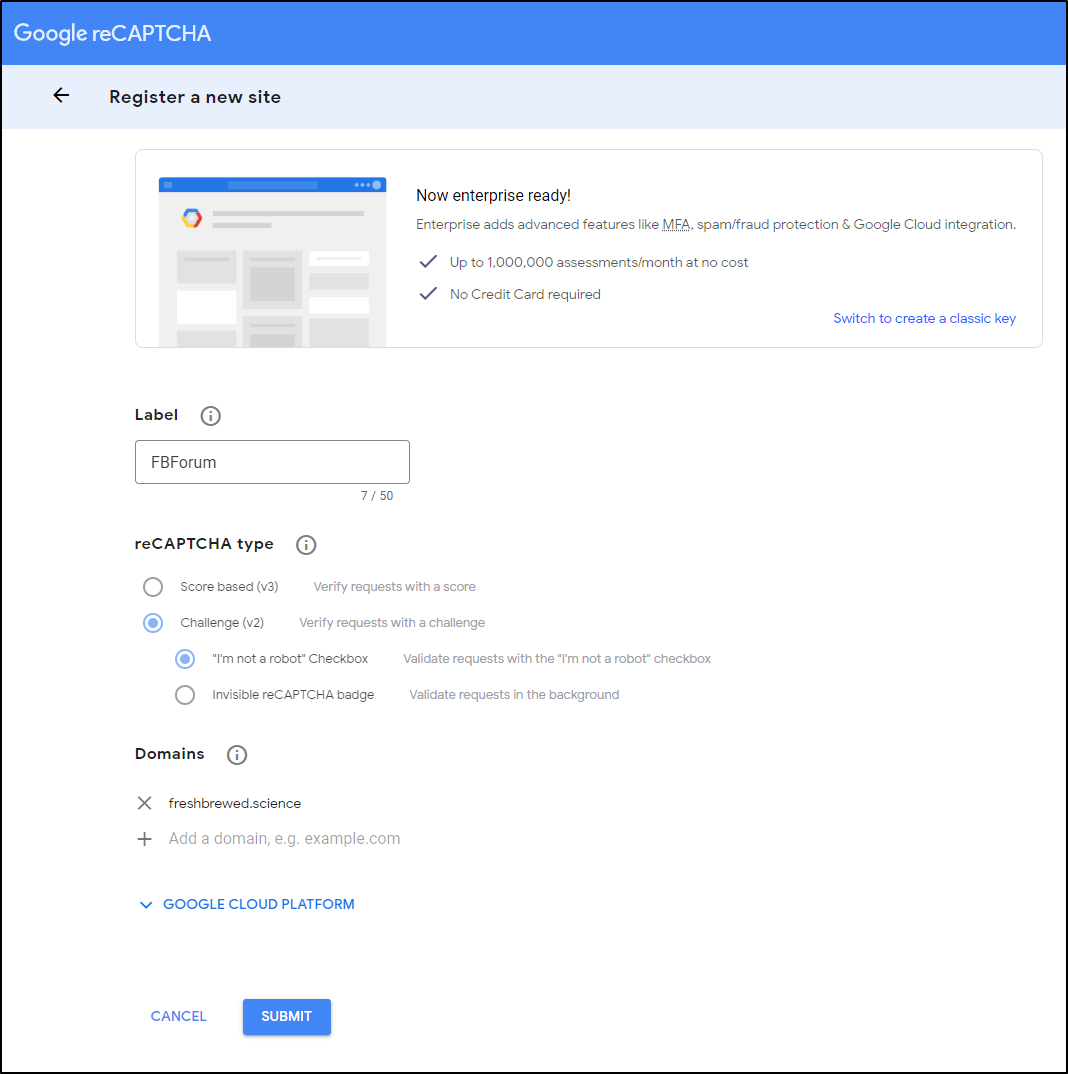
That then gave me a key to use
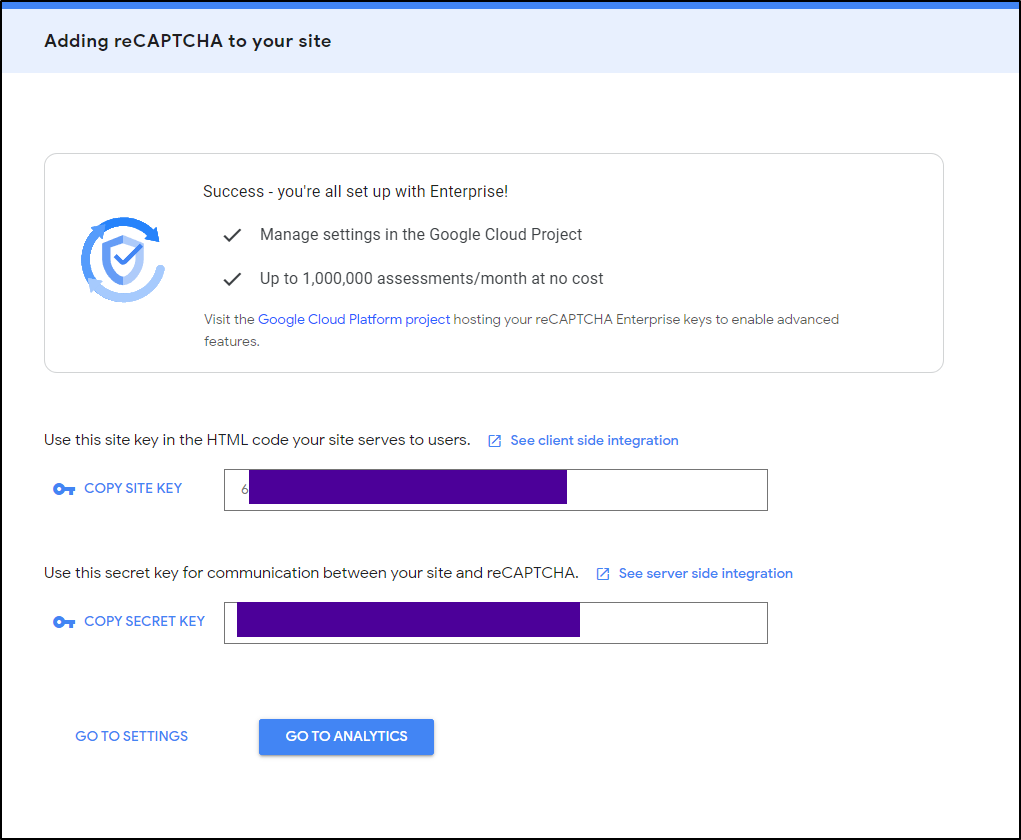
I added the Site and Secret to the reCAPTCHA section and saved
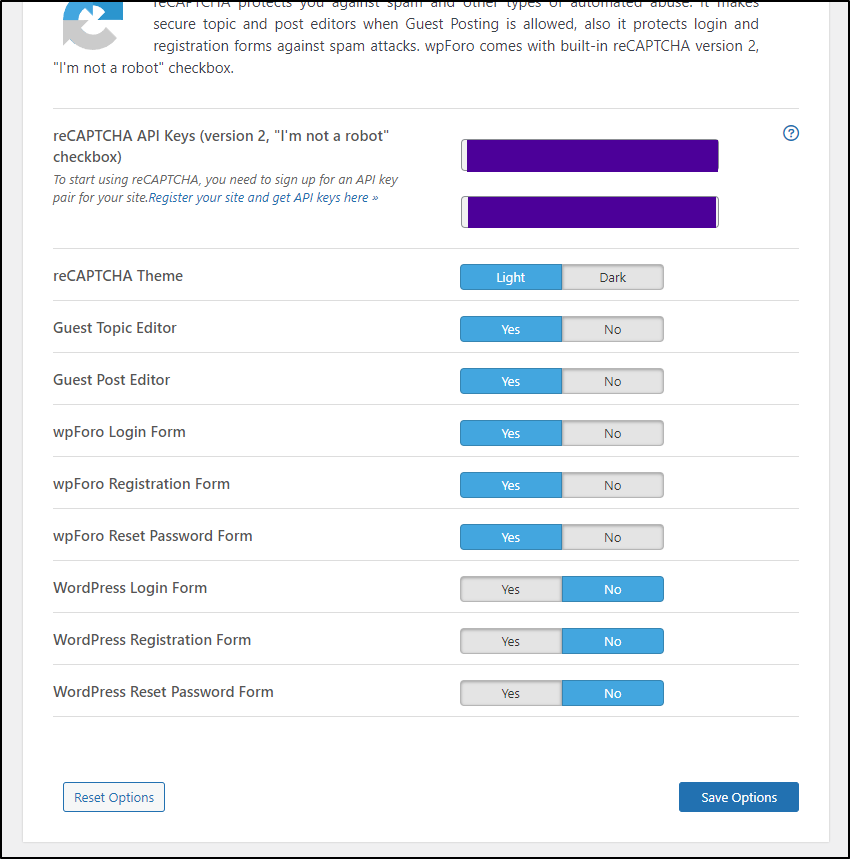
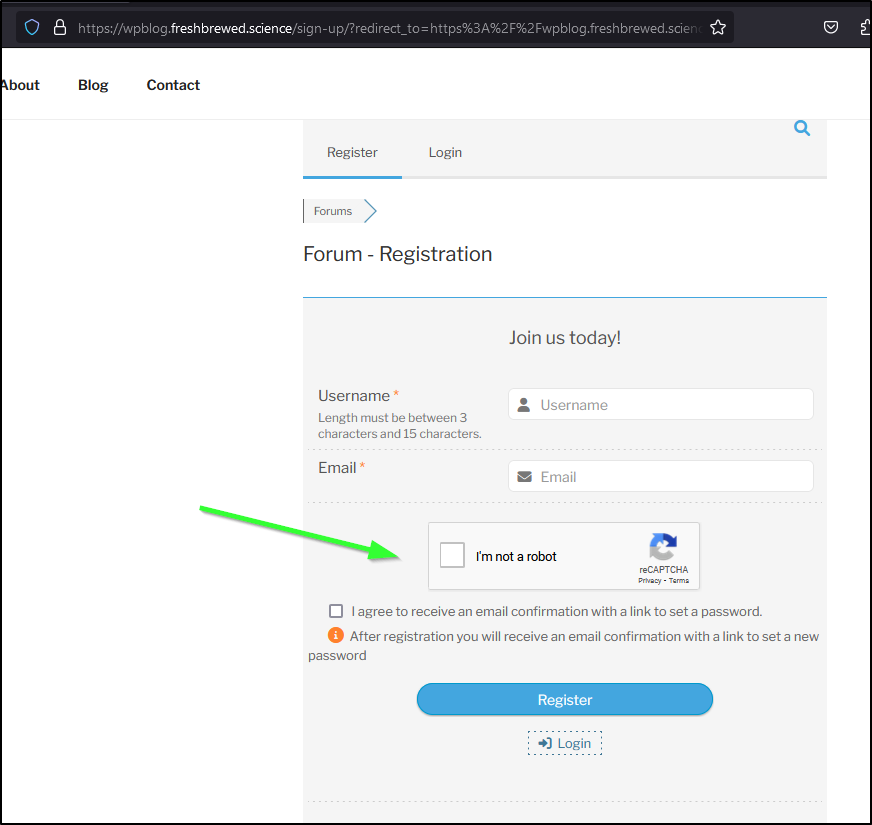
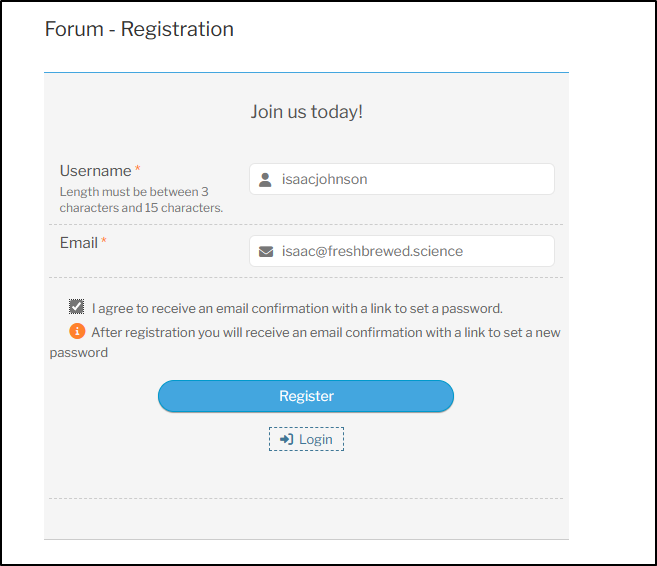
I can now see it in the registration
Testing Forum
Let’s add a topic
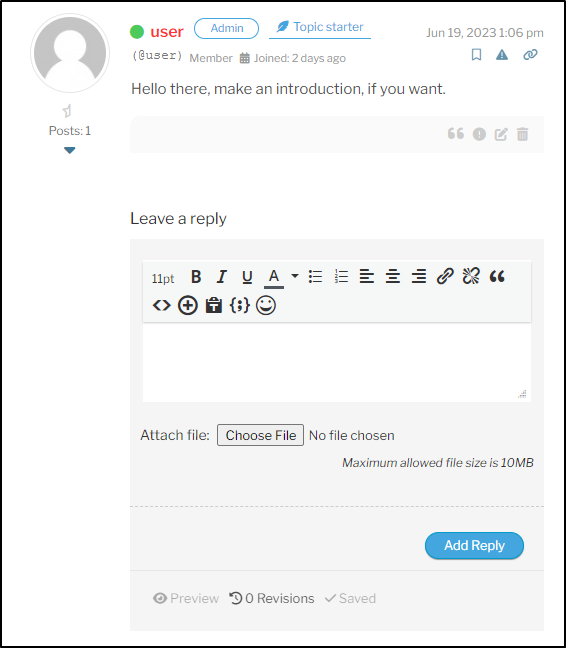
I’ll create an introductions topic
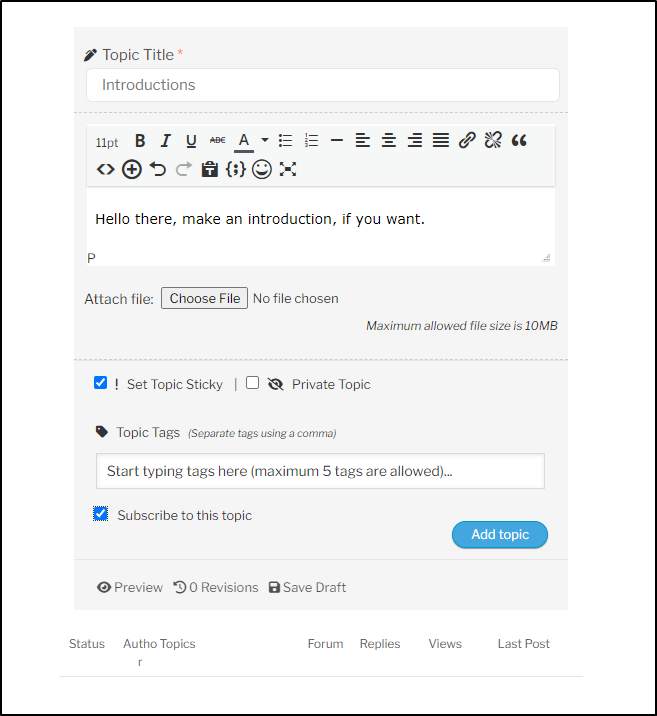
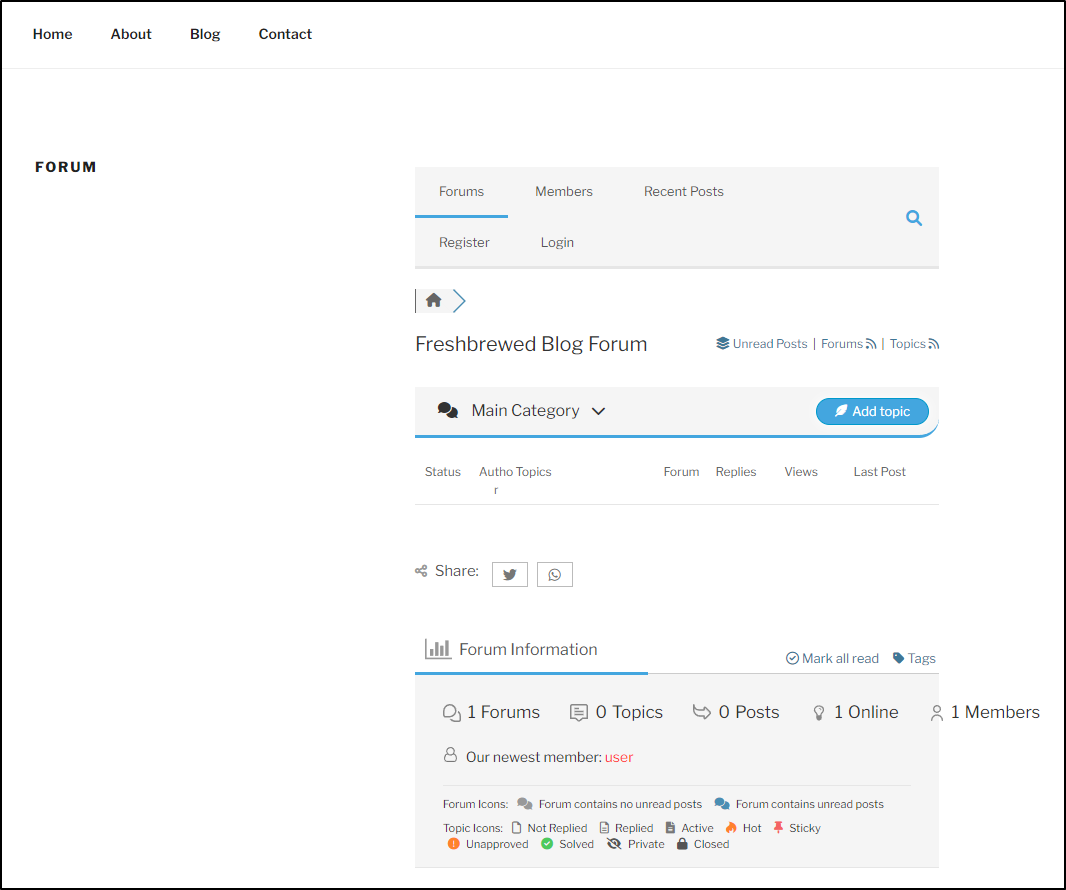
This shows up fine
How does it work for normal users?
I’ll try and create a new account to be my non-admin identity.
I’ll head to the forum and click register
filling in details and agreeing to an email
Almost immediately I got my reset password link
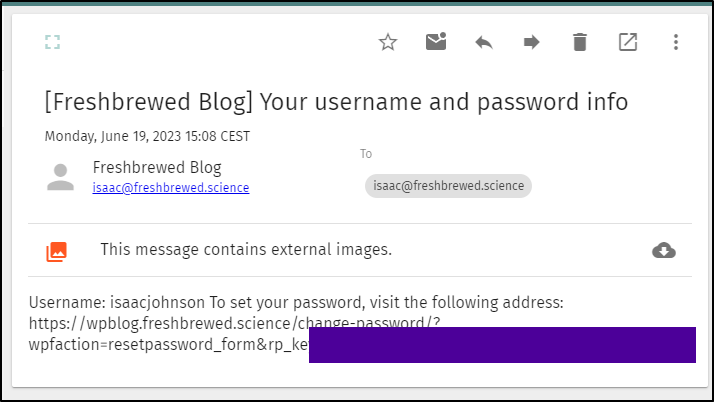
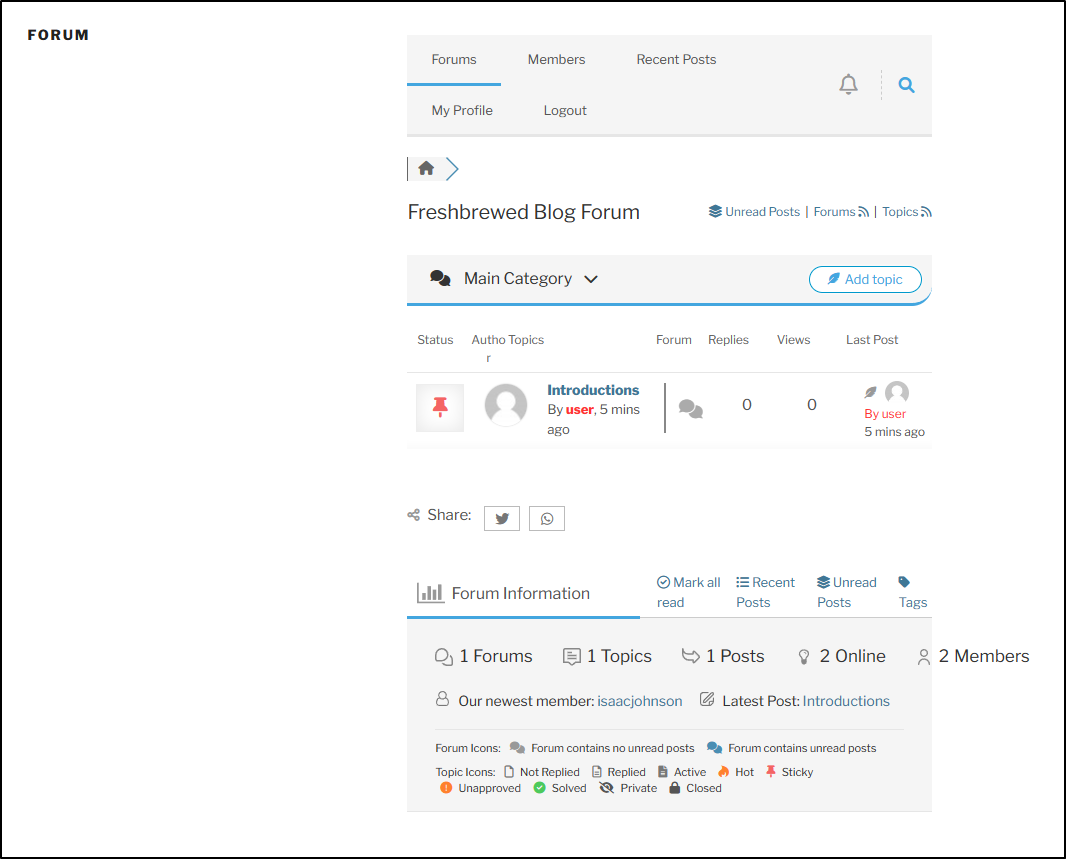
I reset it and now I see the intros
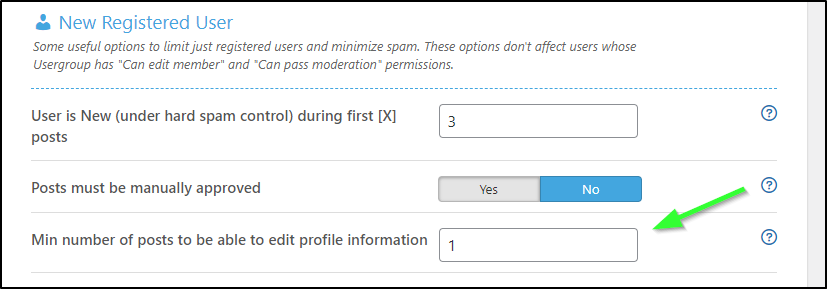
I cannot really update my user profile without at least a single post. This is a spam protection filter.
I realized it was set to 3 posts, which seems a bit much just to change one’s avatar. You make people jump through hoops, you’ll get a bunch of junk posts.
I changed it to 1 (at least the basic captcha will catch most bots)
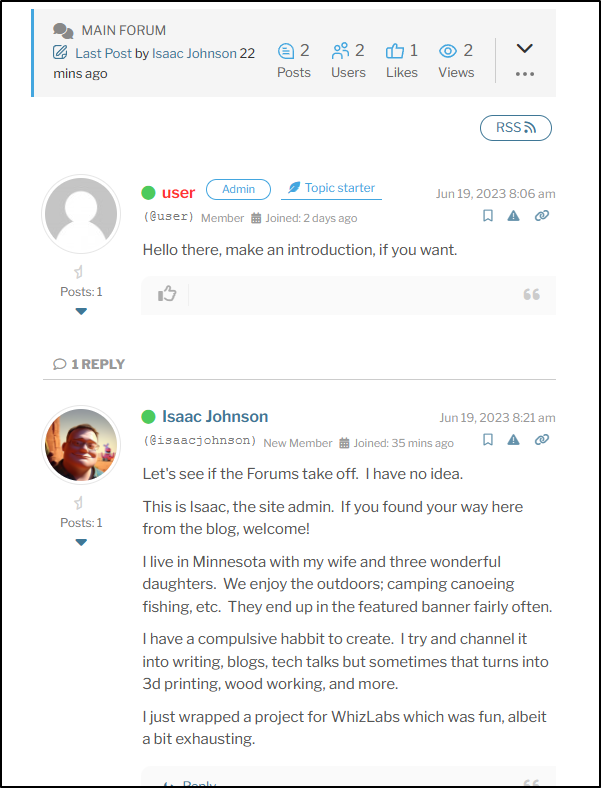
I can now see the updated profile
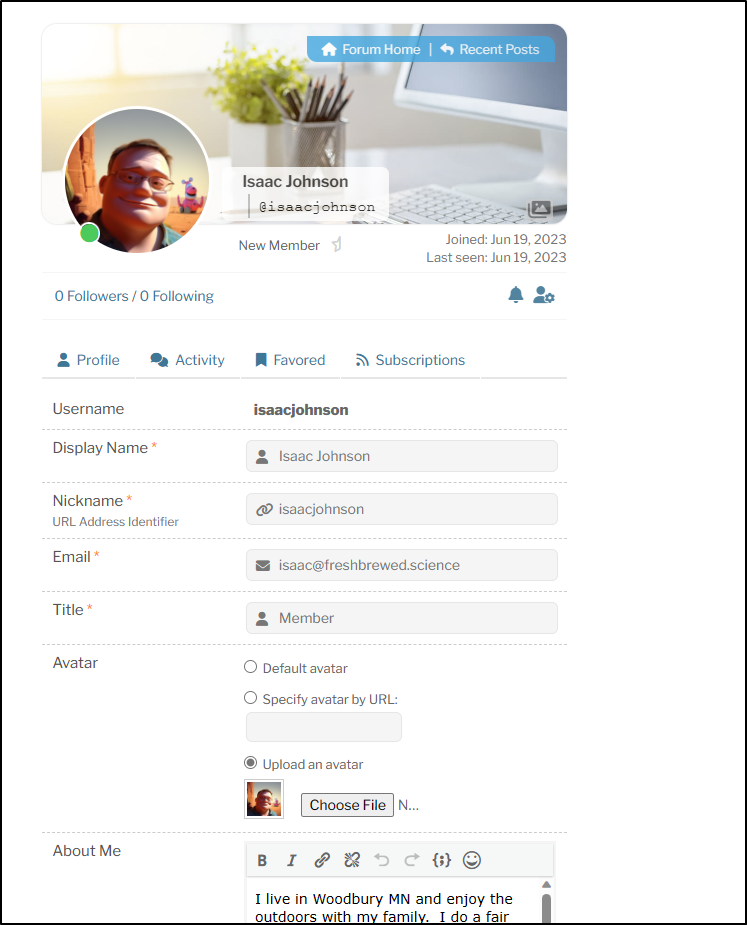
Which I now see on the post I made
Making it pretty
I wrestled with a few themes. I’m still not sure I’m satisfied with the layout, but it’s a good start.
We now have a homepage that links out to a public Datadog dashboard and some Github results.
Summary
We setup a Wordpress blog using a helm chart. We first tried the Bitnami charts and then the newer one that pulls right from an OCI URL (documented here).
After demoing it in the test cluster, I moved on to hosting in my own cluster only to have PEBKAC errors as I neglected to change my default namespace context (Doh!). Once I fixed that, it went great.
We setup WPForo for forums, WPForms for forms, and WPMail for Sendgrid email. For spam protection, we setup Cloudflare Turnstile and Google reCAPTCHA. Lastly, I tested the Forum with a non-admin user.
There is a blog I can use for whoknowswhat, and then the forum I actually hope to get some use out of as I always wanted to enable some kind of feedback loop on these posts.